I had a request for a tutorial on how to make my quick and easy Burlap Christmas stocking. The instructions are listed below, but first, a little background.
Quick and easy burlap Christmas stocking
I was at the shop,” Inspired”, in Liverpool, NY where I have many items that I have made, and some vintage finds. My friend Judi and her husband purchased the shop about a year ago and I’ve helped them tear down walls, put up walls, sand, paint, help with workshops and fill it up with goodies.
Well this past week while I was working there, I like to bring something to work on to while away the time during slow periods…on this day I brought from home some 8″ wide burlap ribbon that I had purchased from Michael’s about a year ago and had used as garland for my Christmas tree last year and had a roll leftover. I wanted something that would be quick and easy to put down in case a customer came into the shop.
1. I took some newspaper we had in the back for shipping and quickly sketched an outline of a stocking making sure that the shape fit within my 8″ width of burlap. (I know, I could have found another section rather than the obituaries, but I just grabbed the first sheet on top)
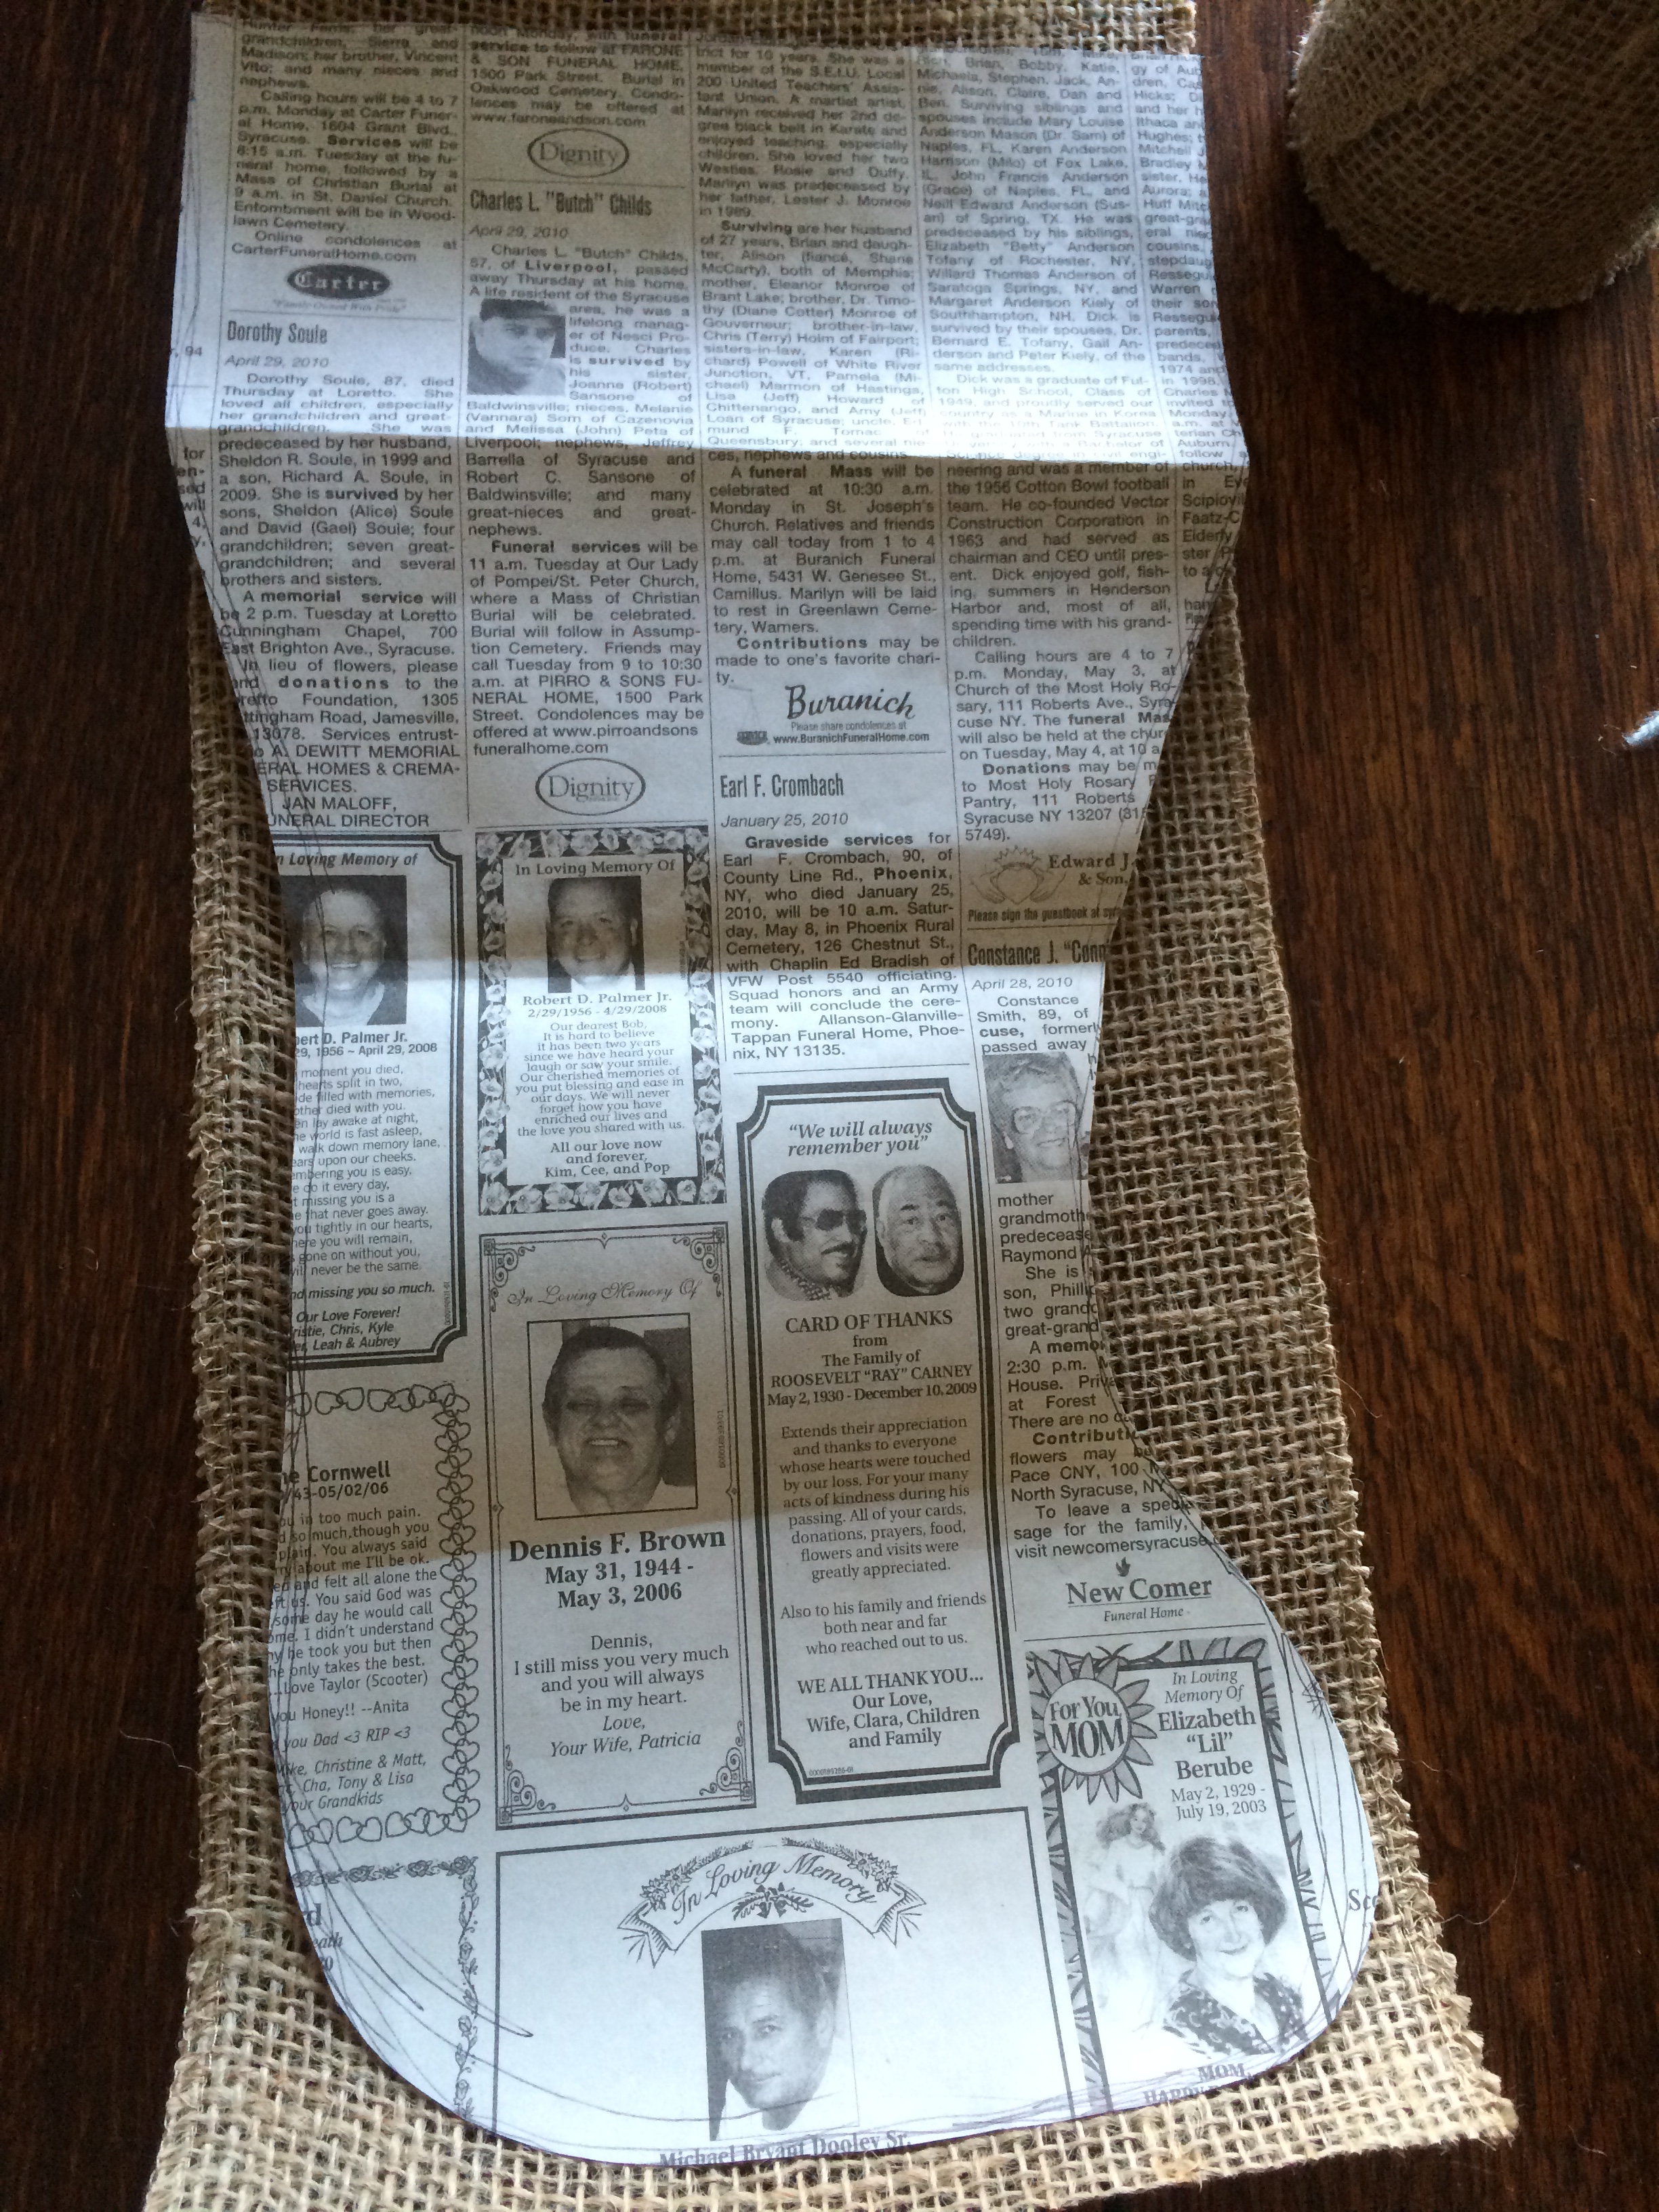
Newspaper pattern cut for burlap Christmas stocking
2. Next, I cut the burlap, folding it over first so I was cutting out 2 pieces, the front and back of the stocking. Now you have the pieces all cut ready to embellish how you wish. For my stocking, I had a sweater that I had cut up to make mittens a couple of years ago, and had just enough leftover to make a top for my stocking….even better, I was able to cut the sweater with the pocket included so I could tuck in a little surprise. Now I used a sweater, but there are many other items to use for this cuff as well…maybe a favorite old piece of clothing from a child that has outgrown it, or their “blanky” that couldn’t be parted with, or an end of a fringed table runner, fabric scraps, ribbon, or buttons.. whatever you choose will be perfect!
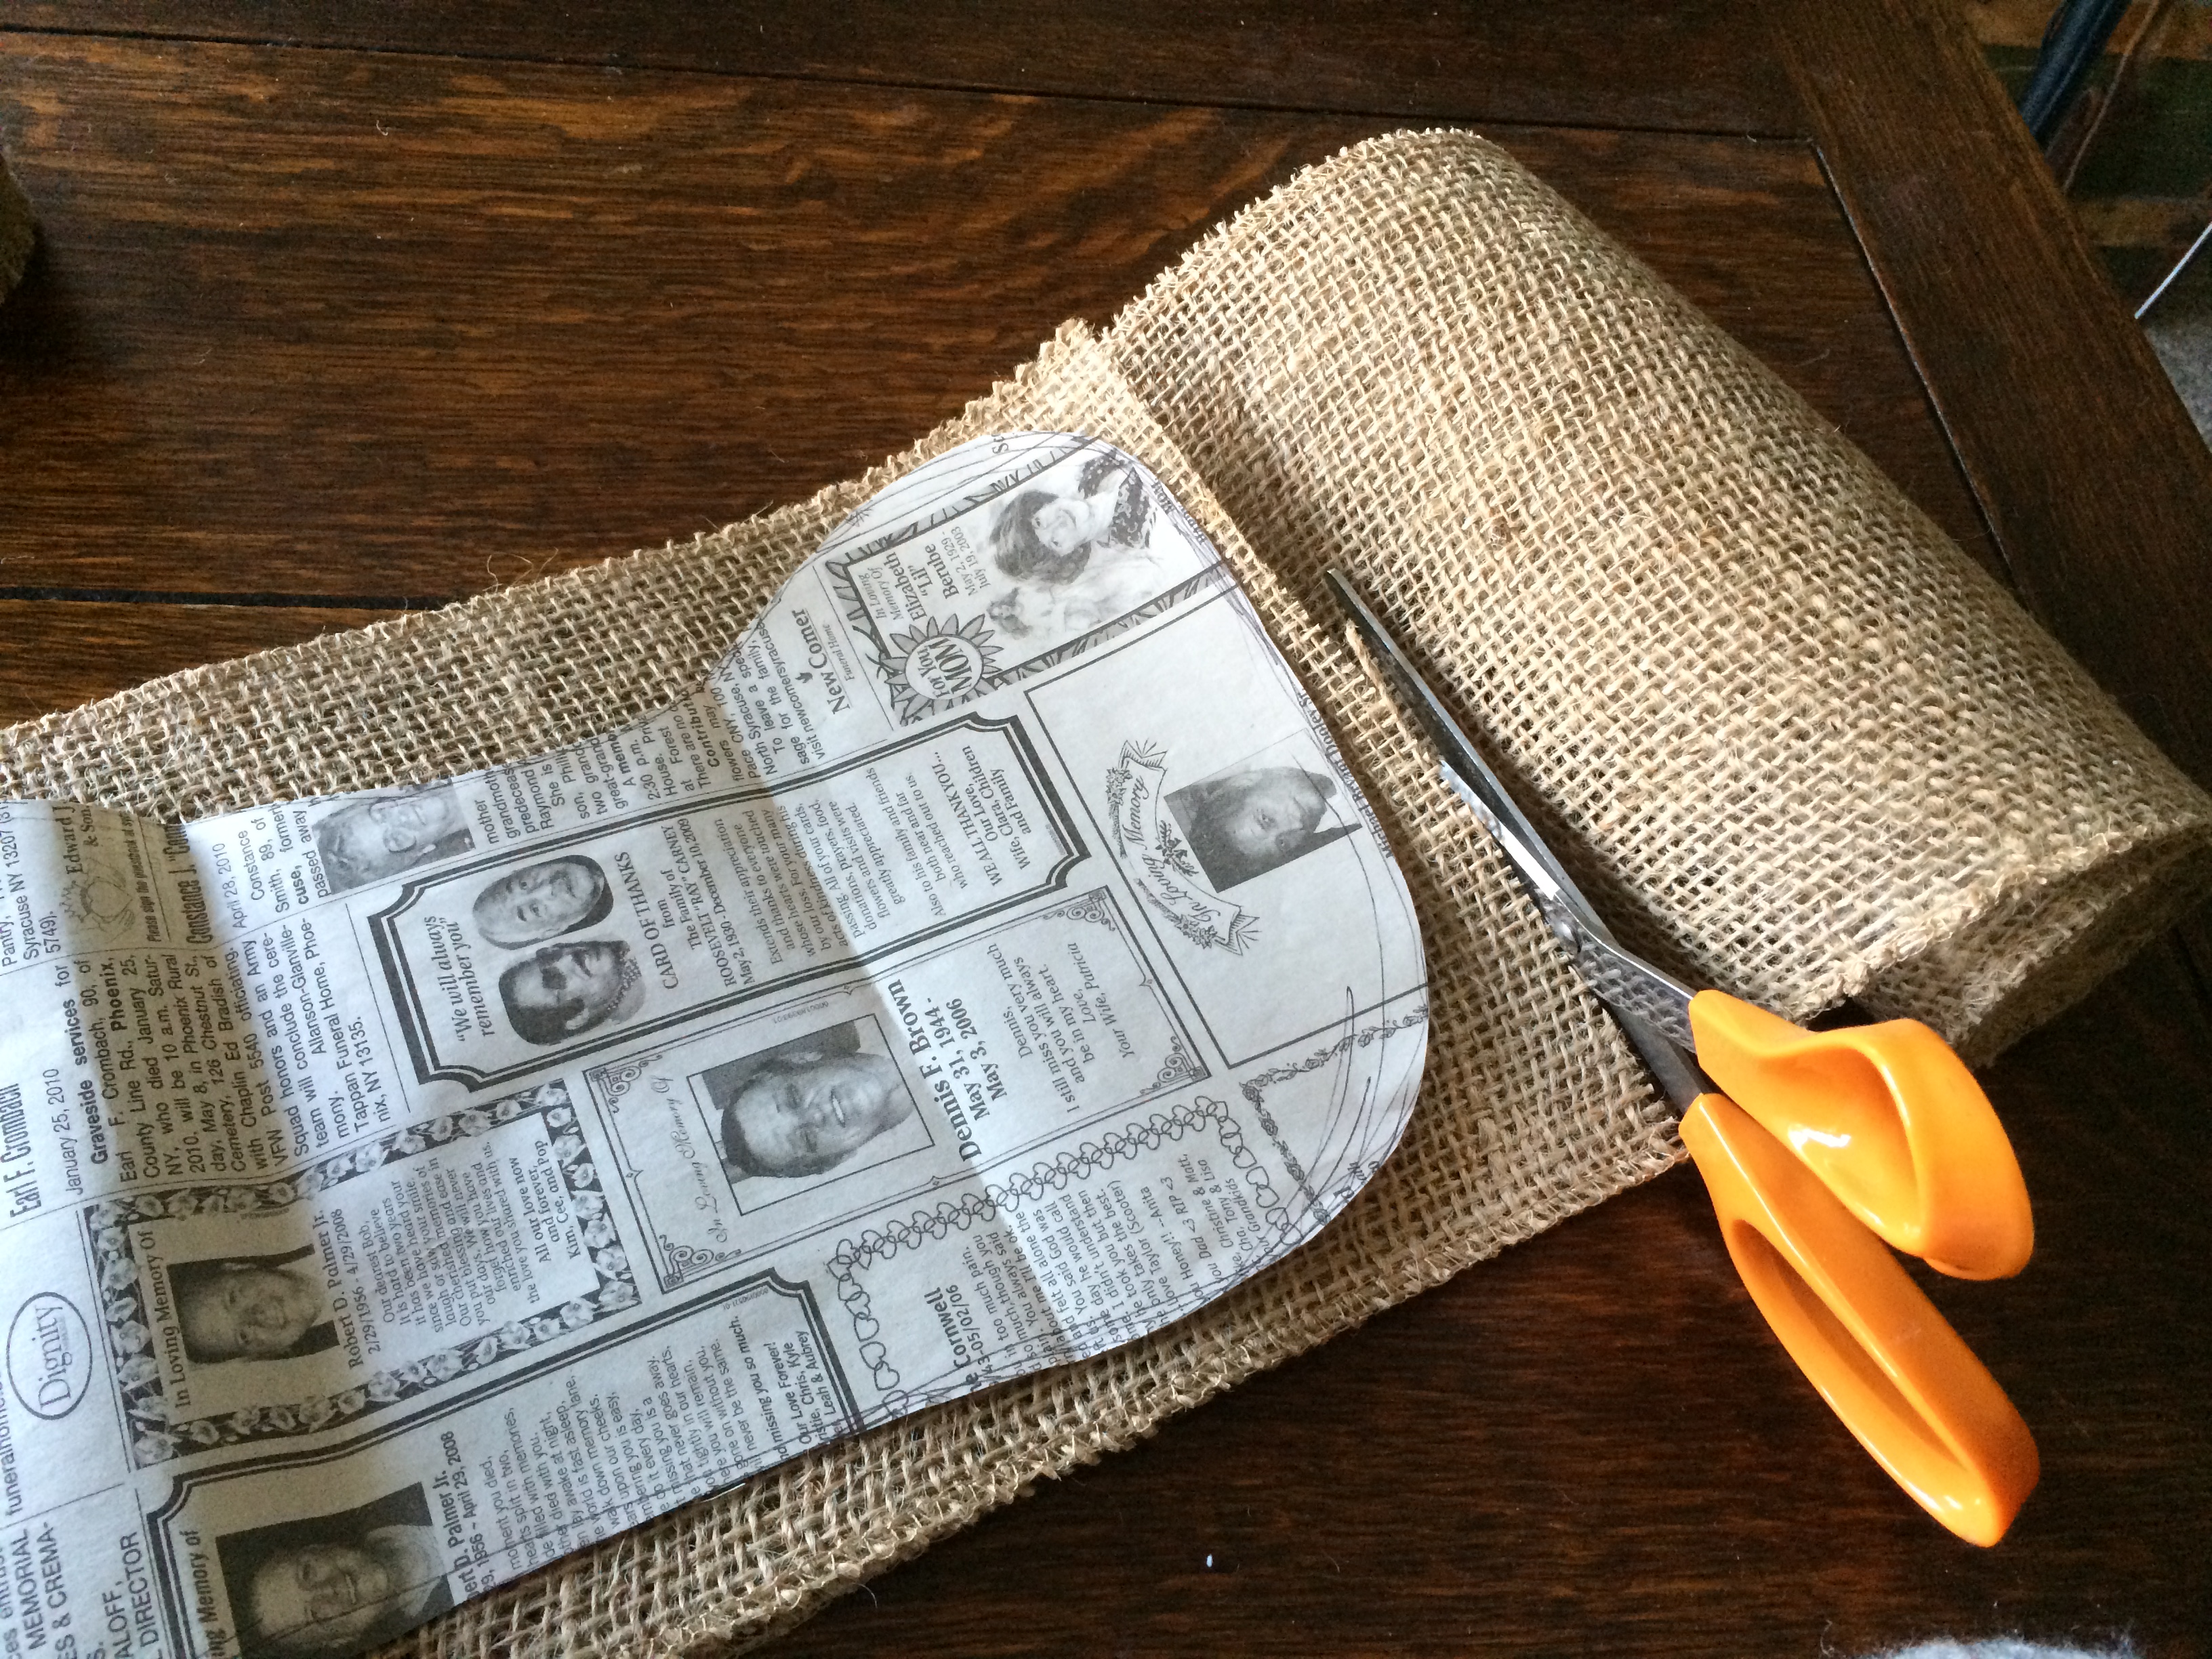
Cutting burlap for Christmas stocking
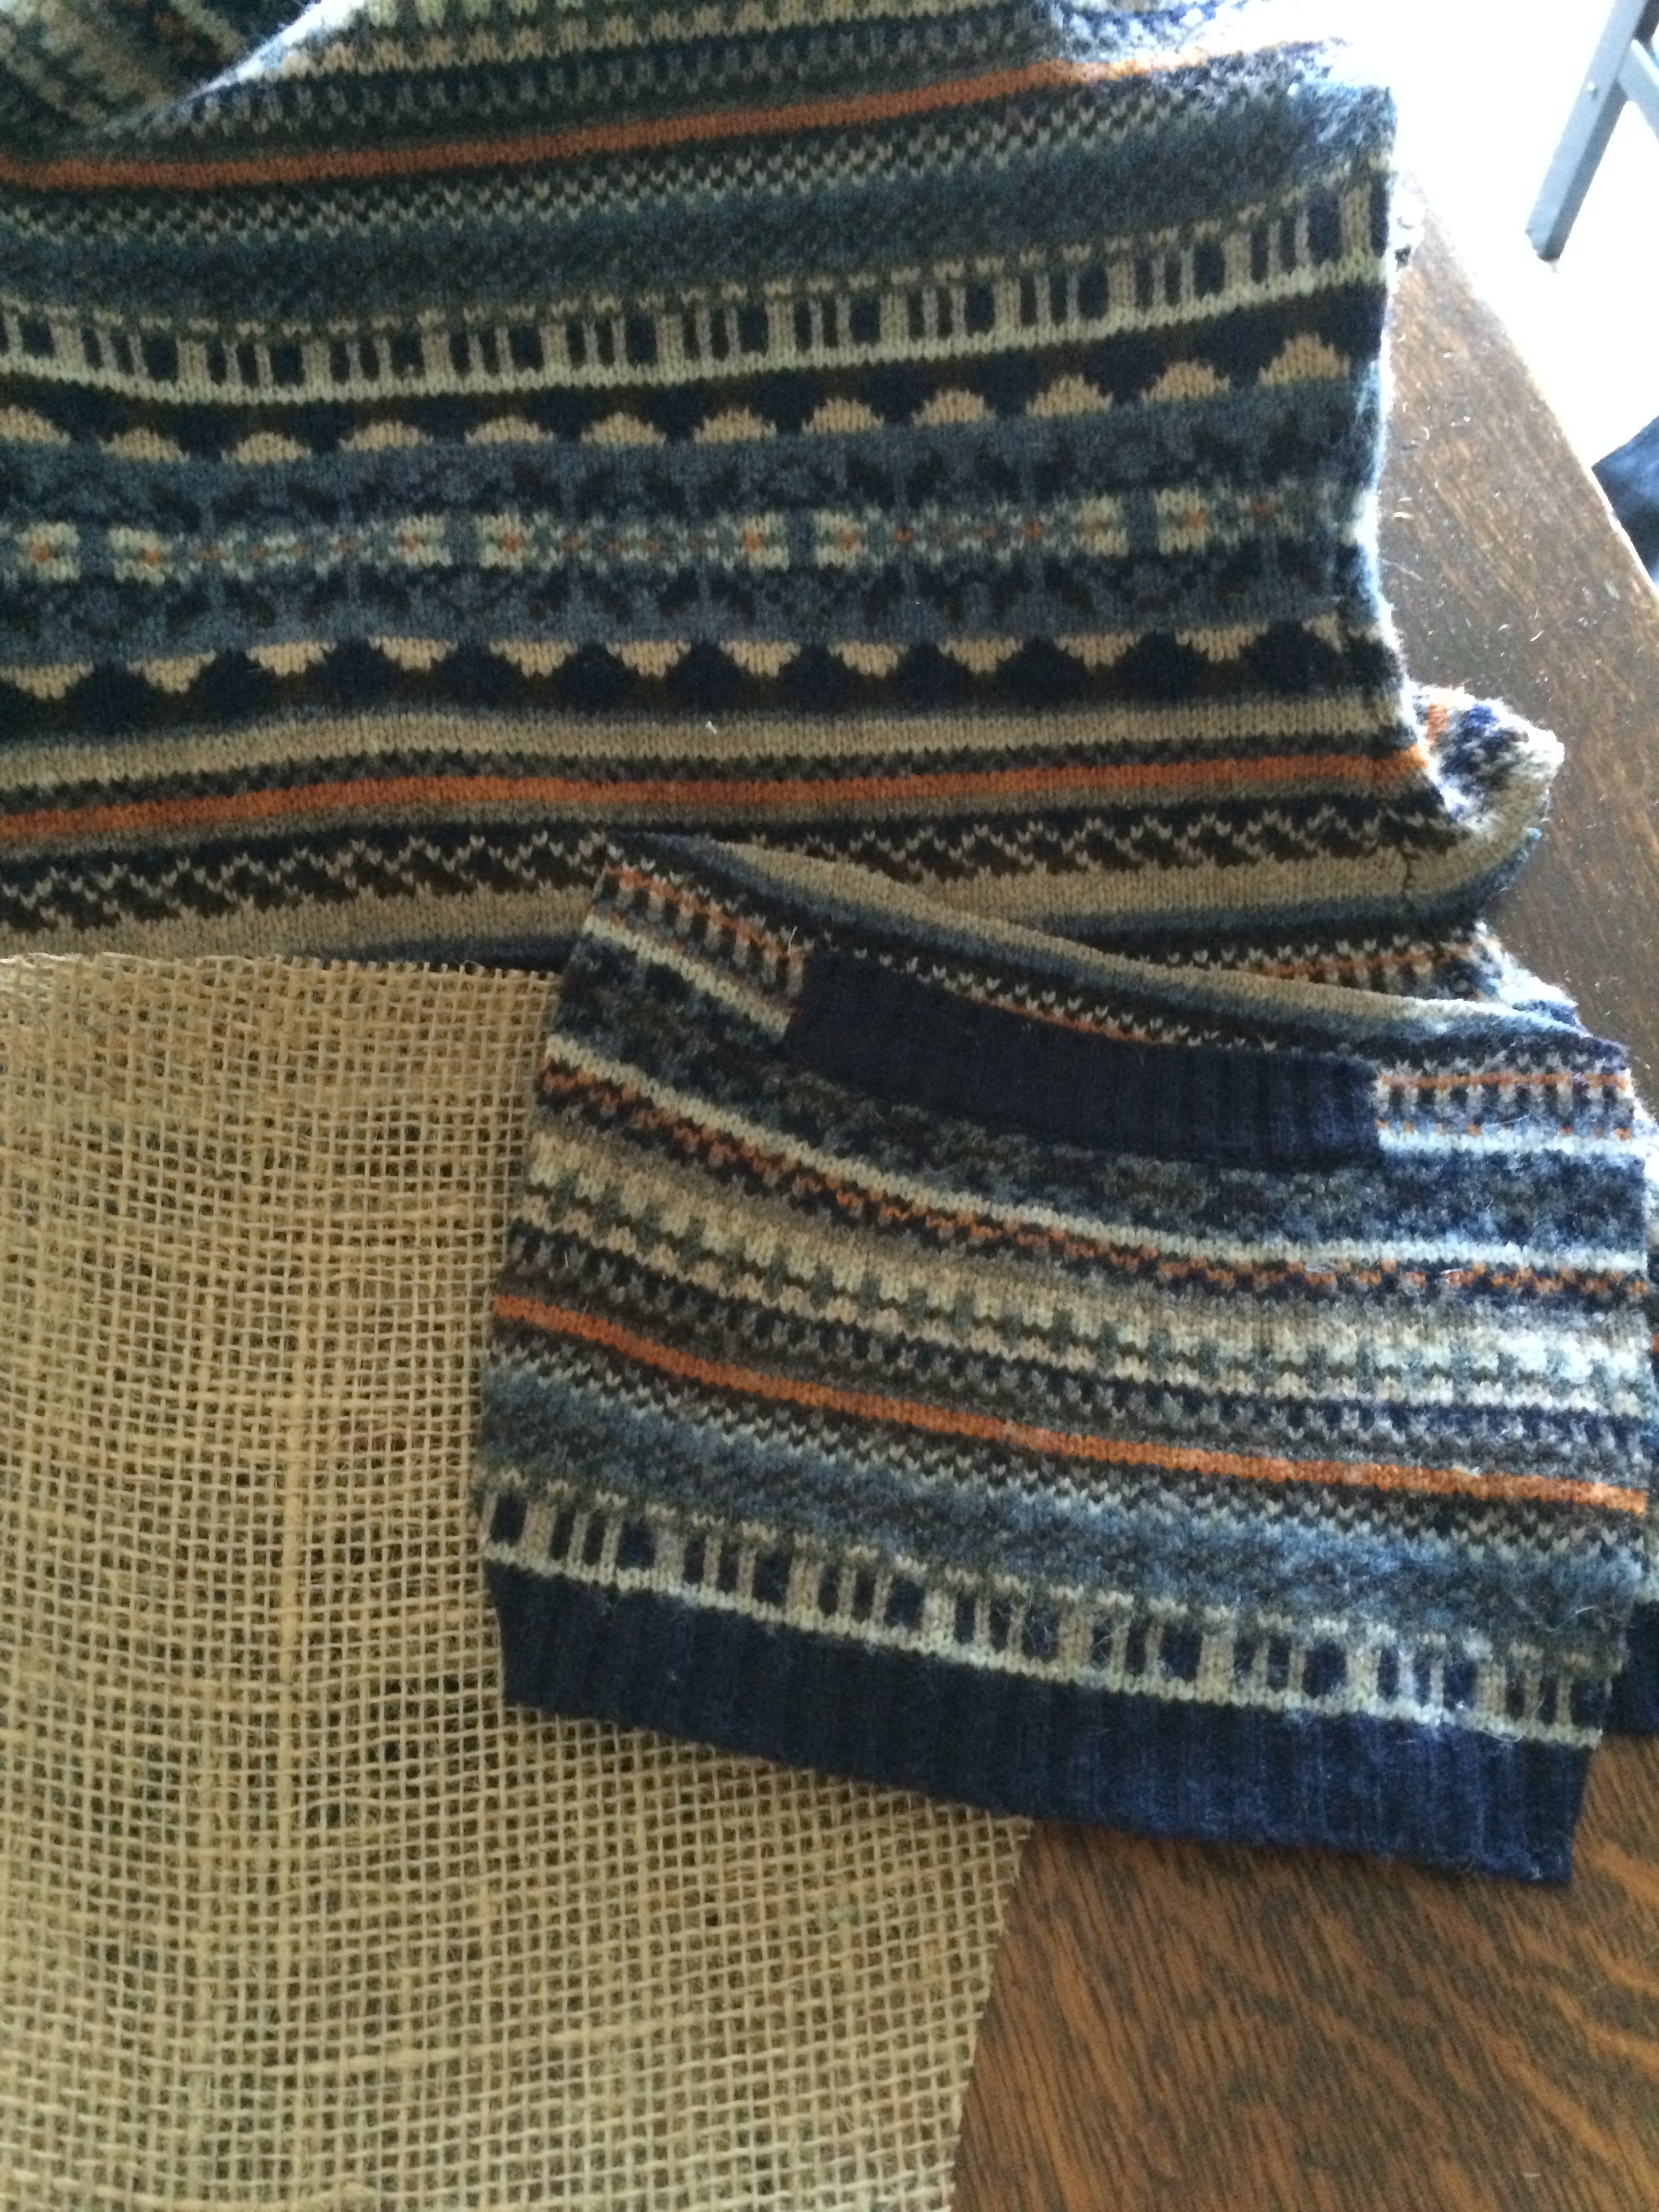
Cutting sweater up for top and back stocking cuffs
3. I cut 2 pieces of the sweater, one for the front with the pocket, and one for the back, lining up the sides with the stocking so they all were even. To sew the stocking I used some gray yarn that I had laying around for a rainy day. I used this yarn to sew the sides, along the top of the stocking and made the pom-pom for the toe. (thicker yarn makes nice poofy pom-poms)
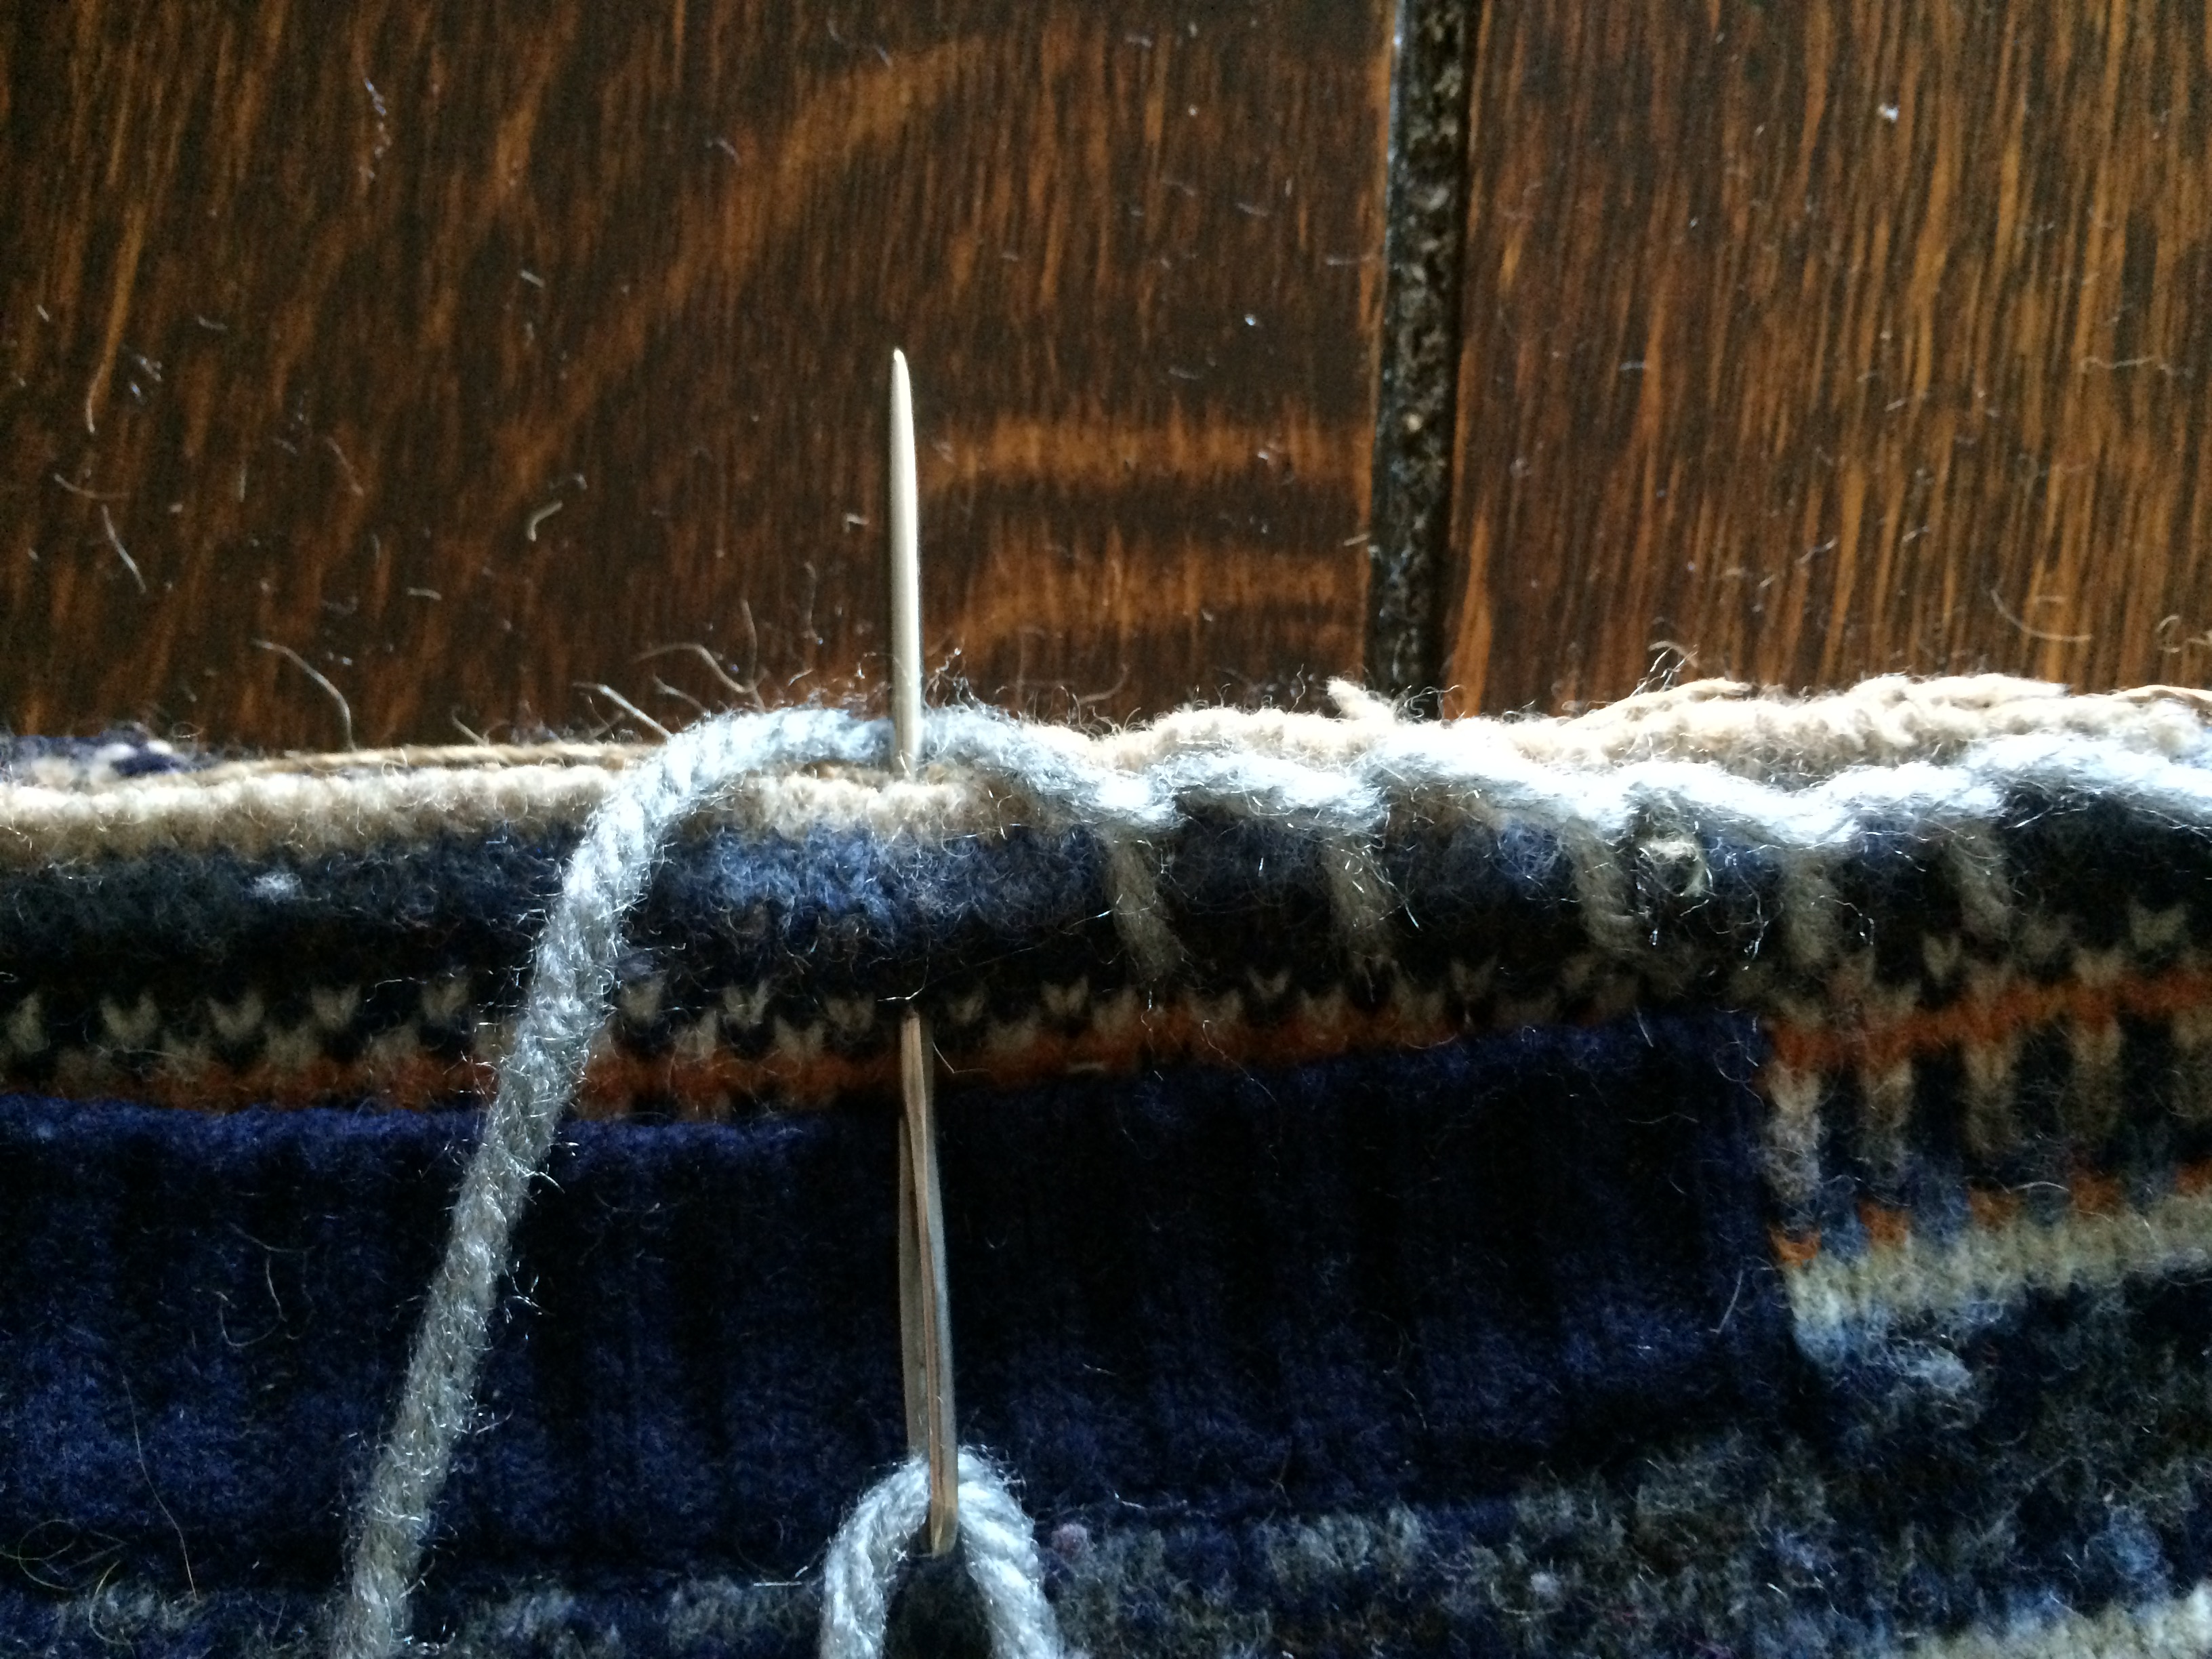
Blanket stitch hand sewn at top of stocking
4. I decided to do a blanket stitch along the top of the stocking and a running stitch along the side seams. Nothing speaks handmade like a good ‘ole running stitch….for you baby boomers, remember those little sewing cards with the laces to “sew” ? This project reminds me of all the fun I had with those sewing cards. I tried to show close ups of how the stitches are done, but you can get great tutorials by searching on Google for how to do a blanket stitch/running stitch.
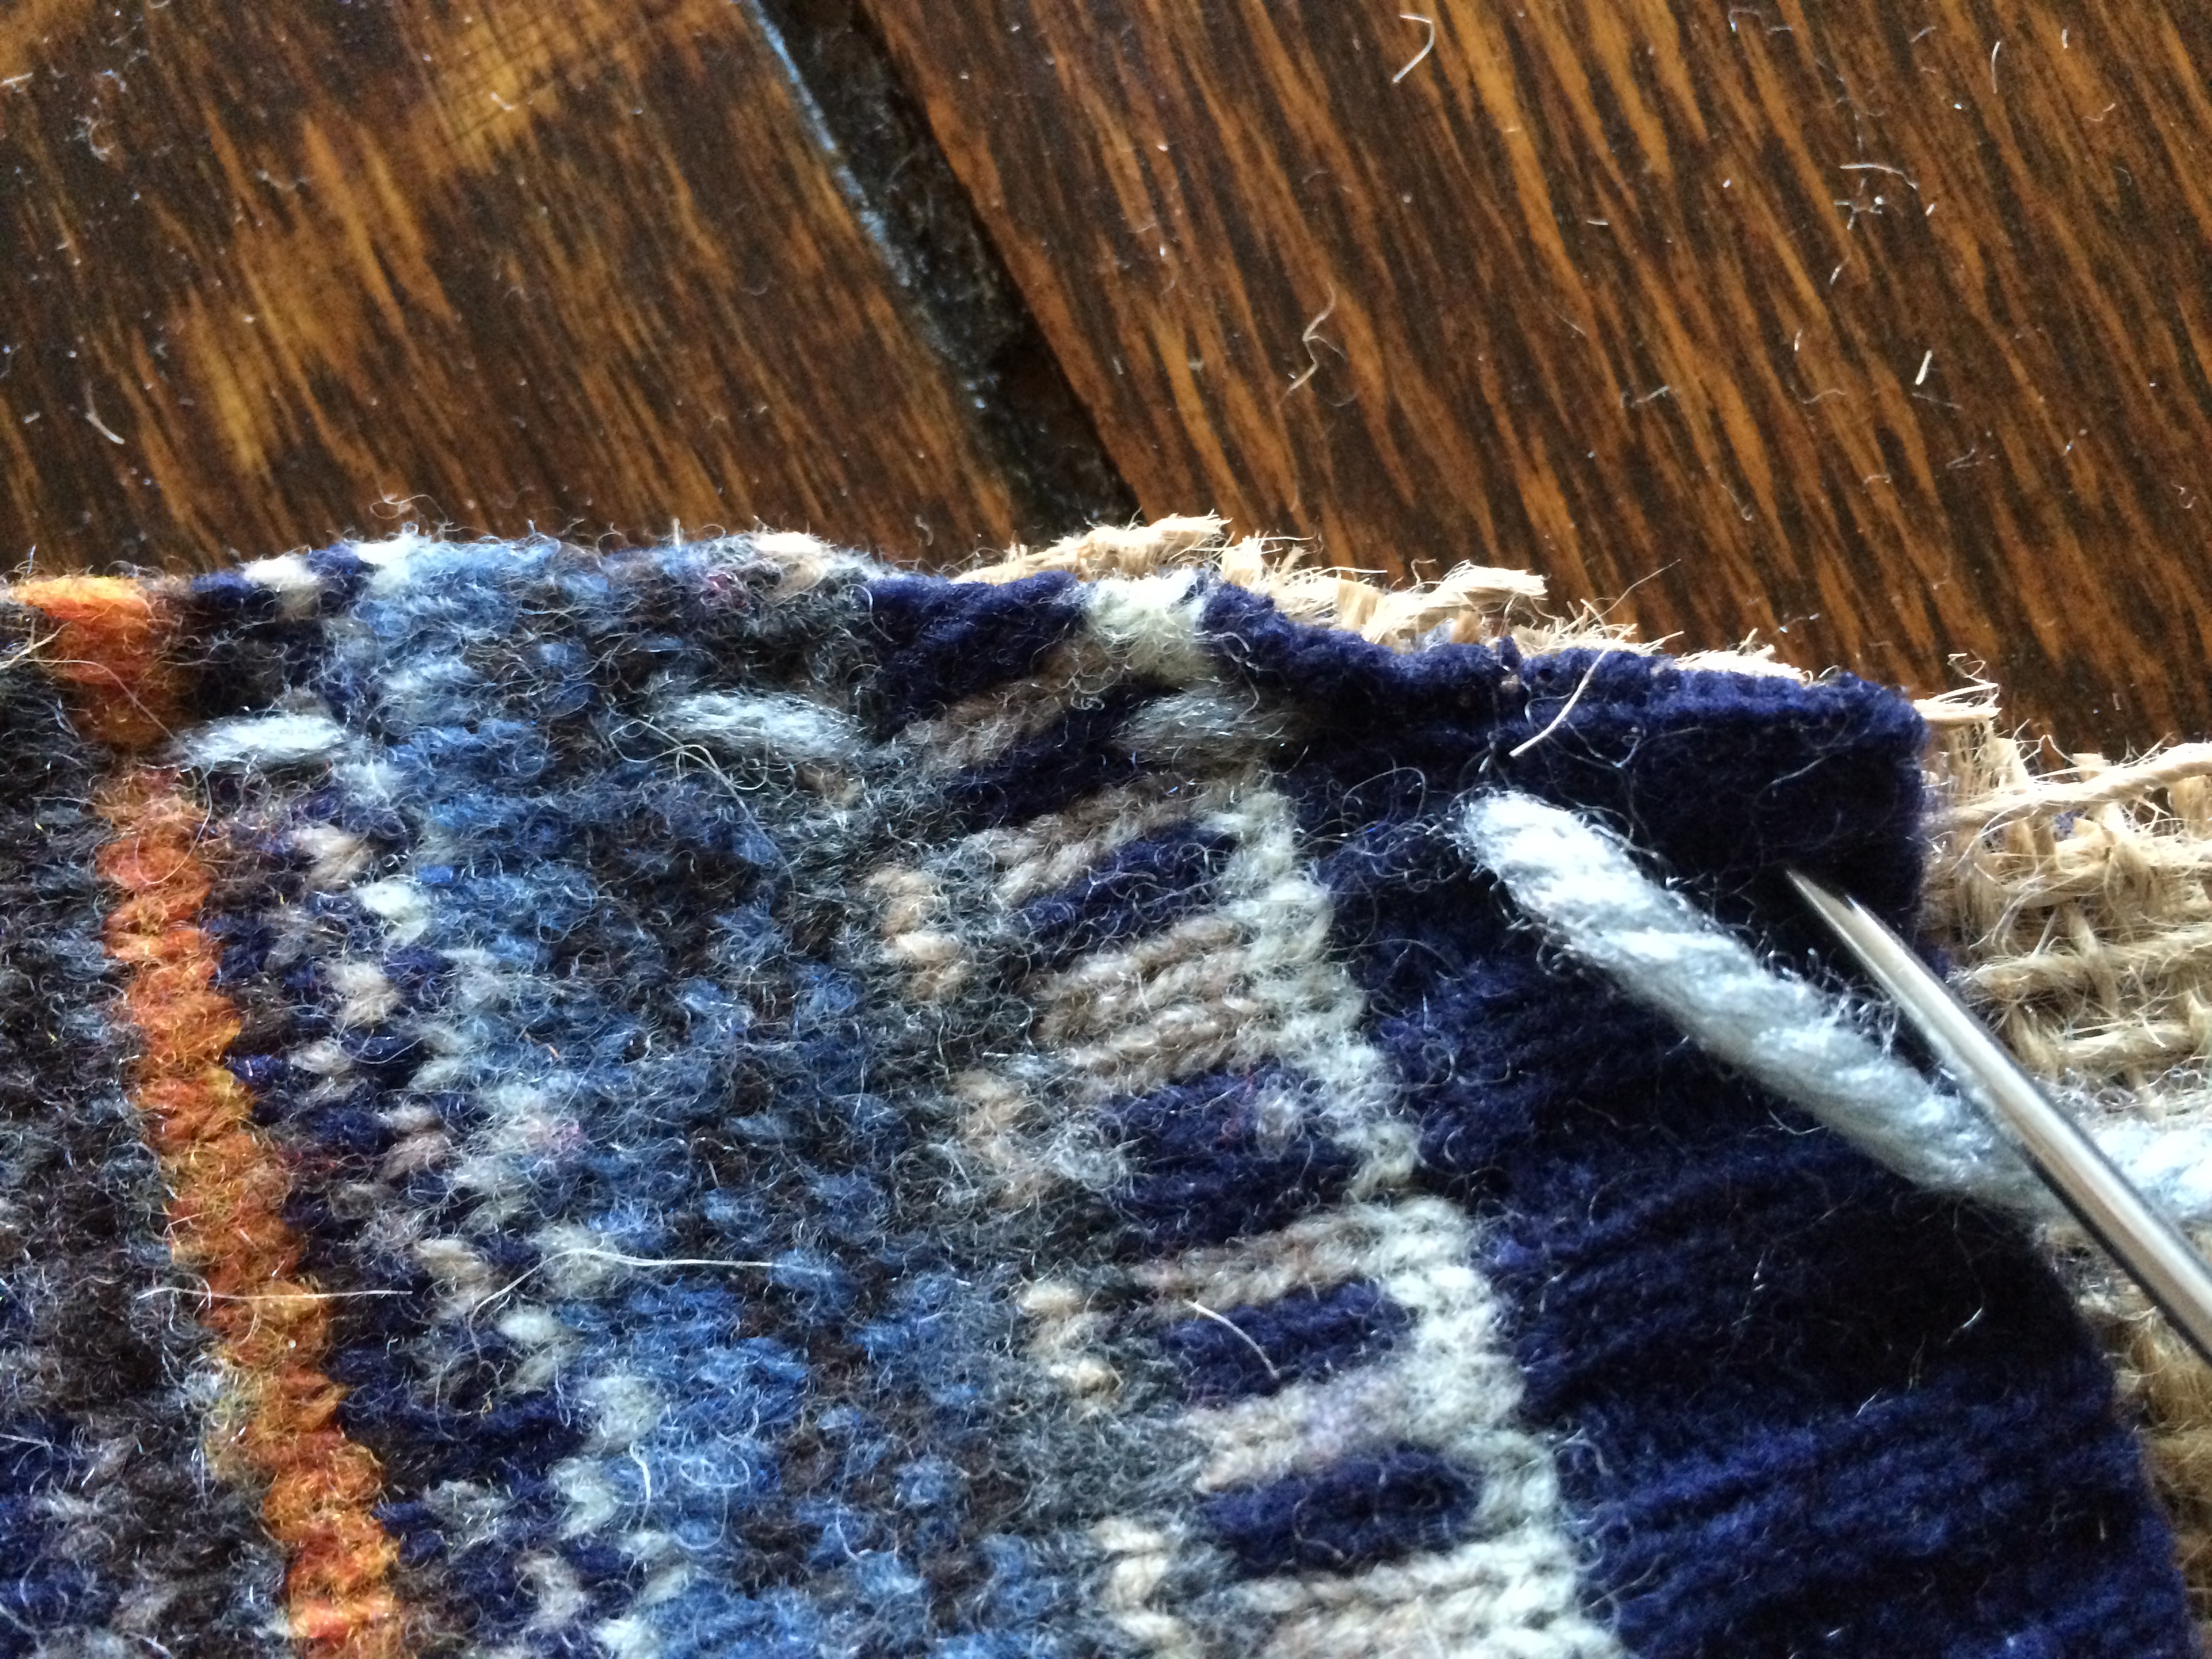
Running stitch on side seams of stocking
5. After the top of the stocking was stitched and the side seams, I stopped sewing near the top on the left side so I could insert the hanging loop. I had cut the same burlap ribbon folded over about 1 1/2″ wide and did a running stitch along the edge to keep it closed. I folded the loop over and placed in the side of the stocking between the burlap front and back pieces, then finished my running stitch up to the top to finish.
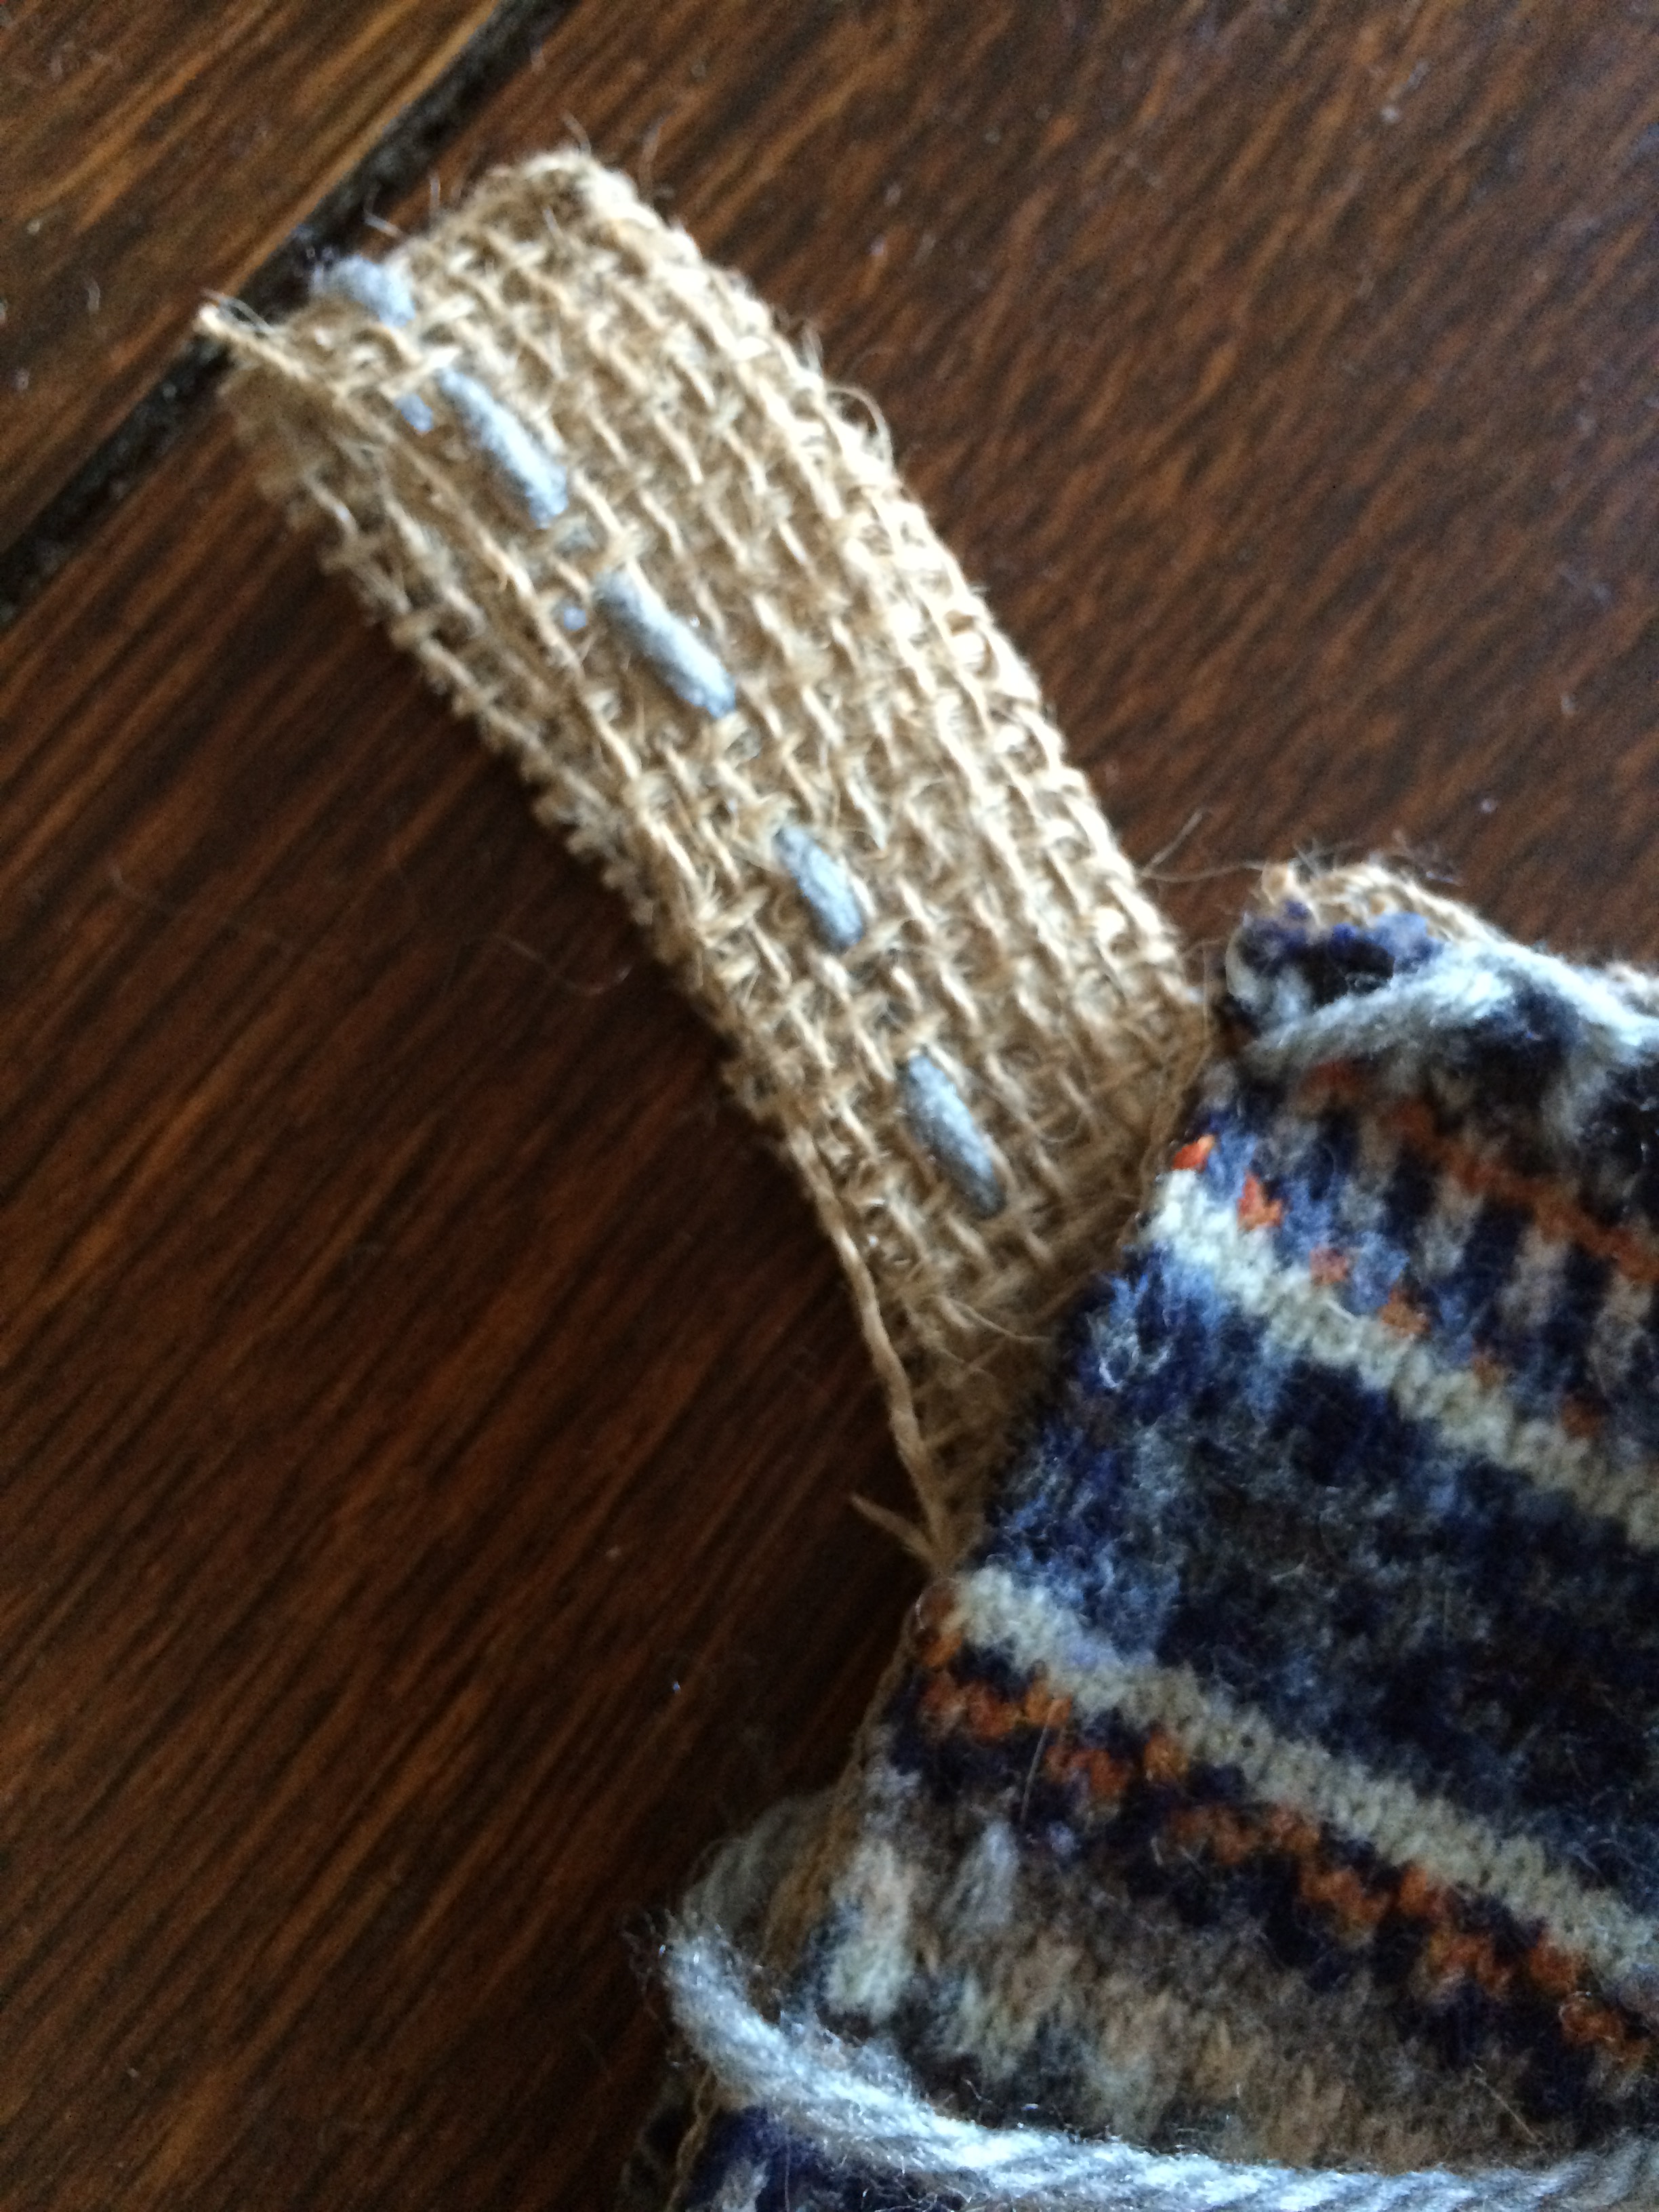
Burlap loop to hang stocking
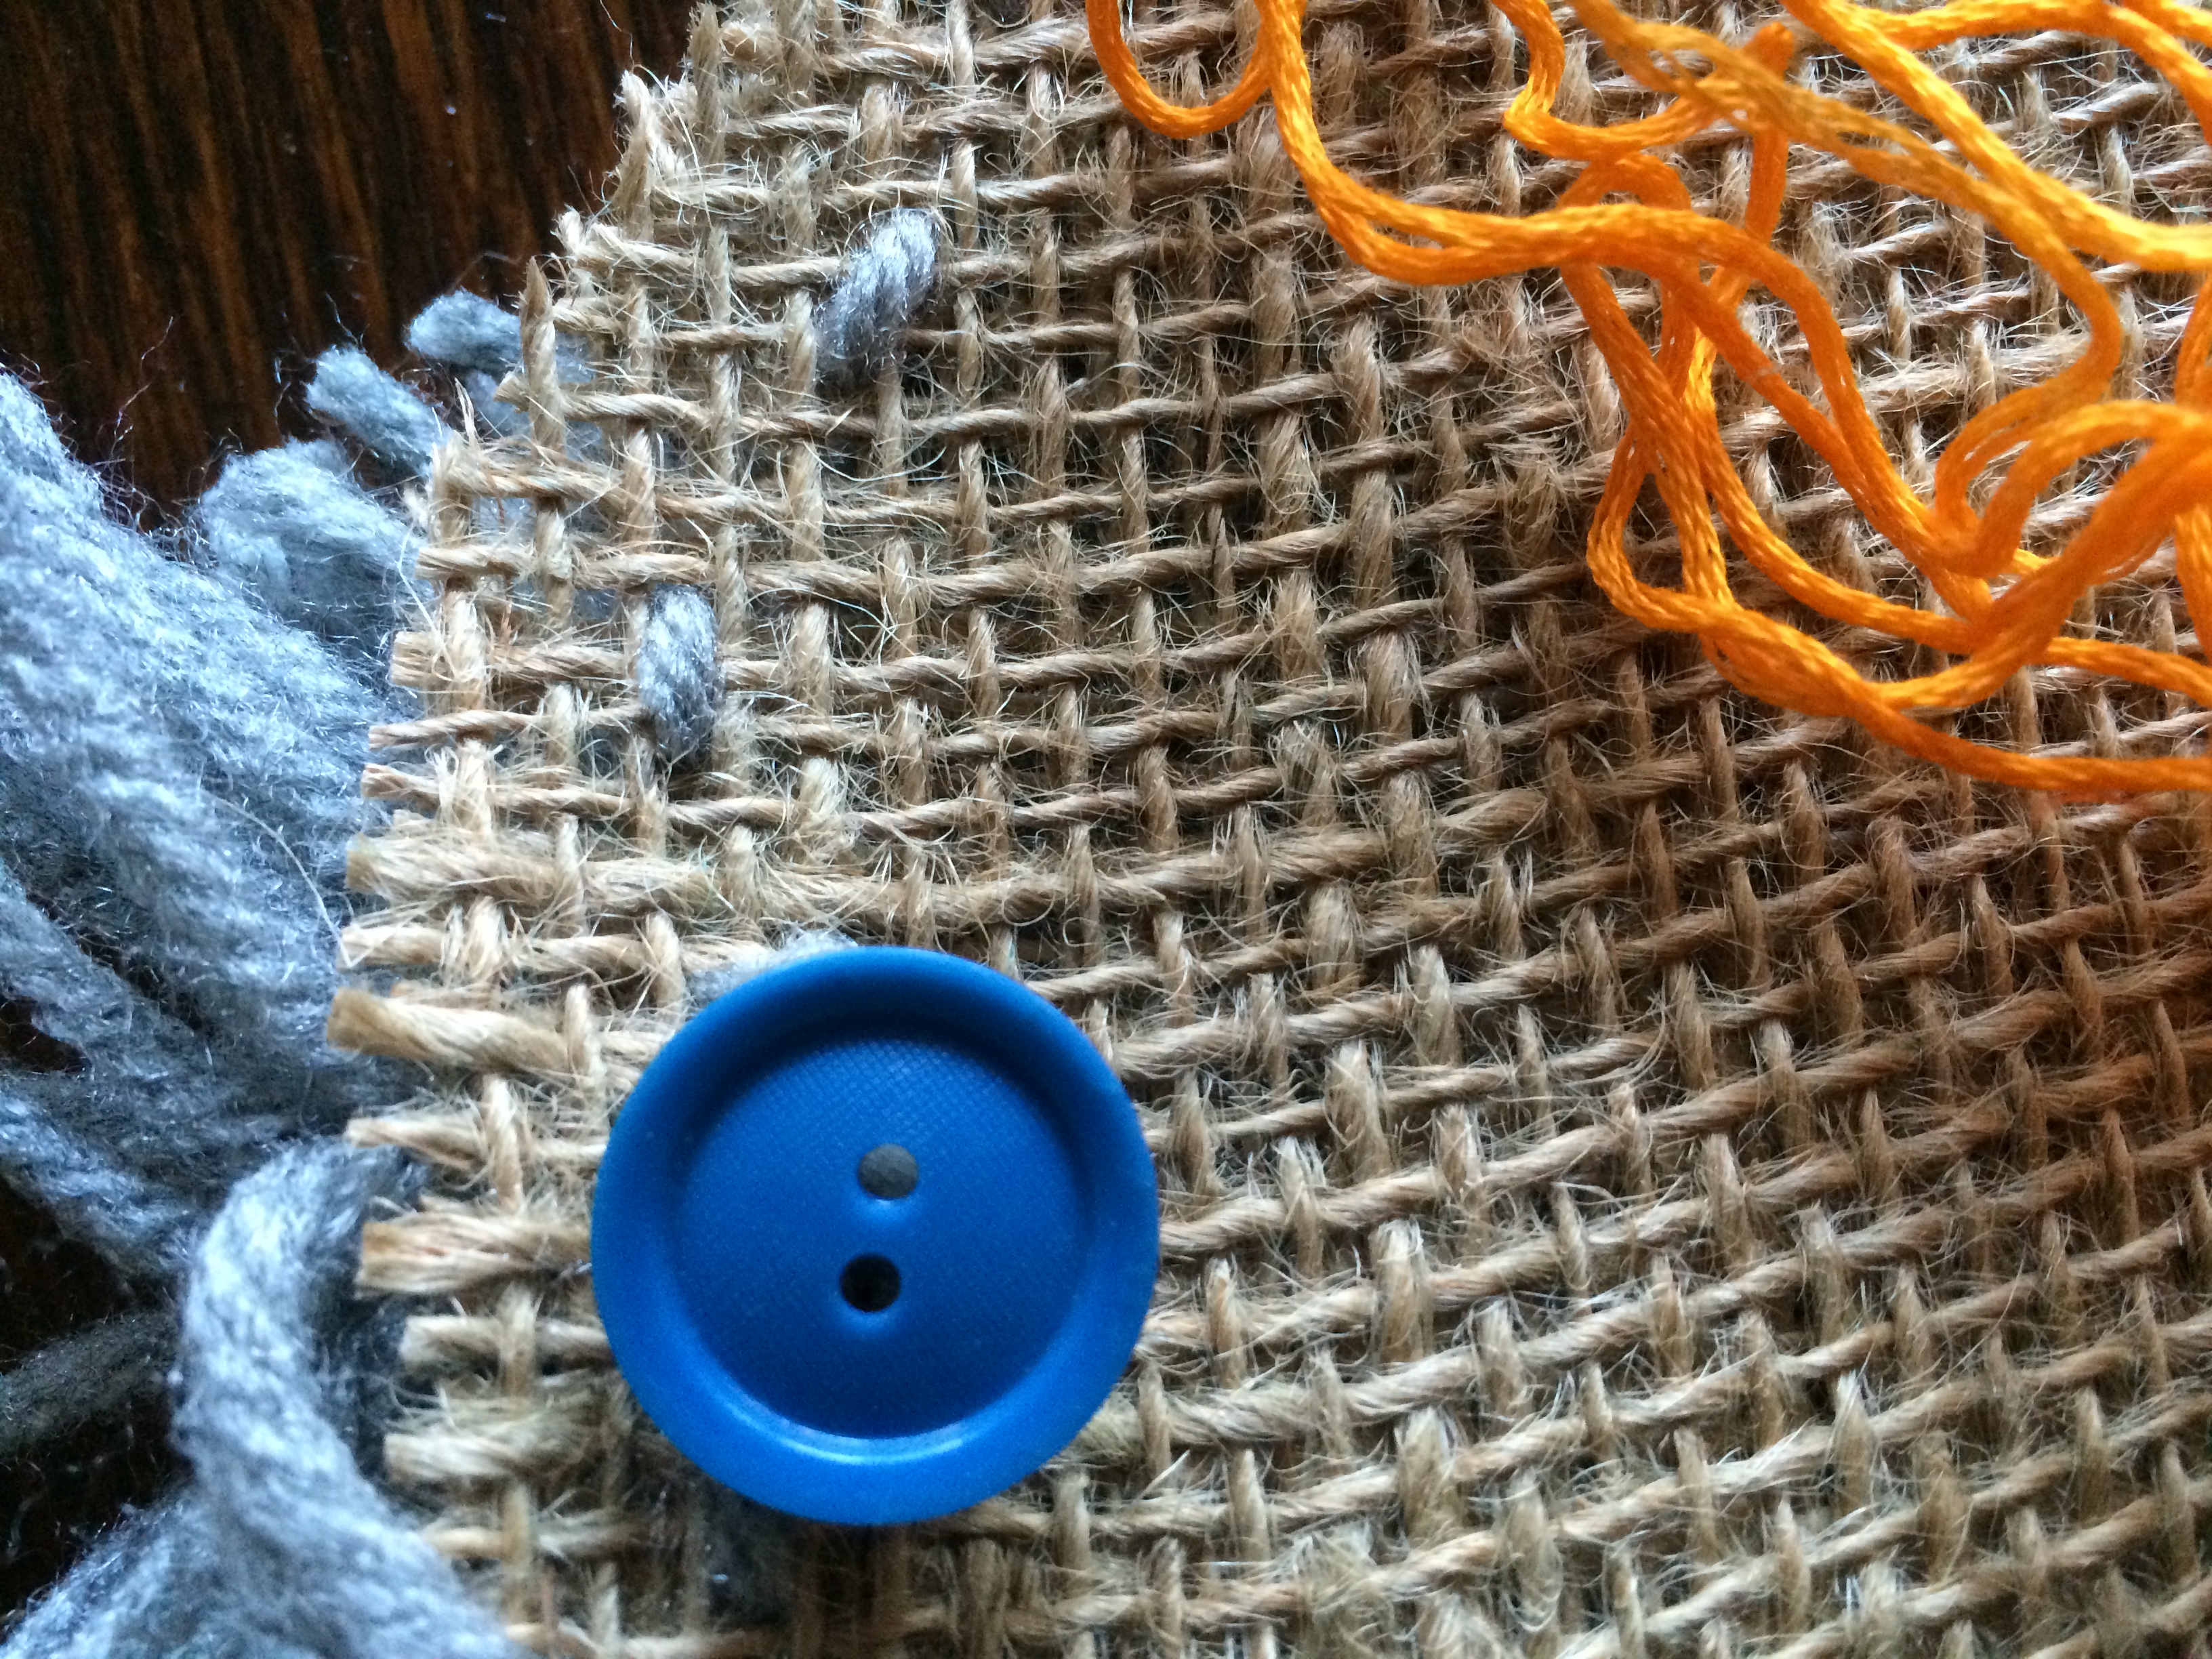
6. I like to have the backside of something I make be as beautiful and finished looking as the front, so I decided to add a button to both the front and back of the tab to help it be a little stronger and give that extra little detail accent.
Buttons sewn on loop front and back extra detail
7. Next I made the pom-pom with the yarn. I found a great tutorial for this from Susan over at Living with Punks. I’ll show you what I learned. First cut about 8-10″ piece of yarn. This is going to be how you tie off your pom-pom. Next, take the yarn end in your hand so it hangs down and hold on with your thumb while you wrap the yarn around your hand, approximately 60 times, more or less depending on the thickness of the yarn and also on how fluffy and full you want the pom-pom to be. (you may want to test one, you can always add by making another and tying it together in the center).
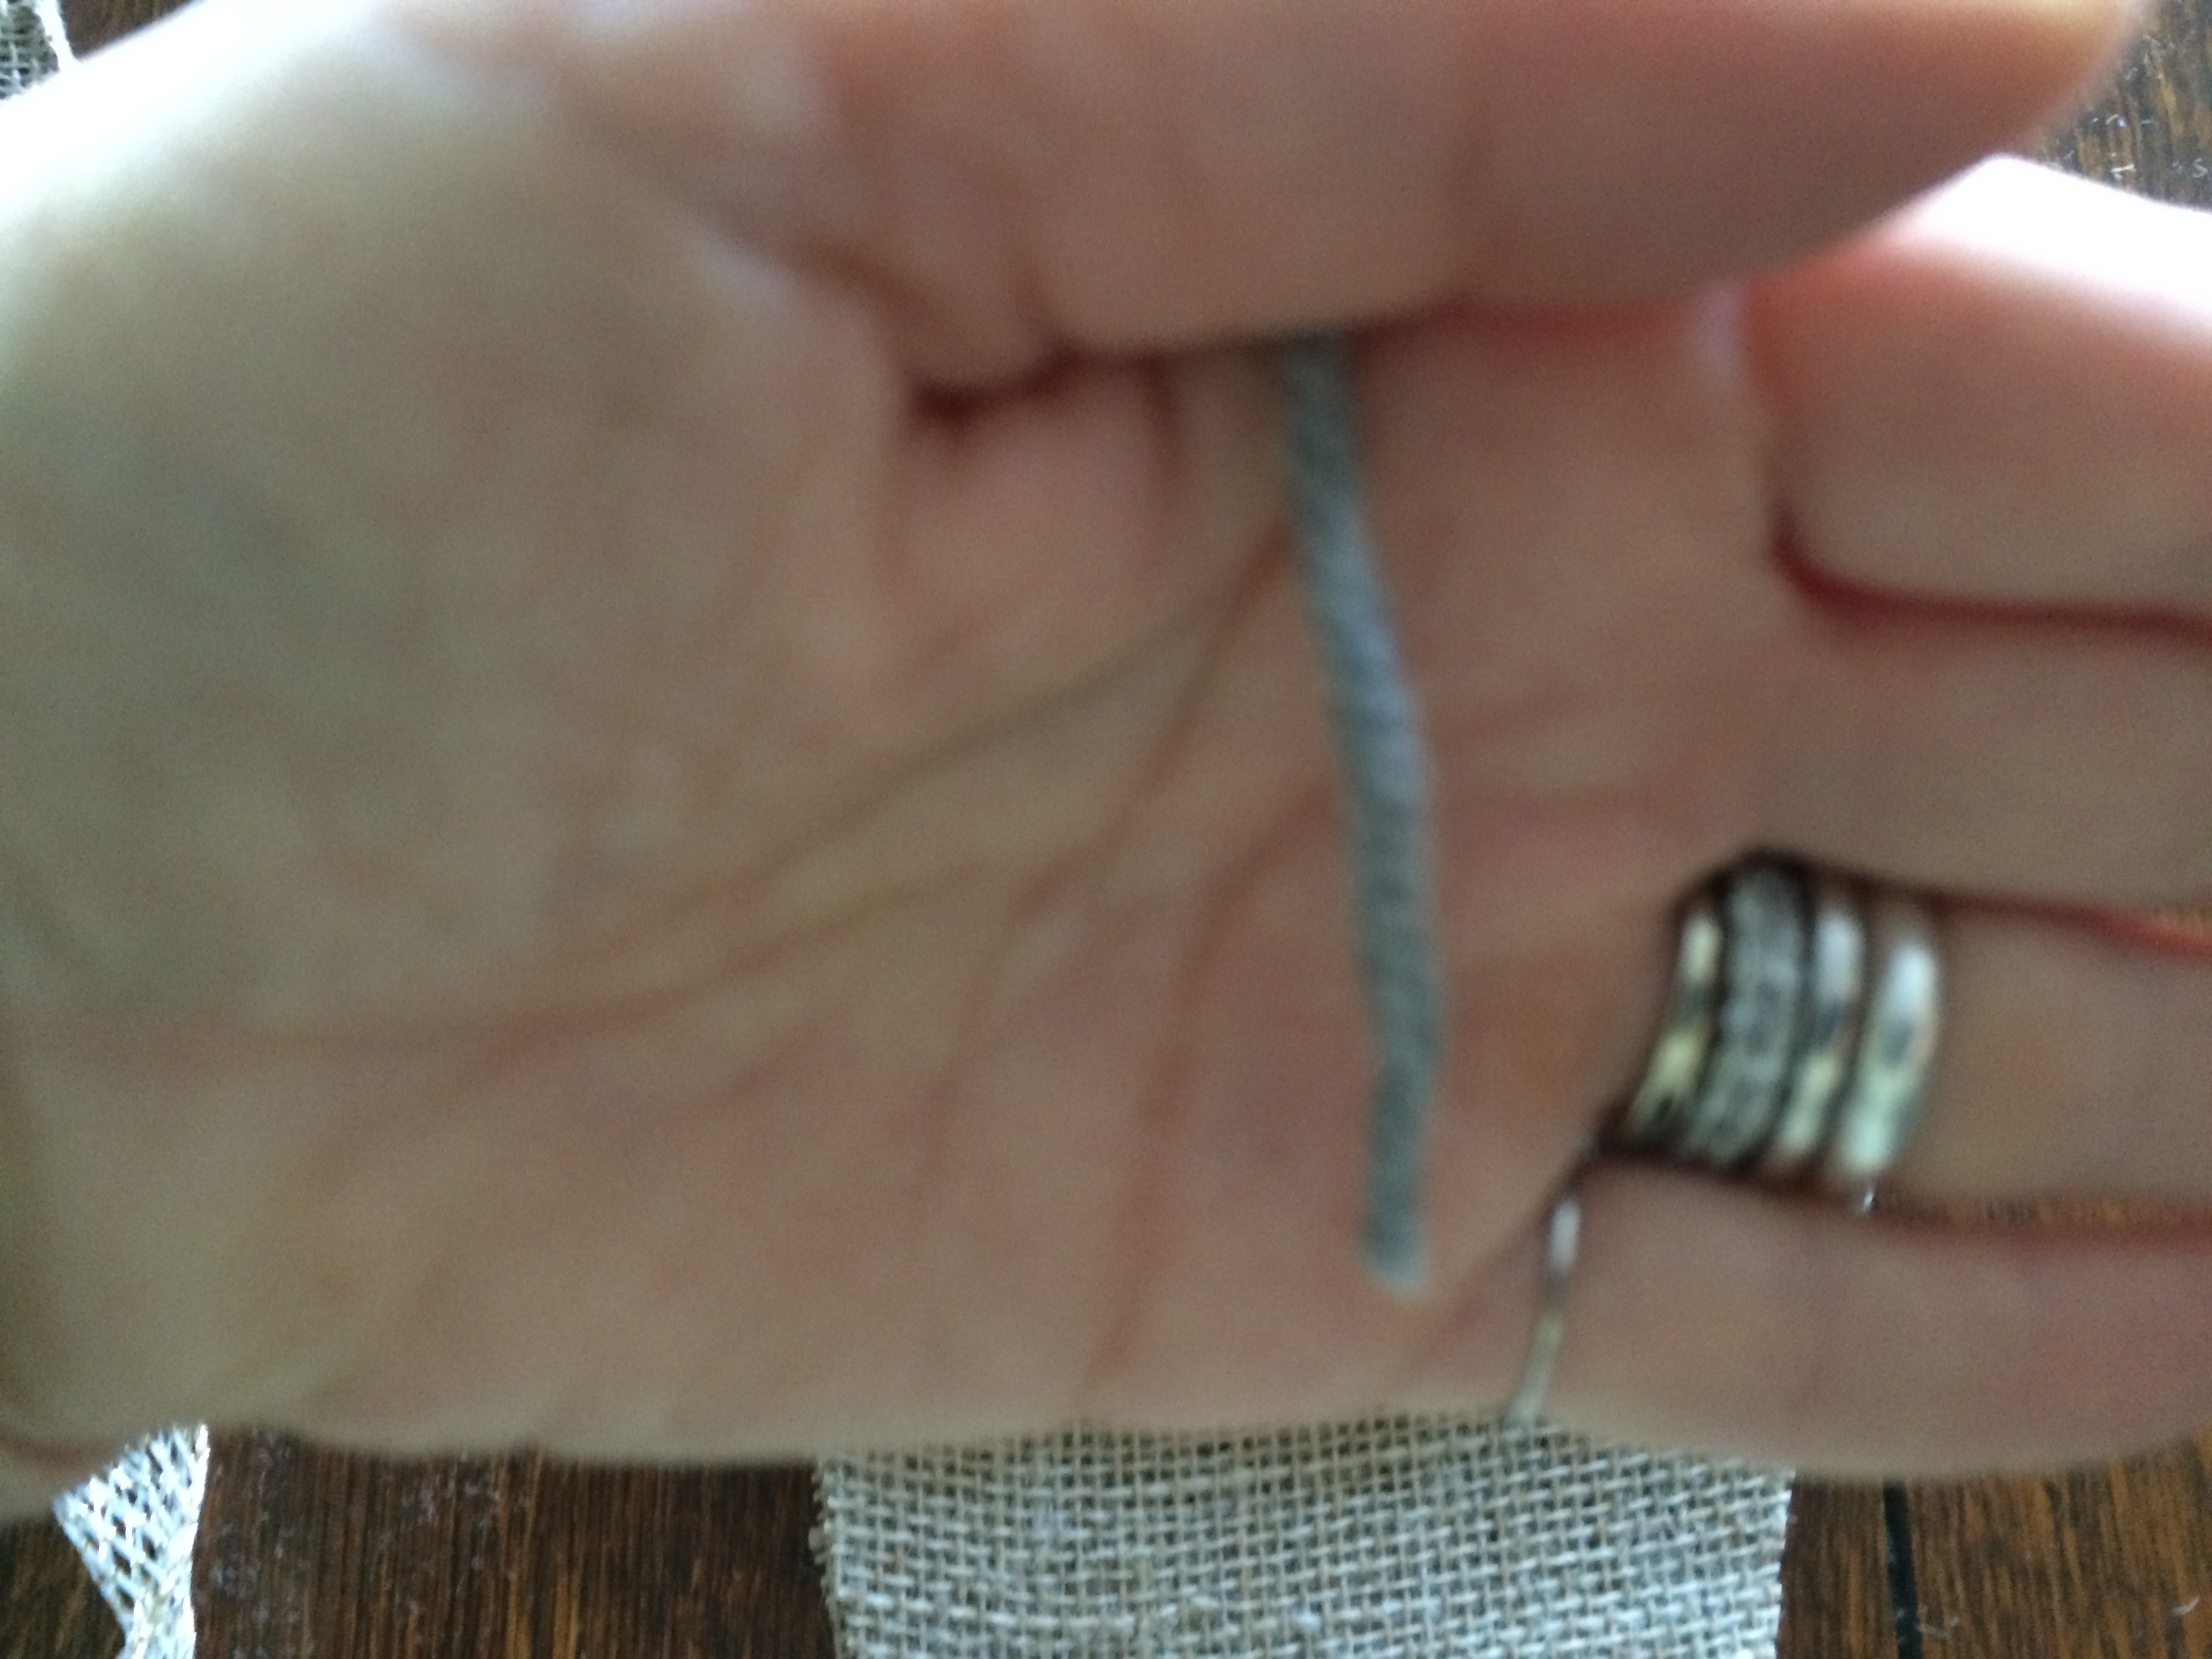
starting wrap for pom-pom on stocking
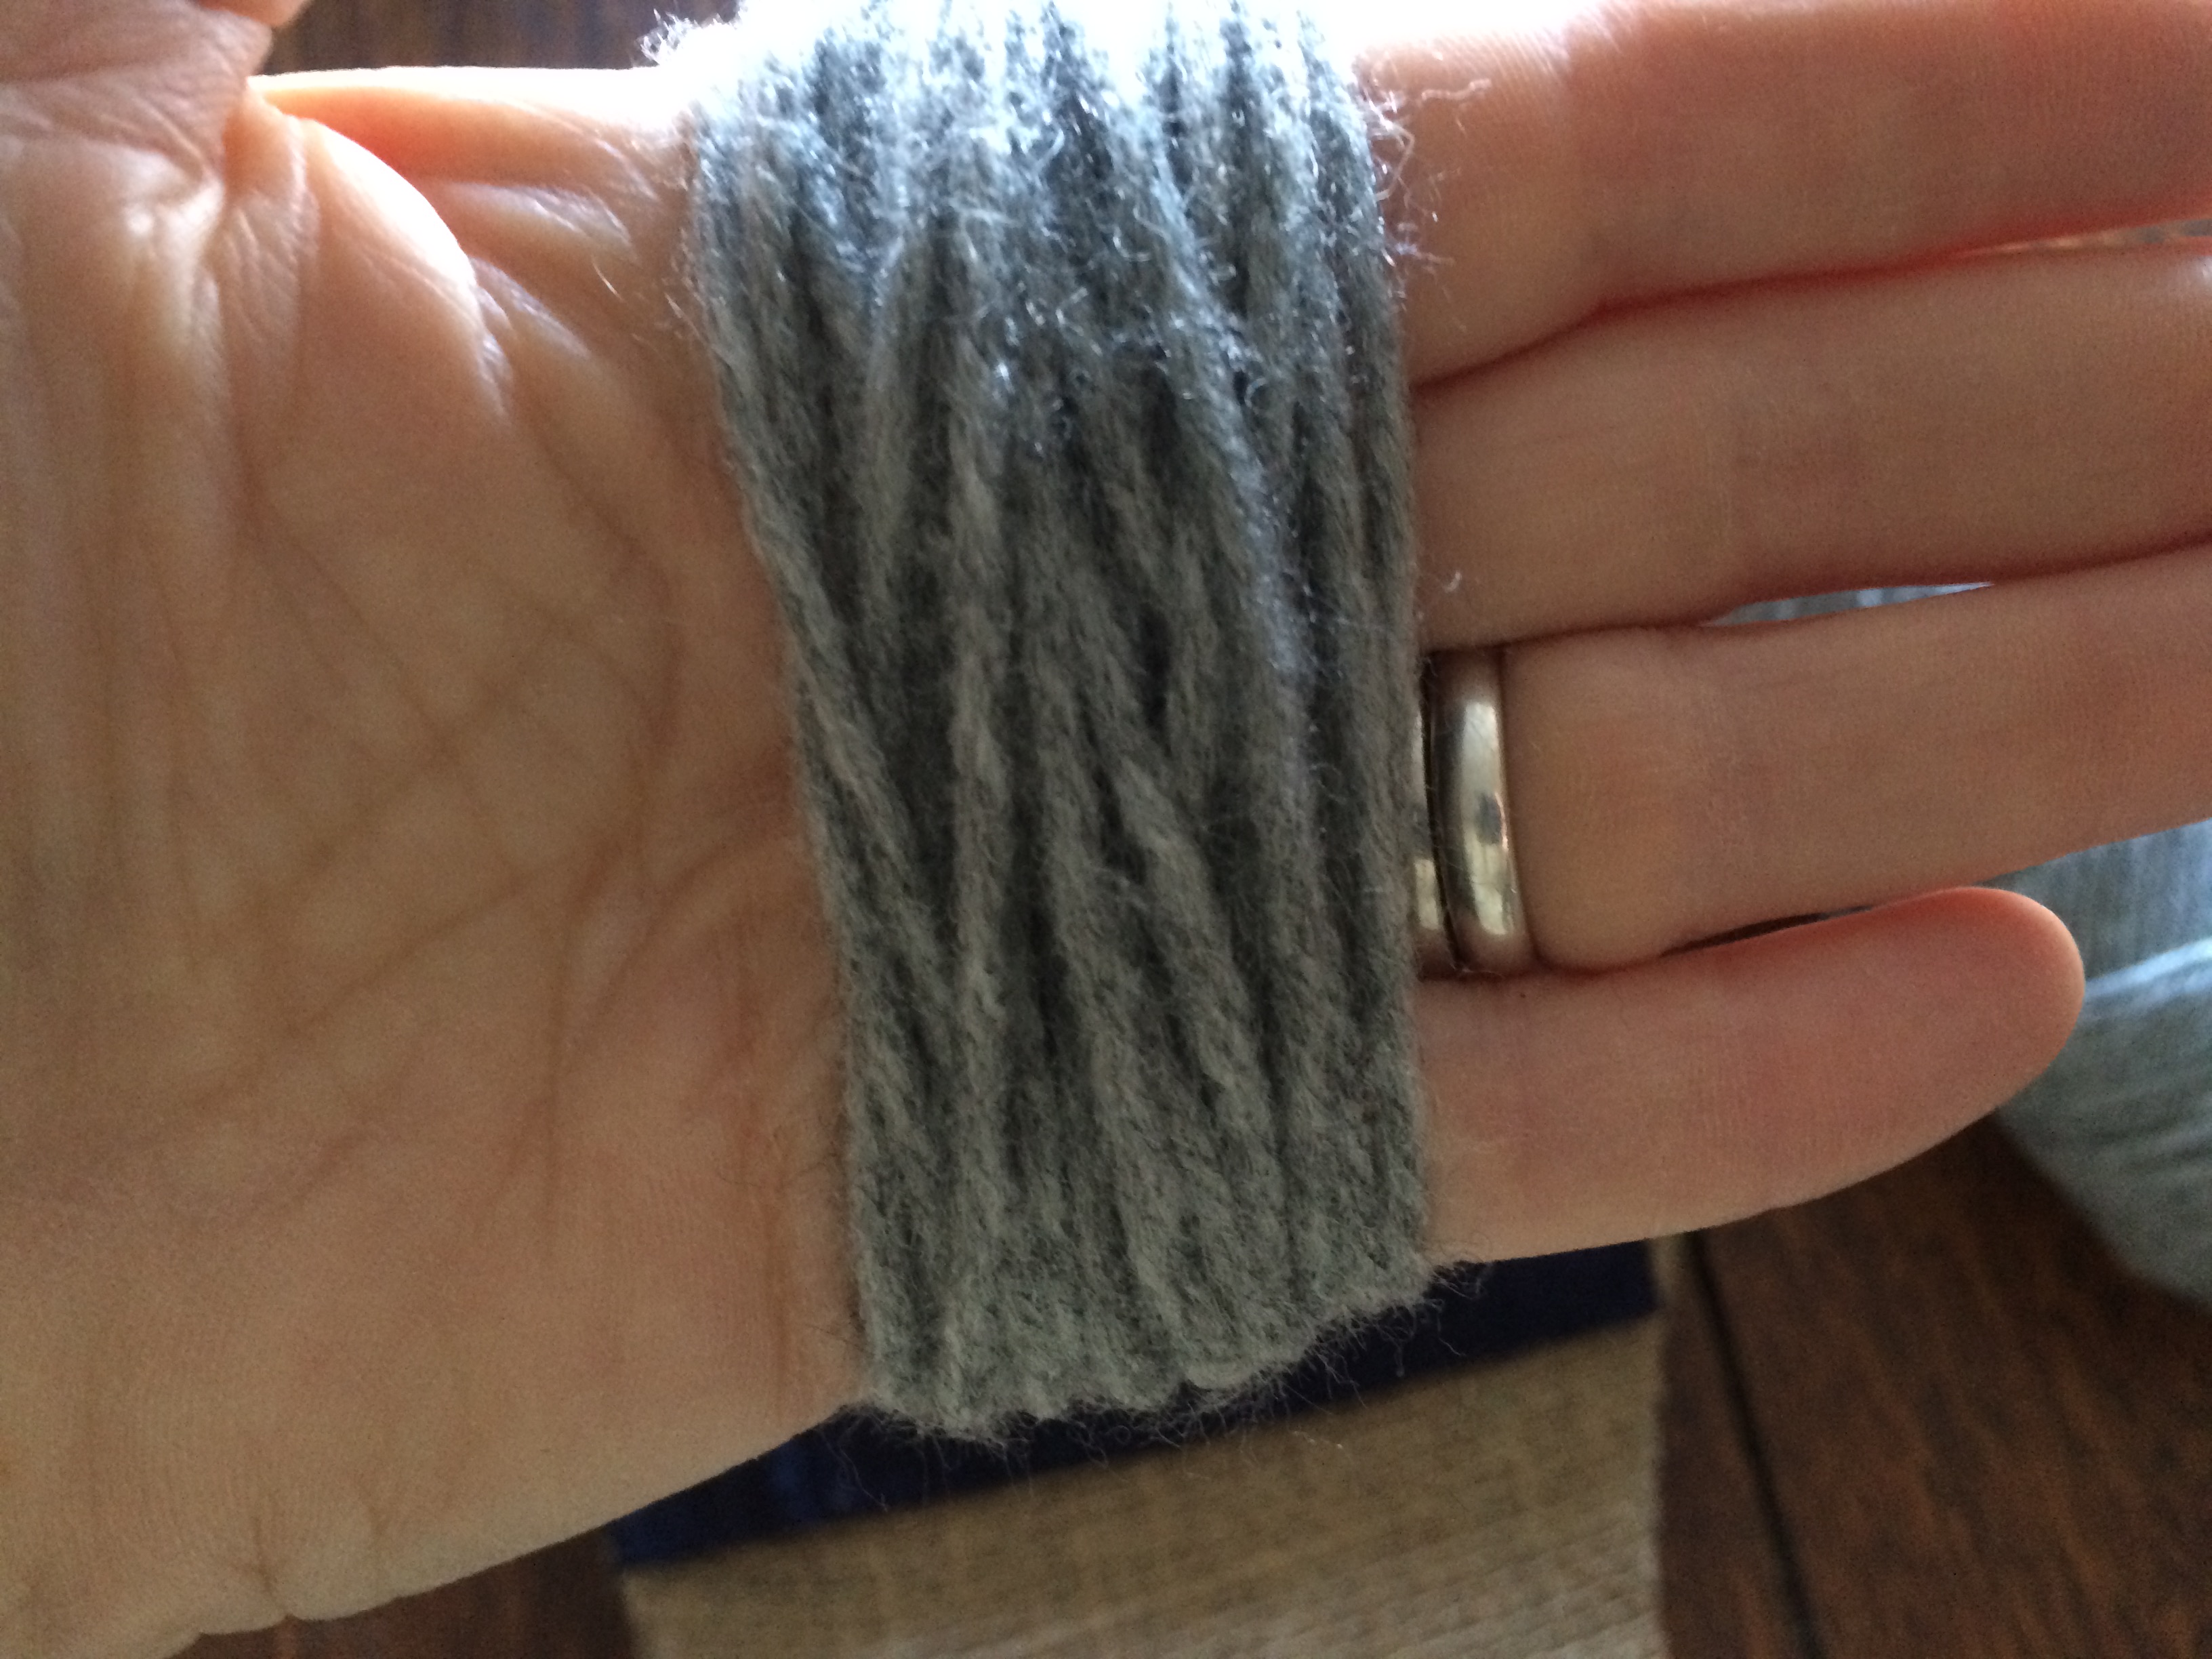
Yarn wrap for pom-pom
8. After you finish the wrapping, slide the bundle off your hand holding the loops so they don’t unravel, and slide the 8″ piece that was cut earlier and tie around the yarn bundle in the middle with a knot.
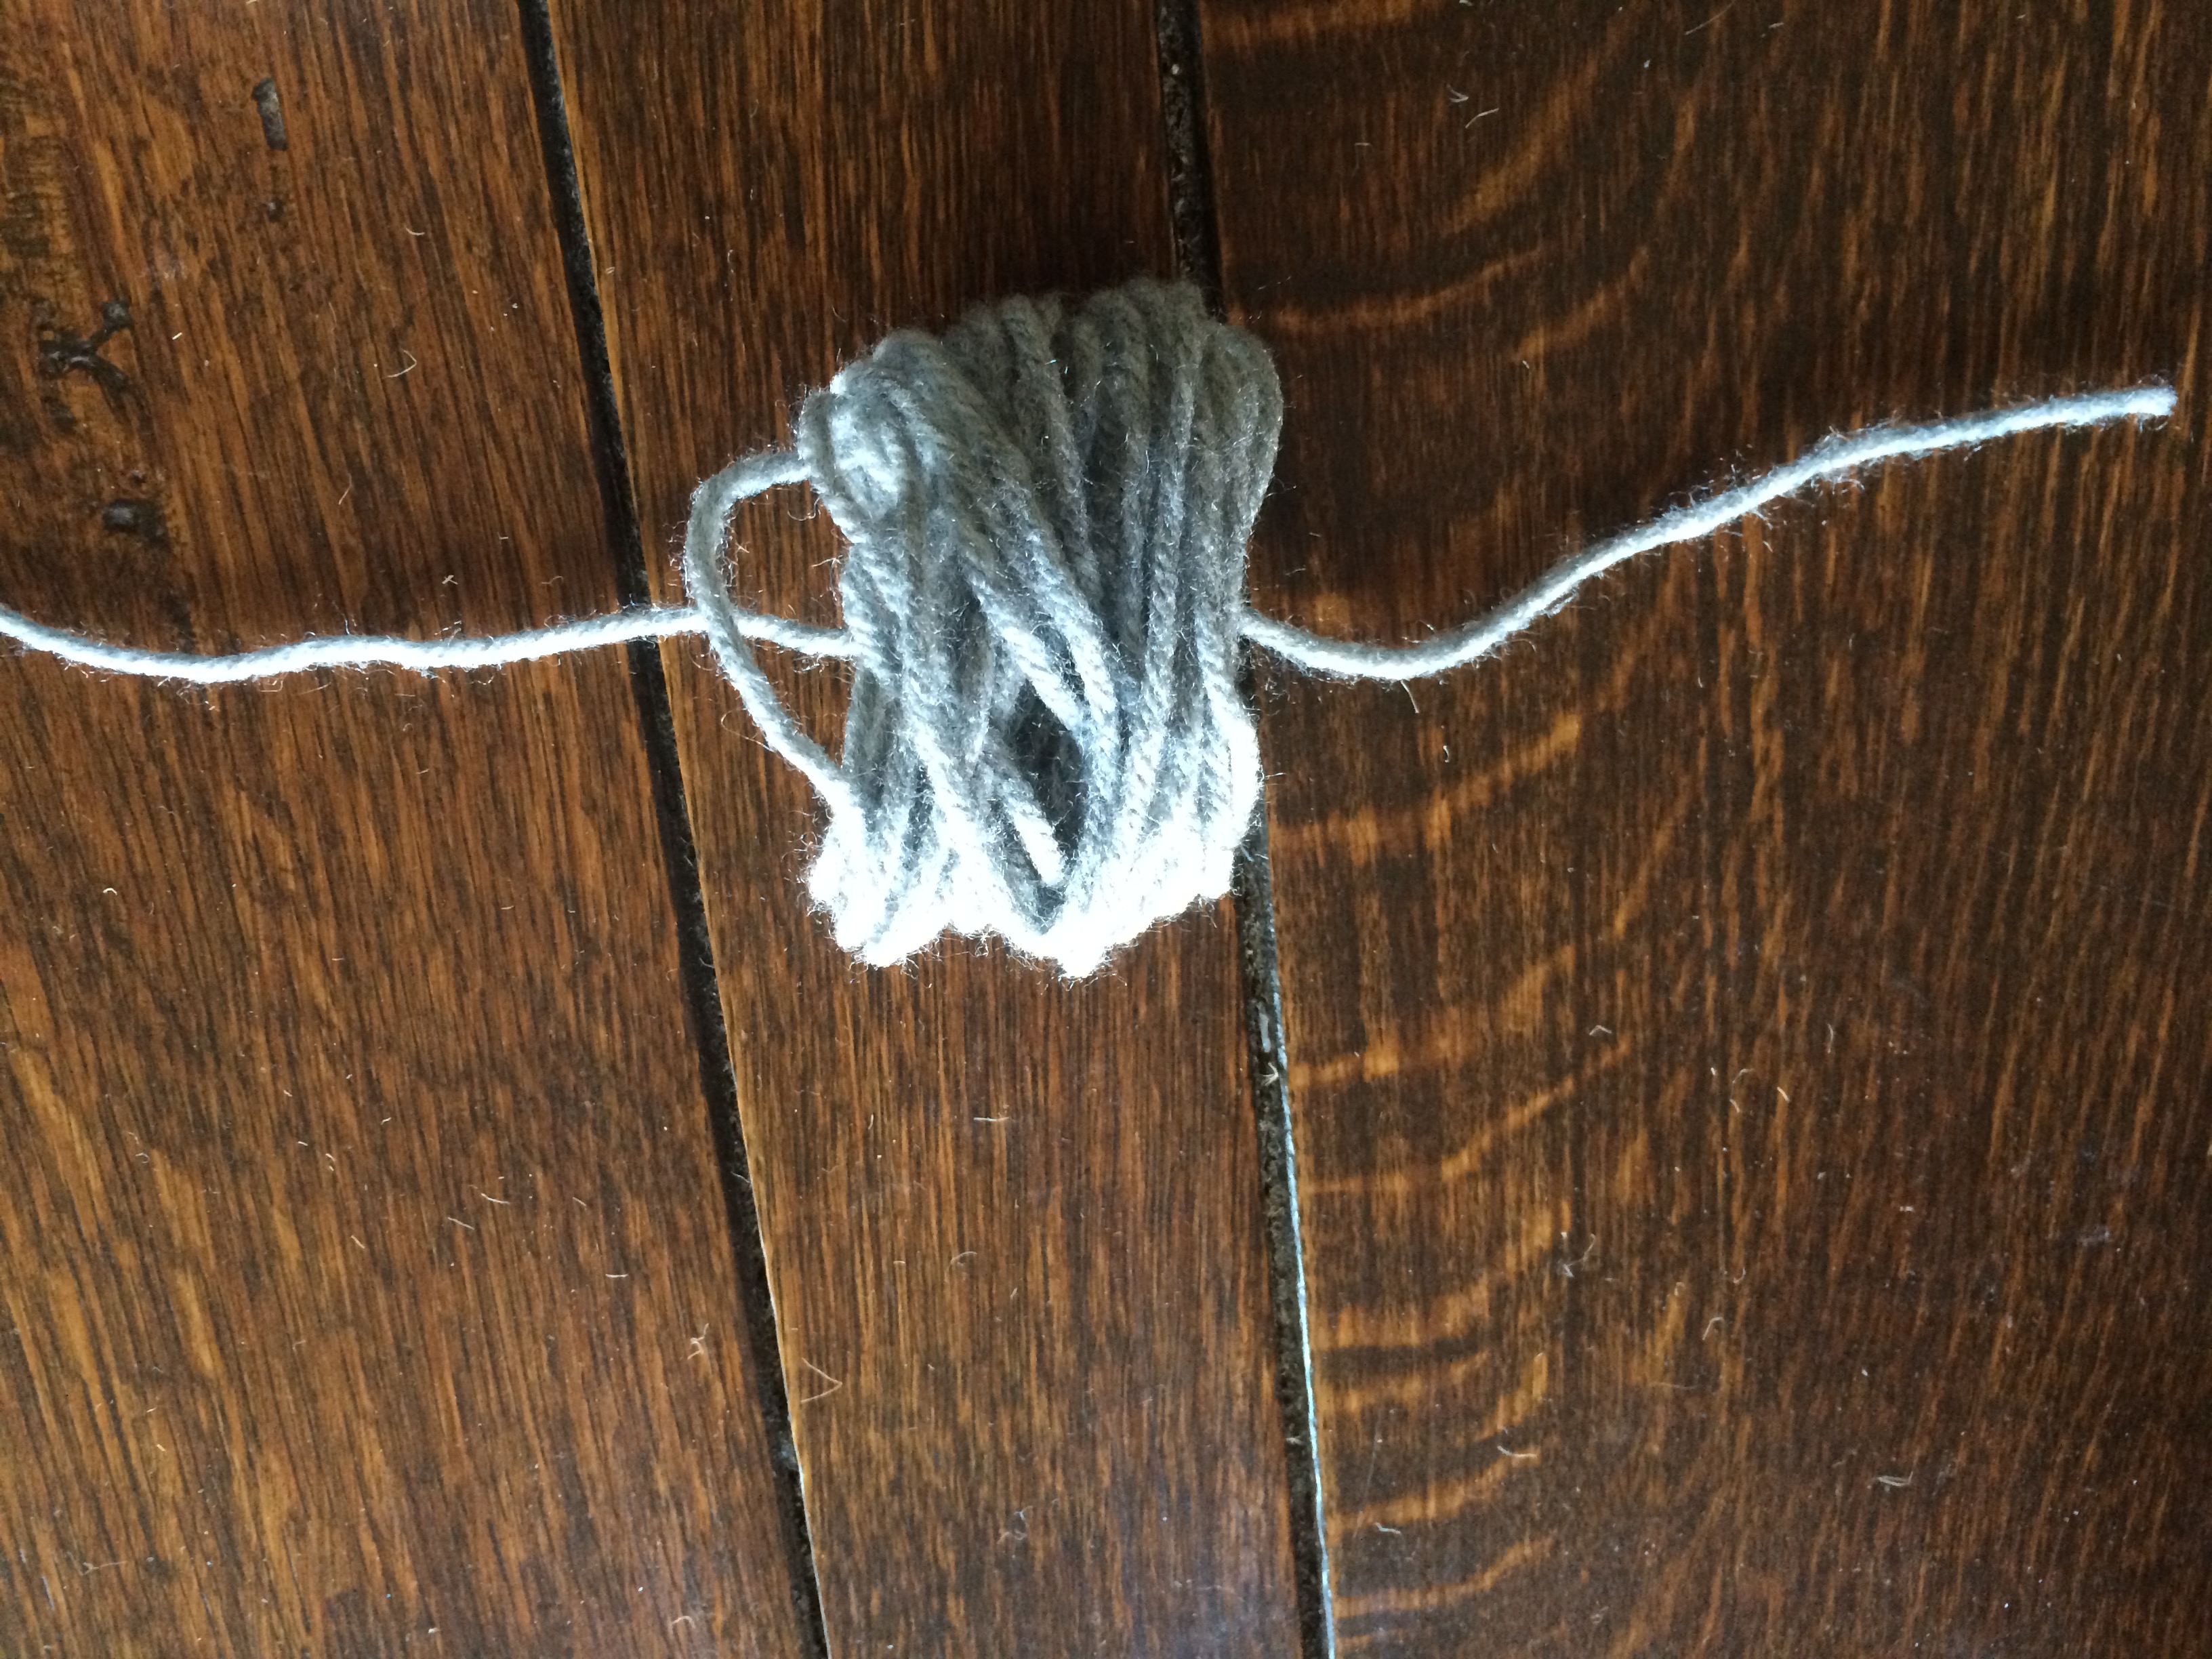
Pom-pom bundle after wrapping ready to tie off
Tie off yarn bundle for pom-pom
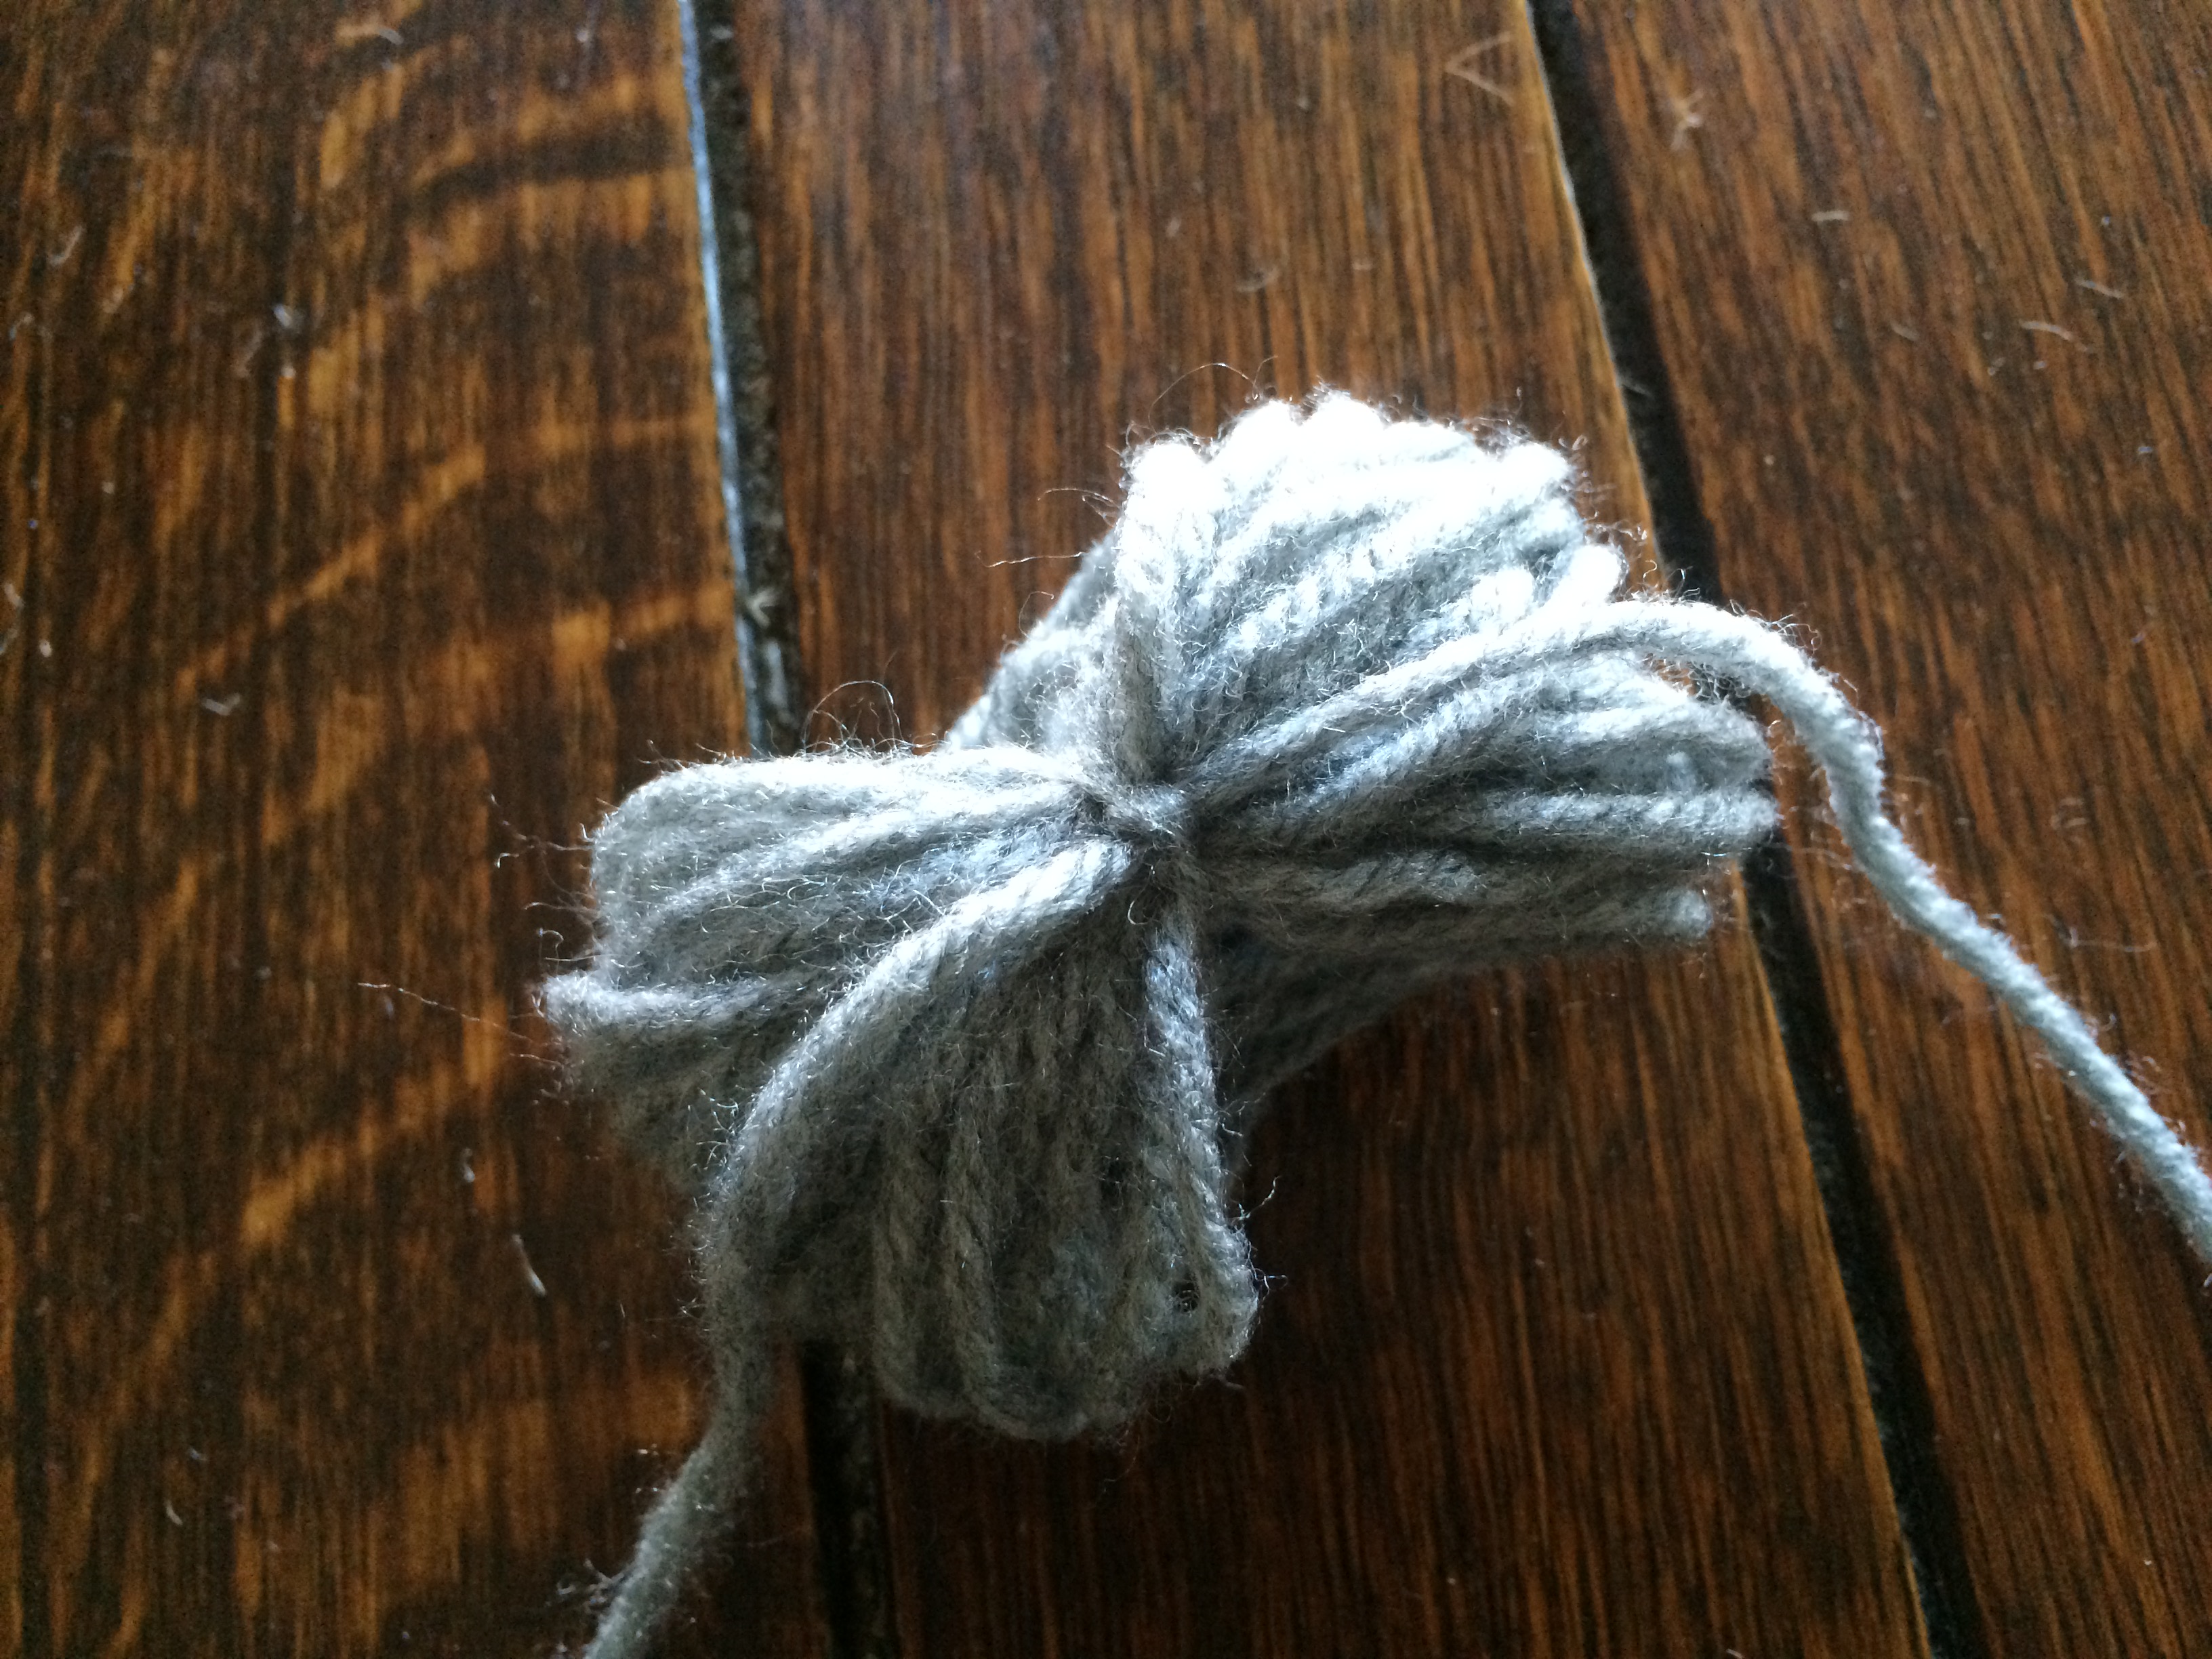
9. While holding onto the tails of the tie yarn, take scissors, and cut the loops so it leaves a fluffy pom-pom. Then start shaping the ends by cutting them down to the desired length and look. I then cut the tie yarn so it is the same length of the rest of the yarn.

Cut loops on pom-pom ready to shape
10. I then place the pom-pom at the bottom of the stocking on the toe, and take the same yarn, thread a needle and sew it onto the toe. You will only need to do 2-3 stitches in place. Then knot off the end. Again, I didn’t want to see the knots of the yarn on the backside, so I added another button over the top of the knots with a pretty contrasting embroidery thread.
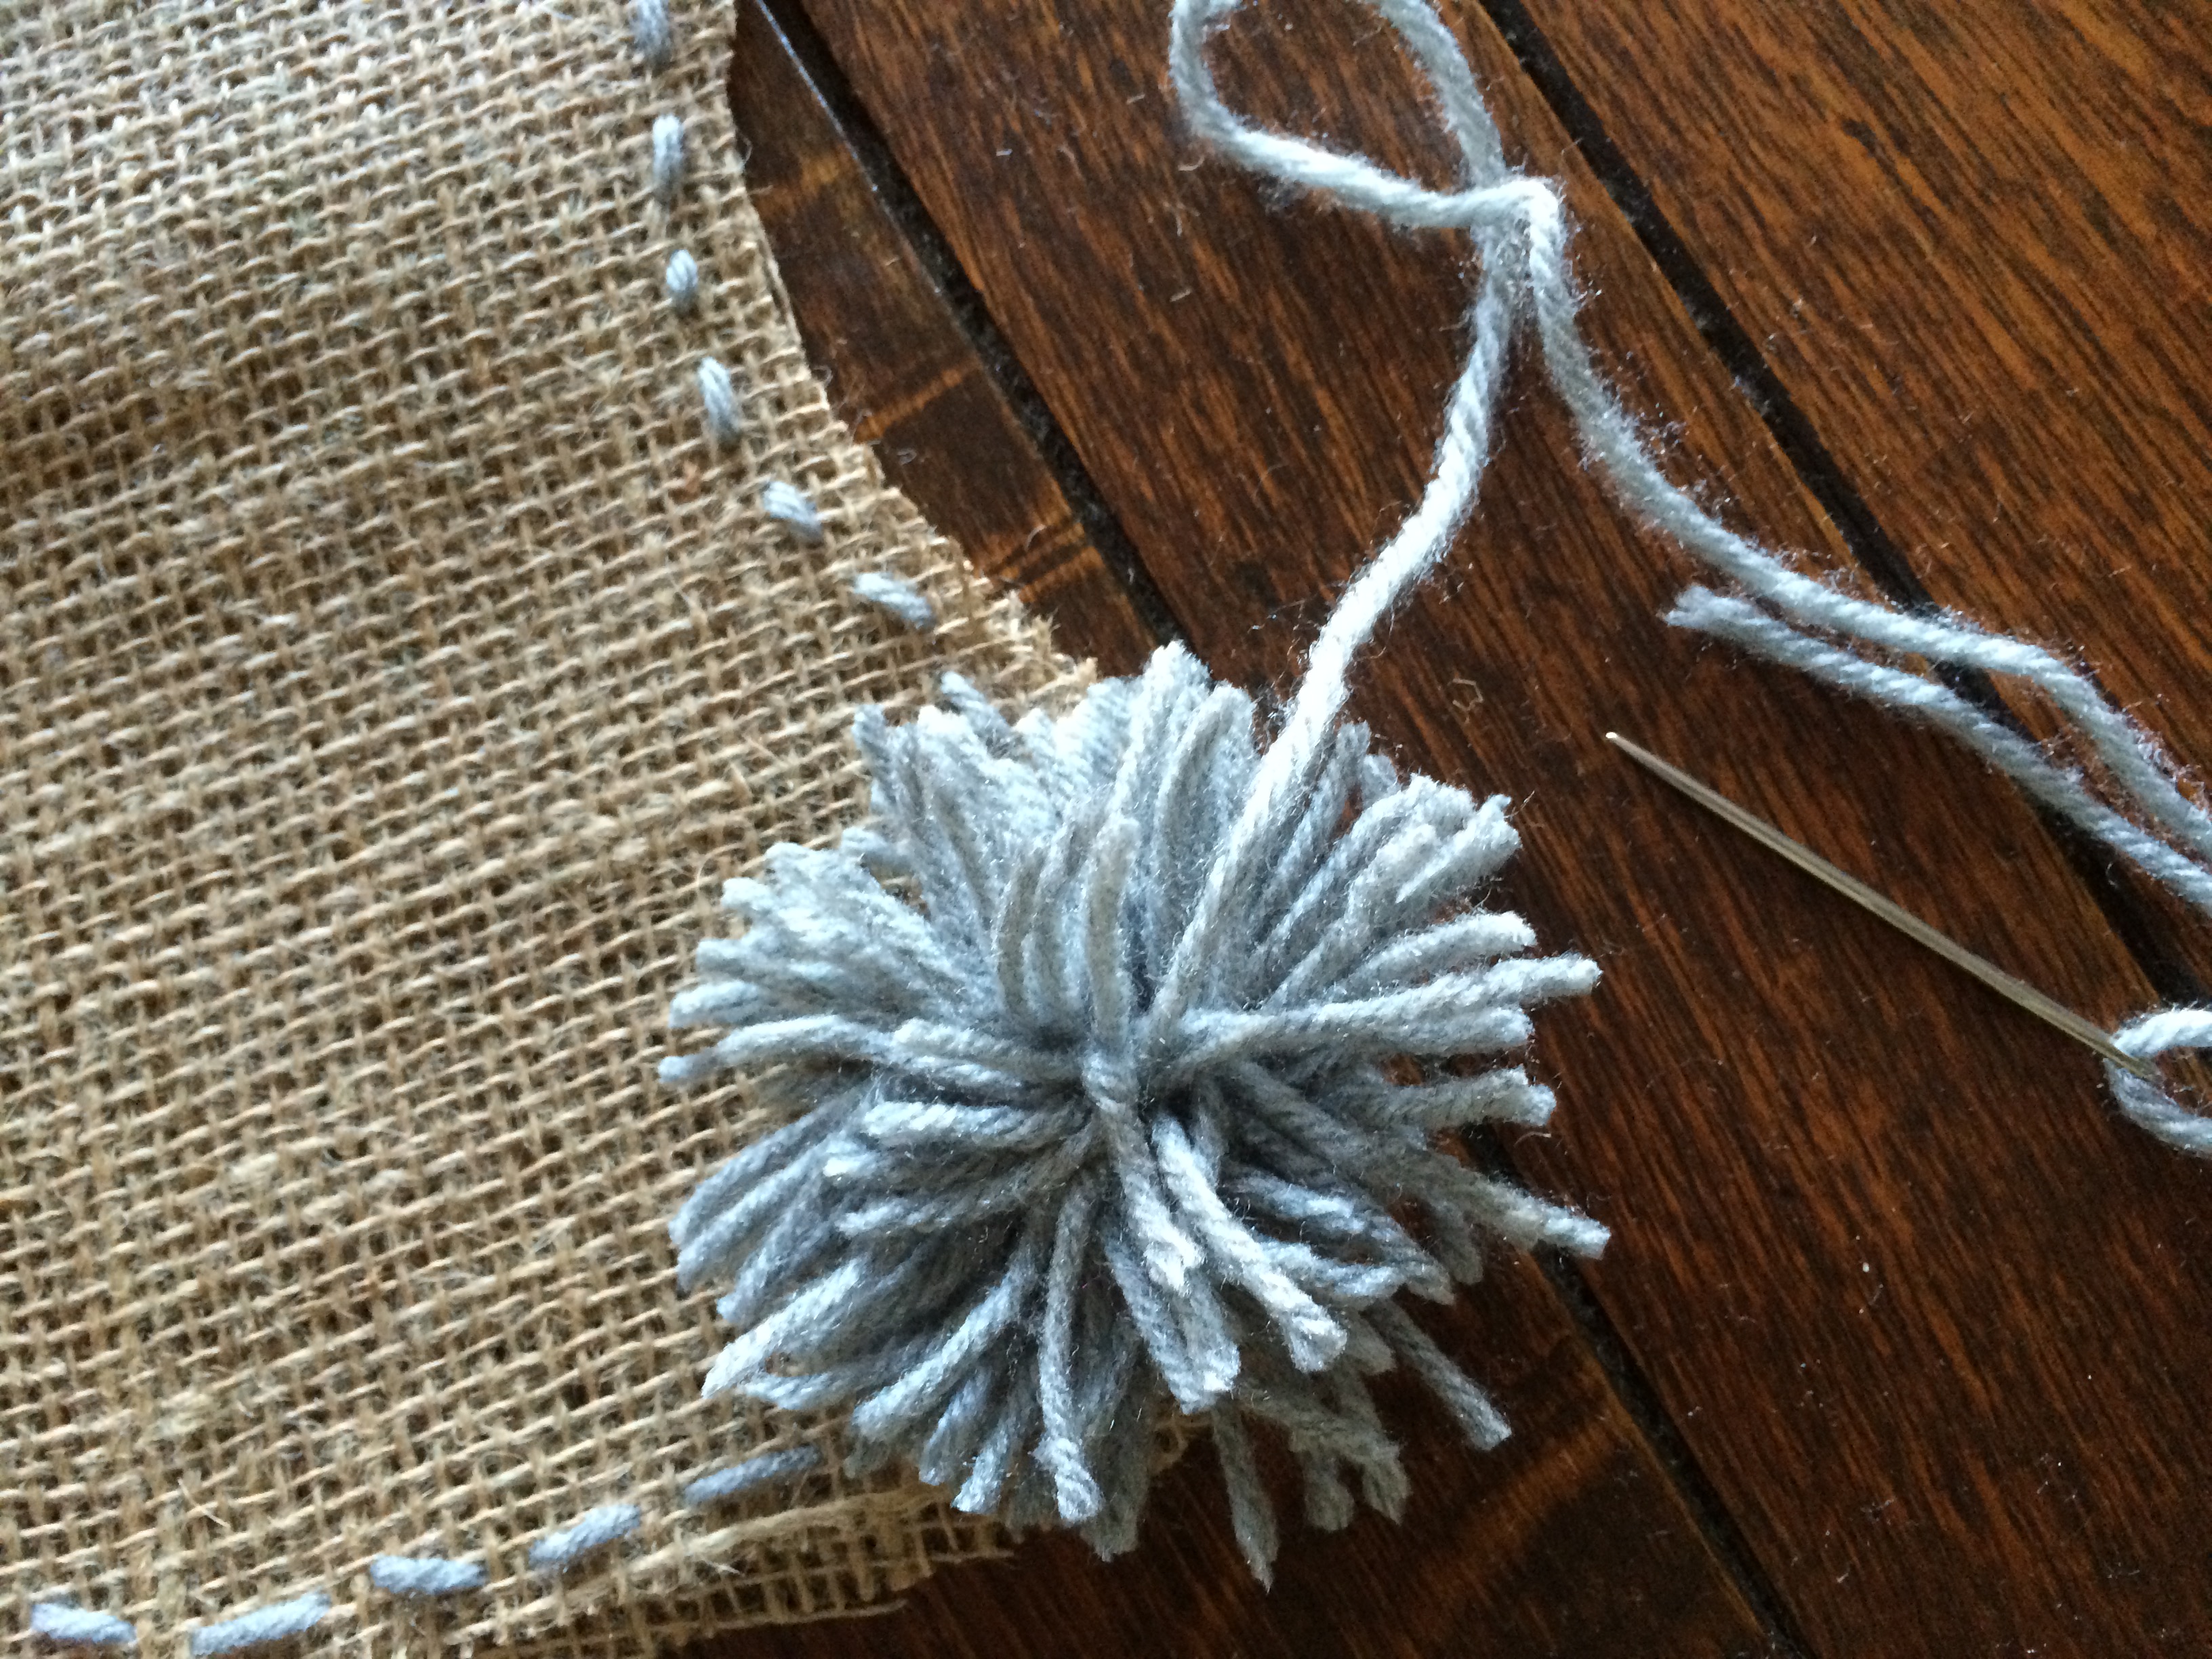
Sewing pom-pom to bottom toe of Christmas stocking
Adding button to back of pom-pom to cover yarn knots
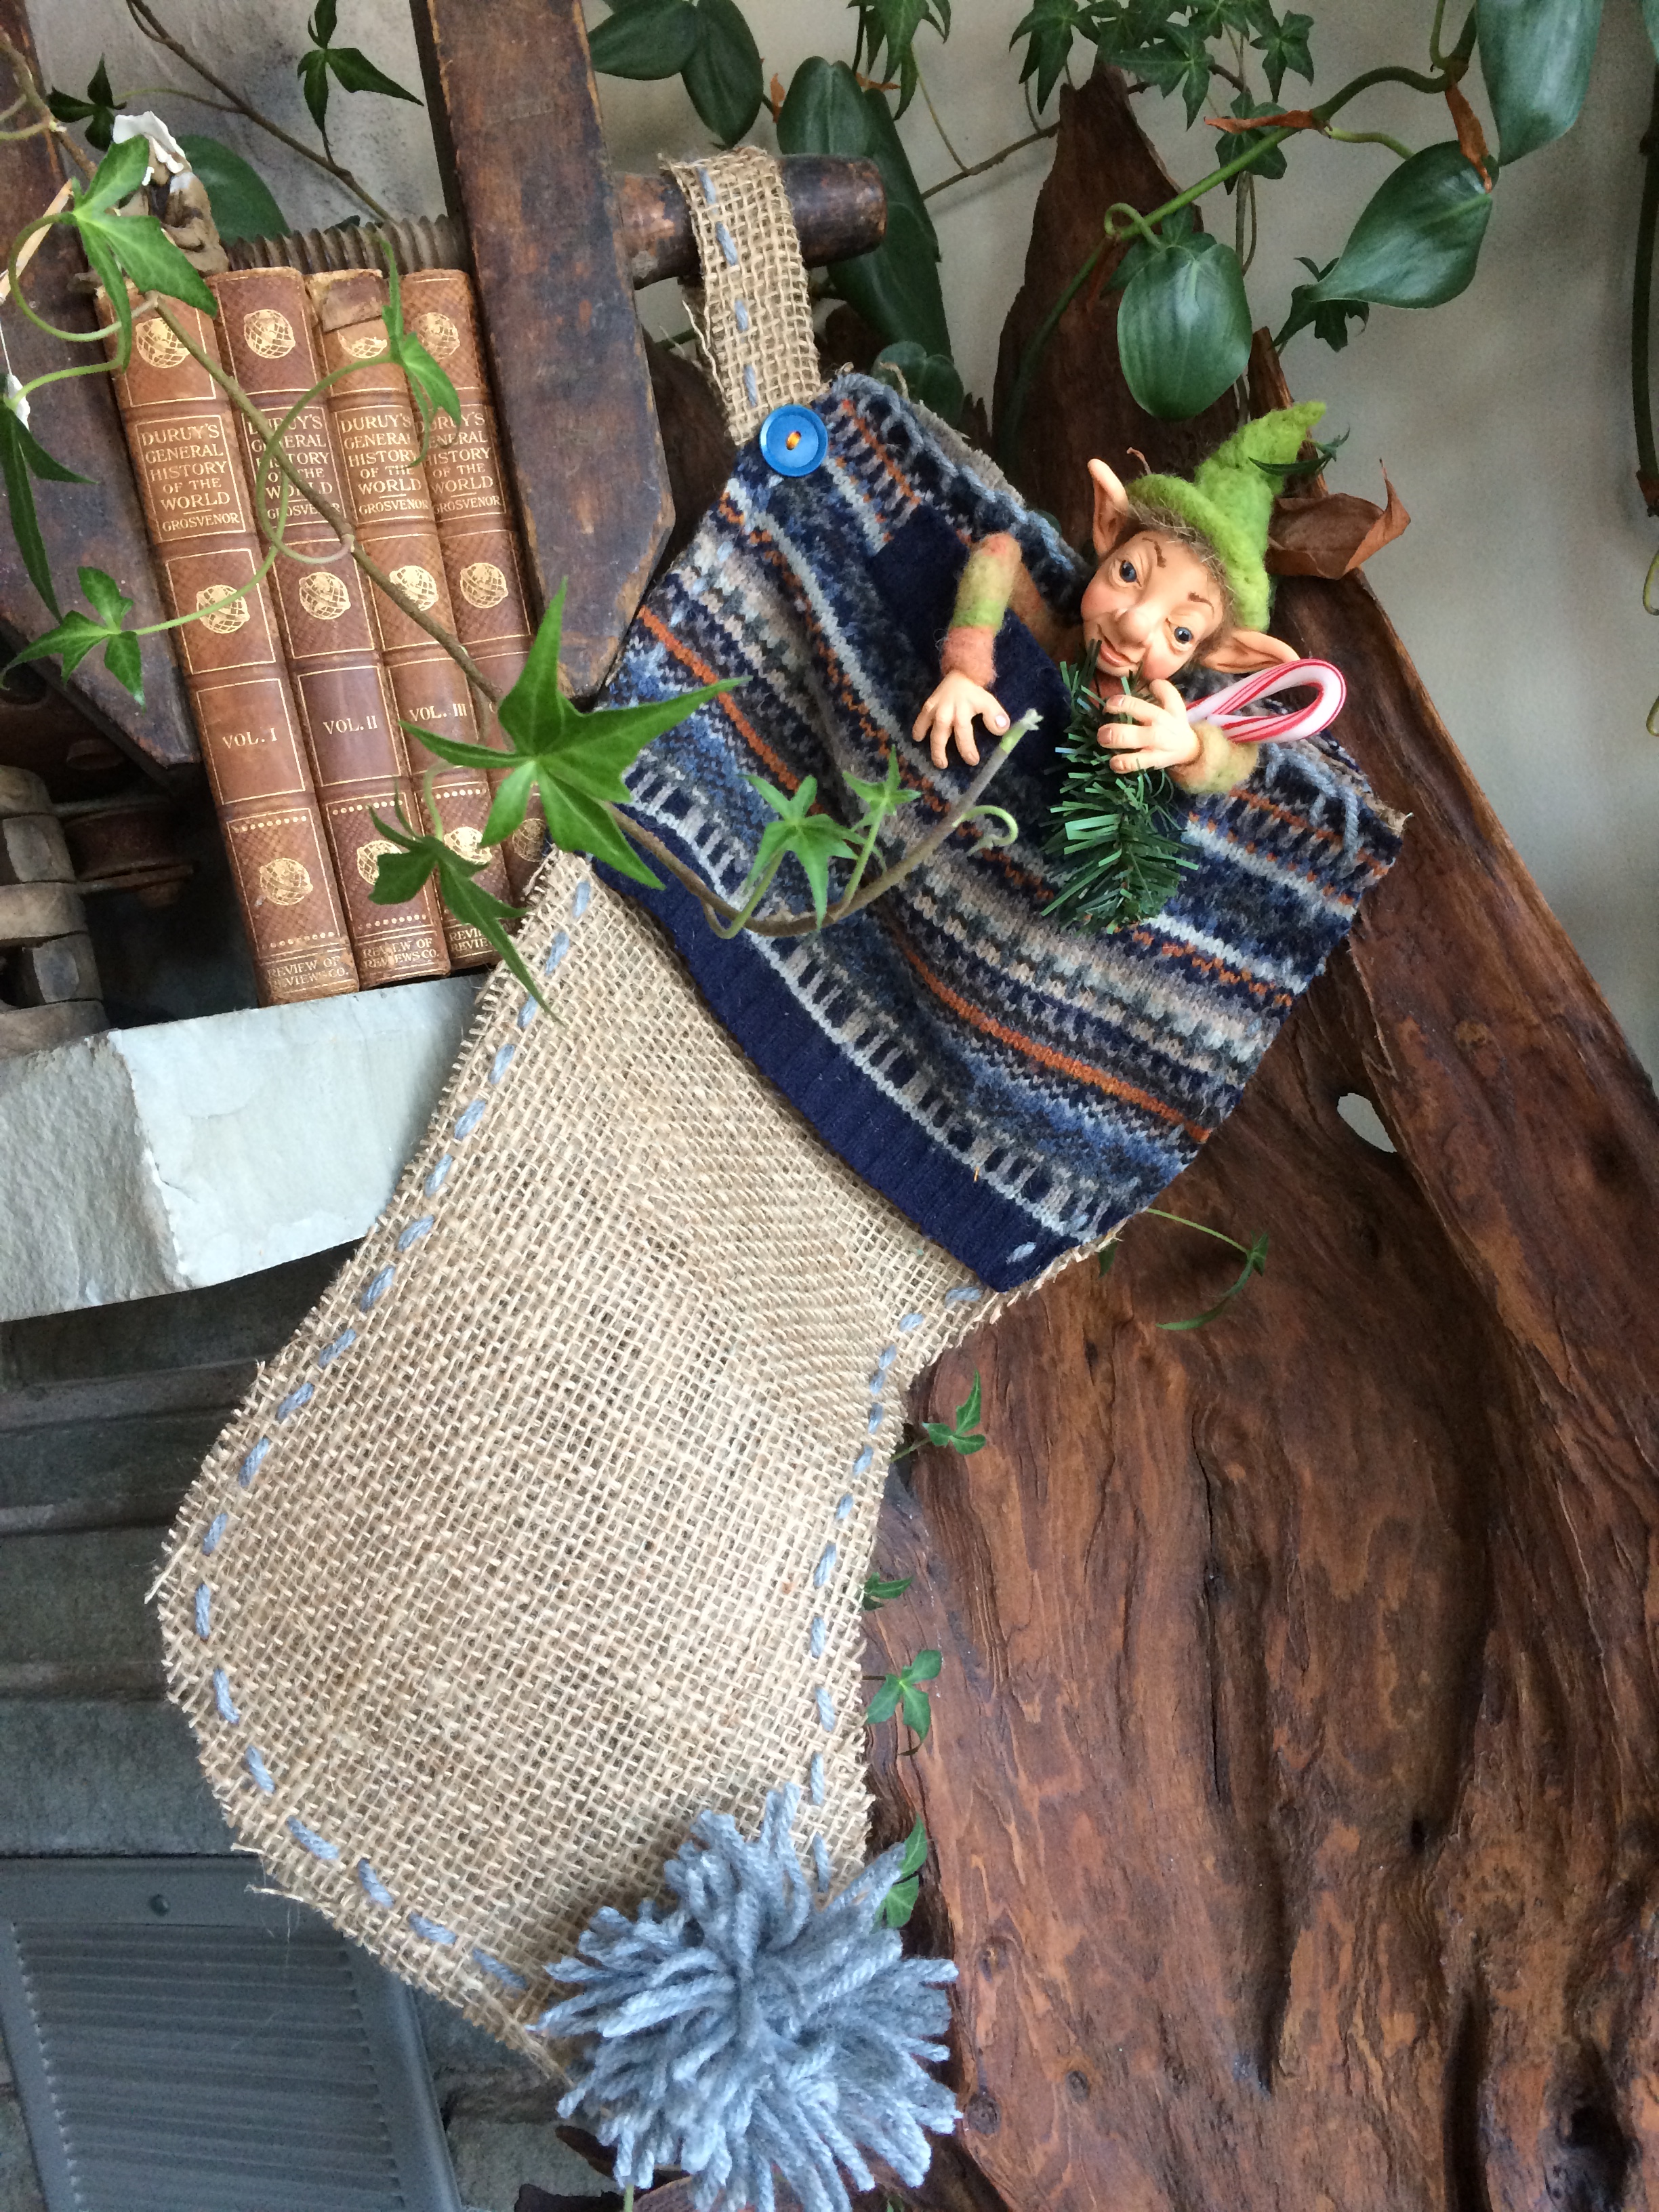
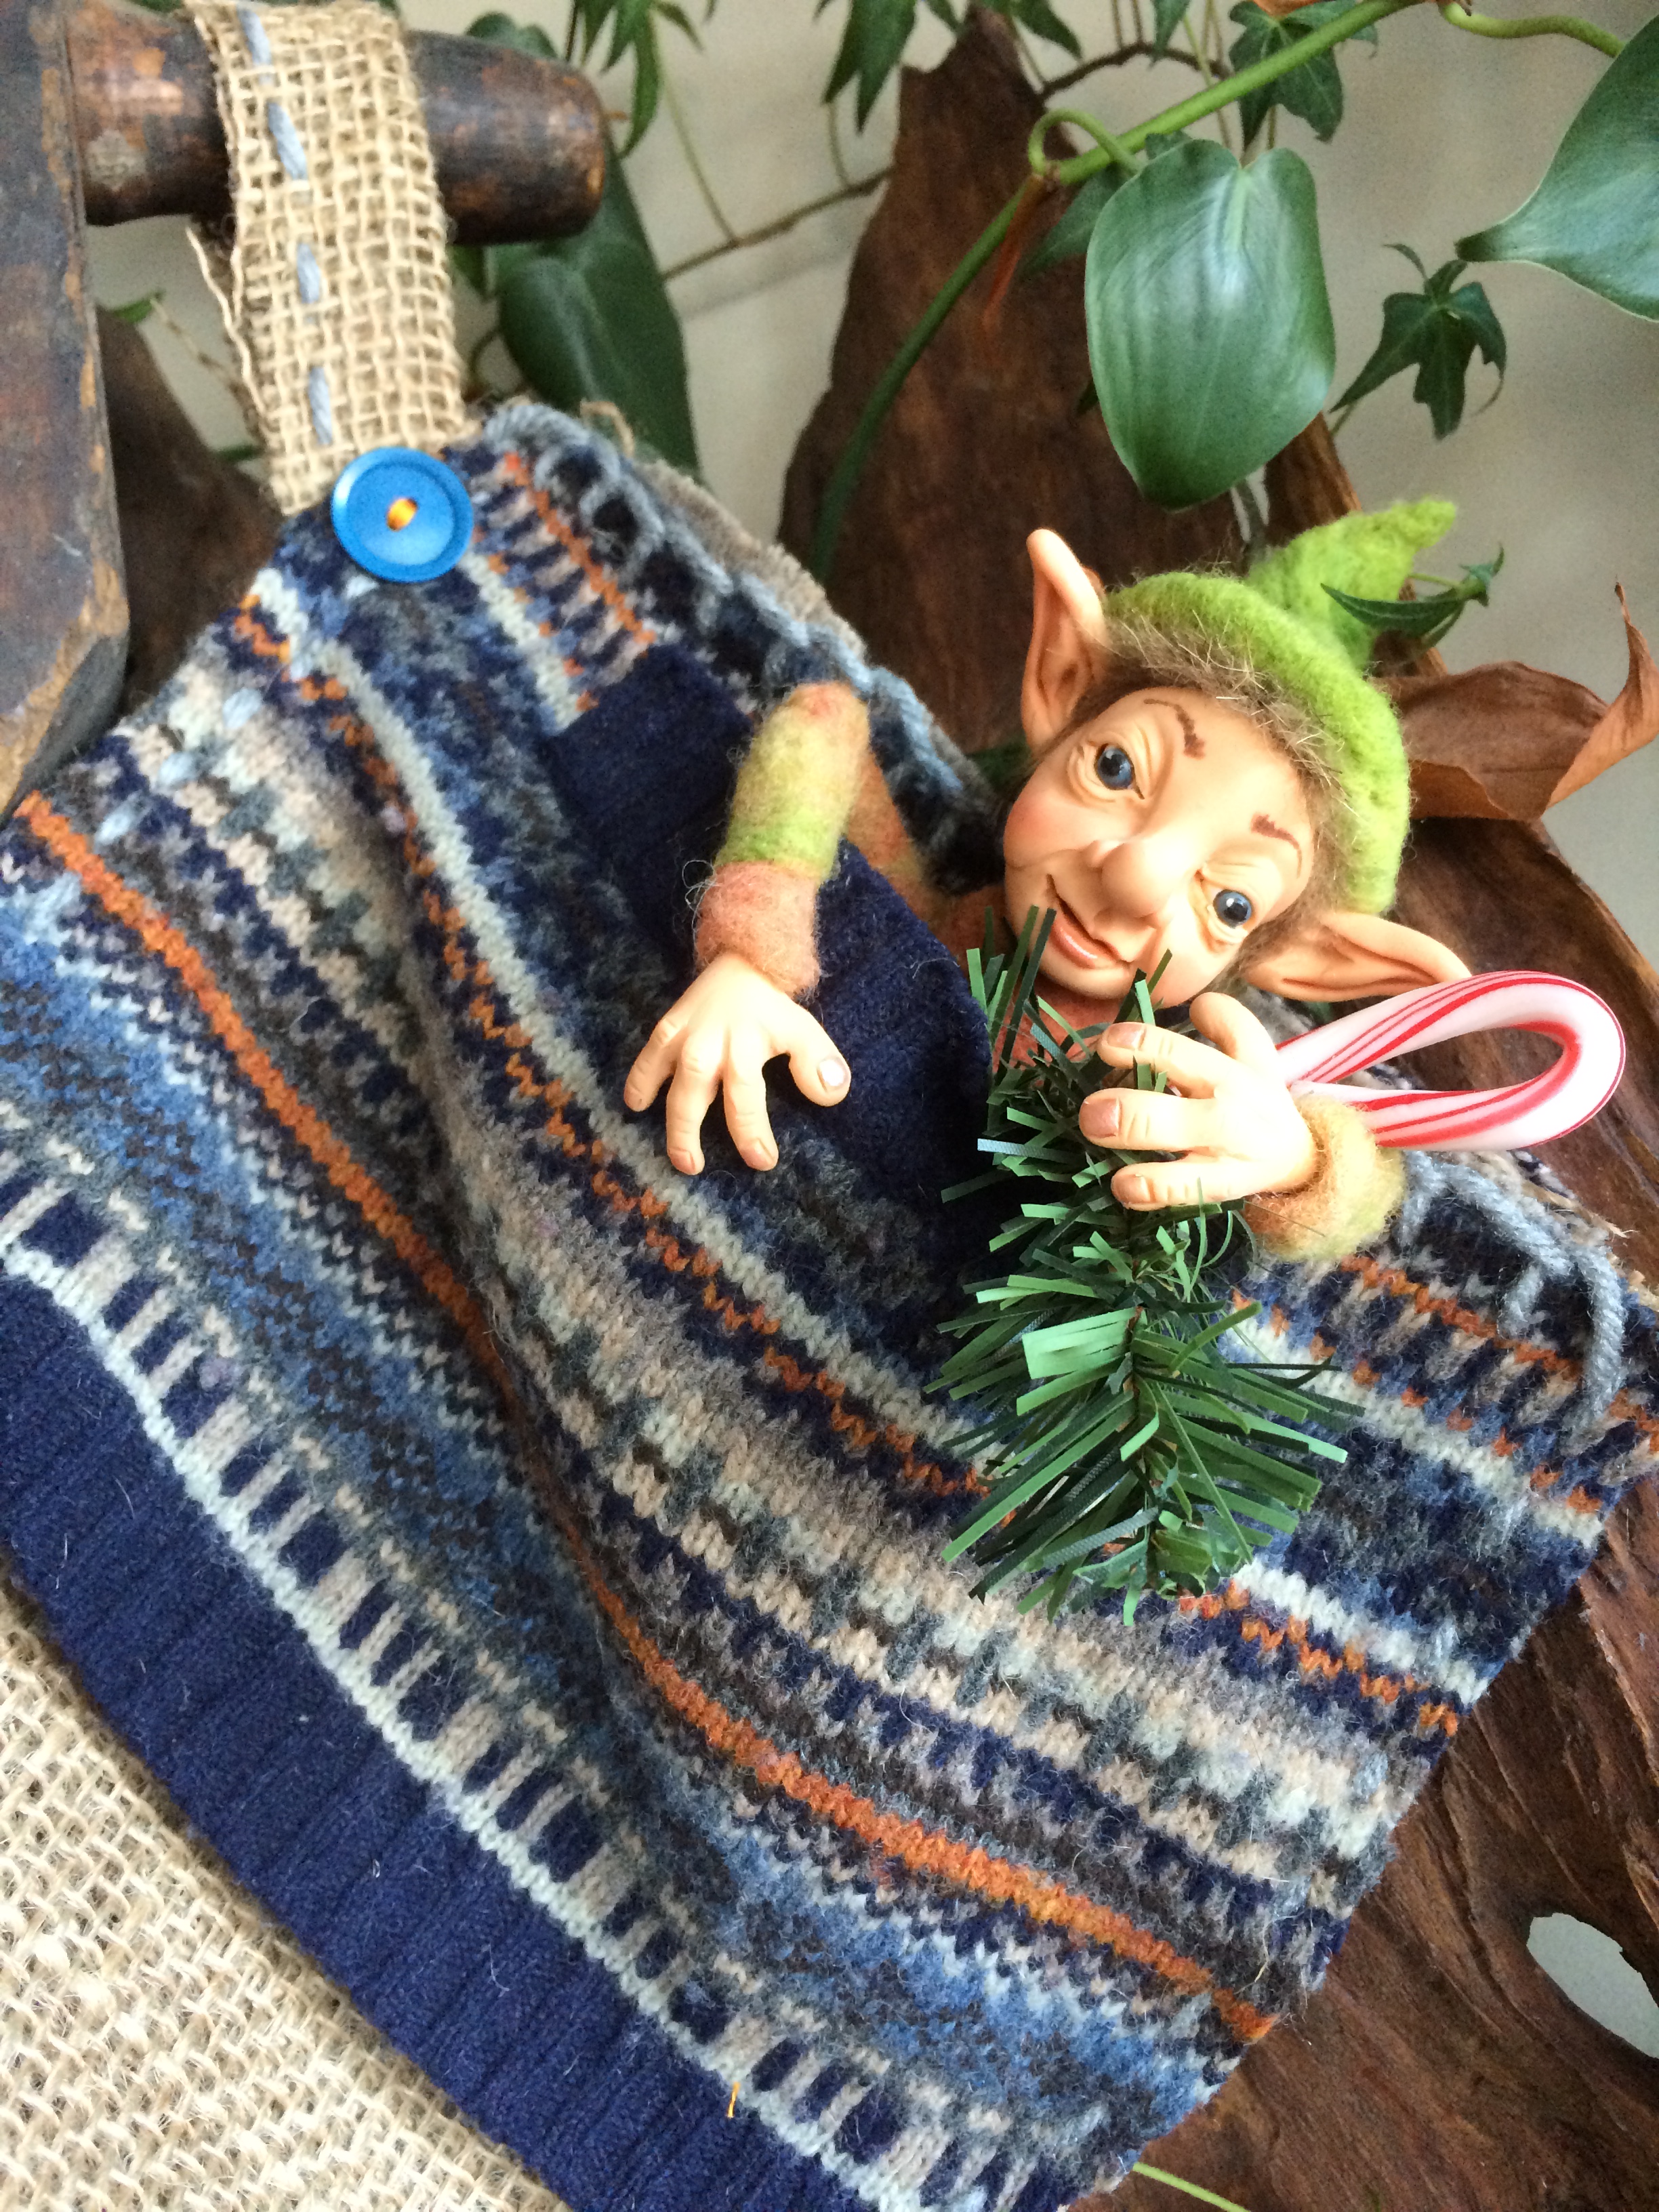
All done! Just tuck in a little surprise, in my case, I had my favorite little elf that a friend made me, a twig of greenery and a candy cane. Find more elves and fairies of the forest at www.poppenmoon.com
Quick and easy burlap Christmas stocking
I’m making a few more to use at the shop for displays to tuck in products, which is what I did at the shop, and low and behold someone wanted to buy it! These are so simple to make that it would be a great project to do with children to make teacher’s gifts, or their friends gifts stuffed with homemade cookies!
Hope you enjoy, I always like to use up things I have around the house and this project can do the same with your findings at home!
Merry Christmas!!
To receive posts via email click HERE  Subscribe in a reader or sign up in subscription box in sidebar.