I again was invited by Hometalk.com to participate in a Shareathon project featuring Cutting Edge Stencils on any item of my choosing and sharing the process. I haven’t used stencils very often and thought this would be the perfect opportunity to try them on a larger scale.

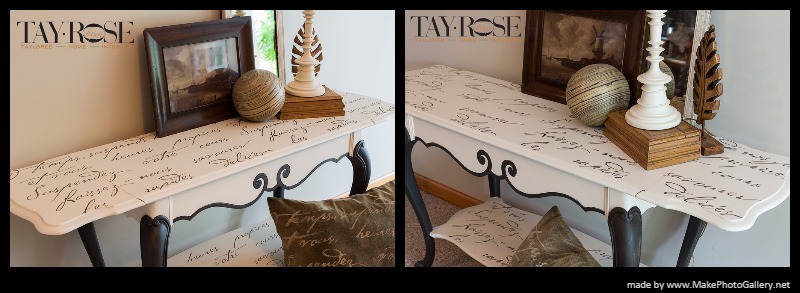
I went to the Cutting Edge website, www.CuttingEdgeStencils.com and tried to choose just one of their beautiful array of various stencils for my project. I had just been to an auction and purchased a sofa table that I thought would be a great candidate for stencils. I chose the “French Poem” allover stencil, from the website because I really liked the writing style and since I don’t speak French, the mystery of what the words say….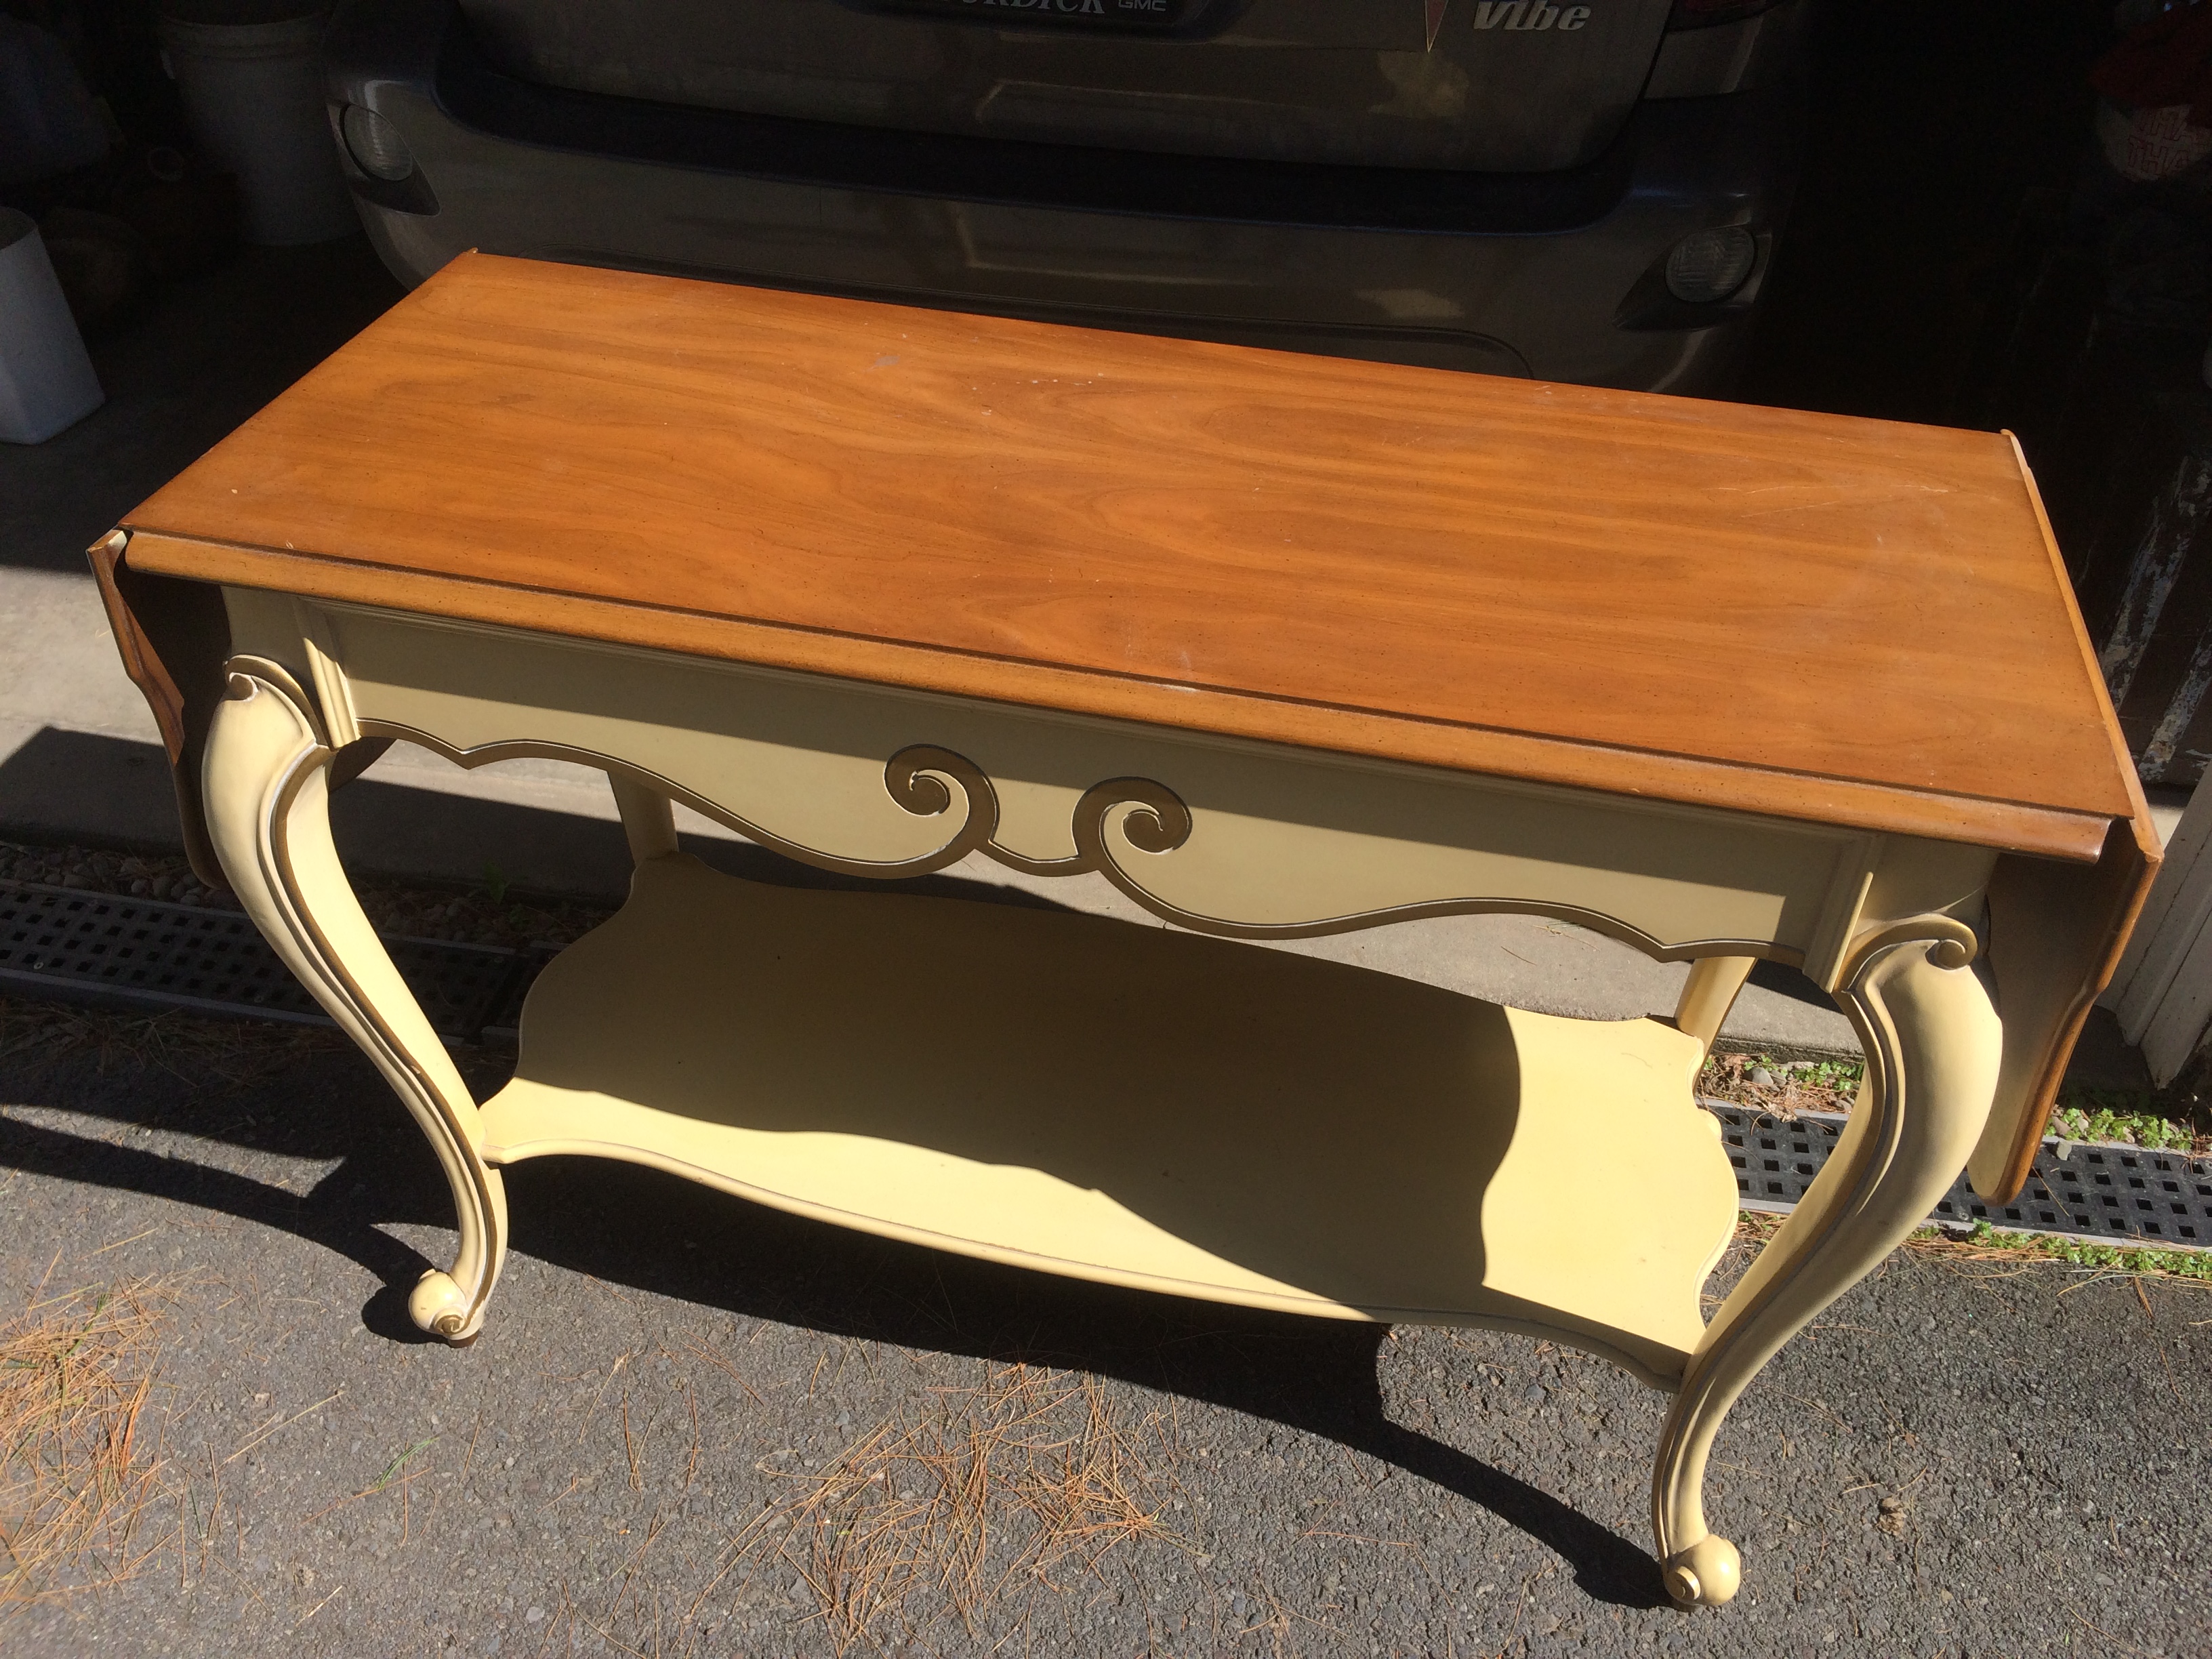
While waiting for the stencil to arrive, I decided that I would prep my table so it will be ready for stenciling. The sofa table had a factory finish, meaning it had a shiny finish over the paint that had to be sanded down before applying any new paint so the paint had something to grab onto.
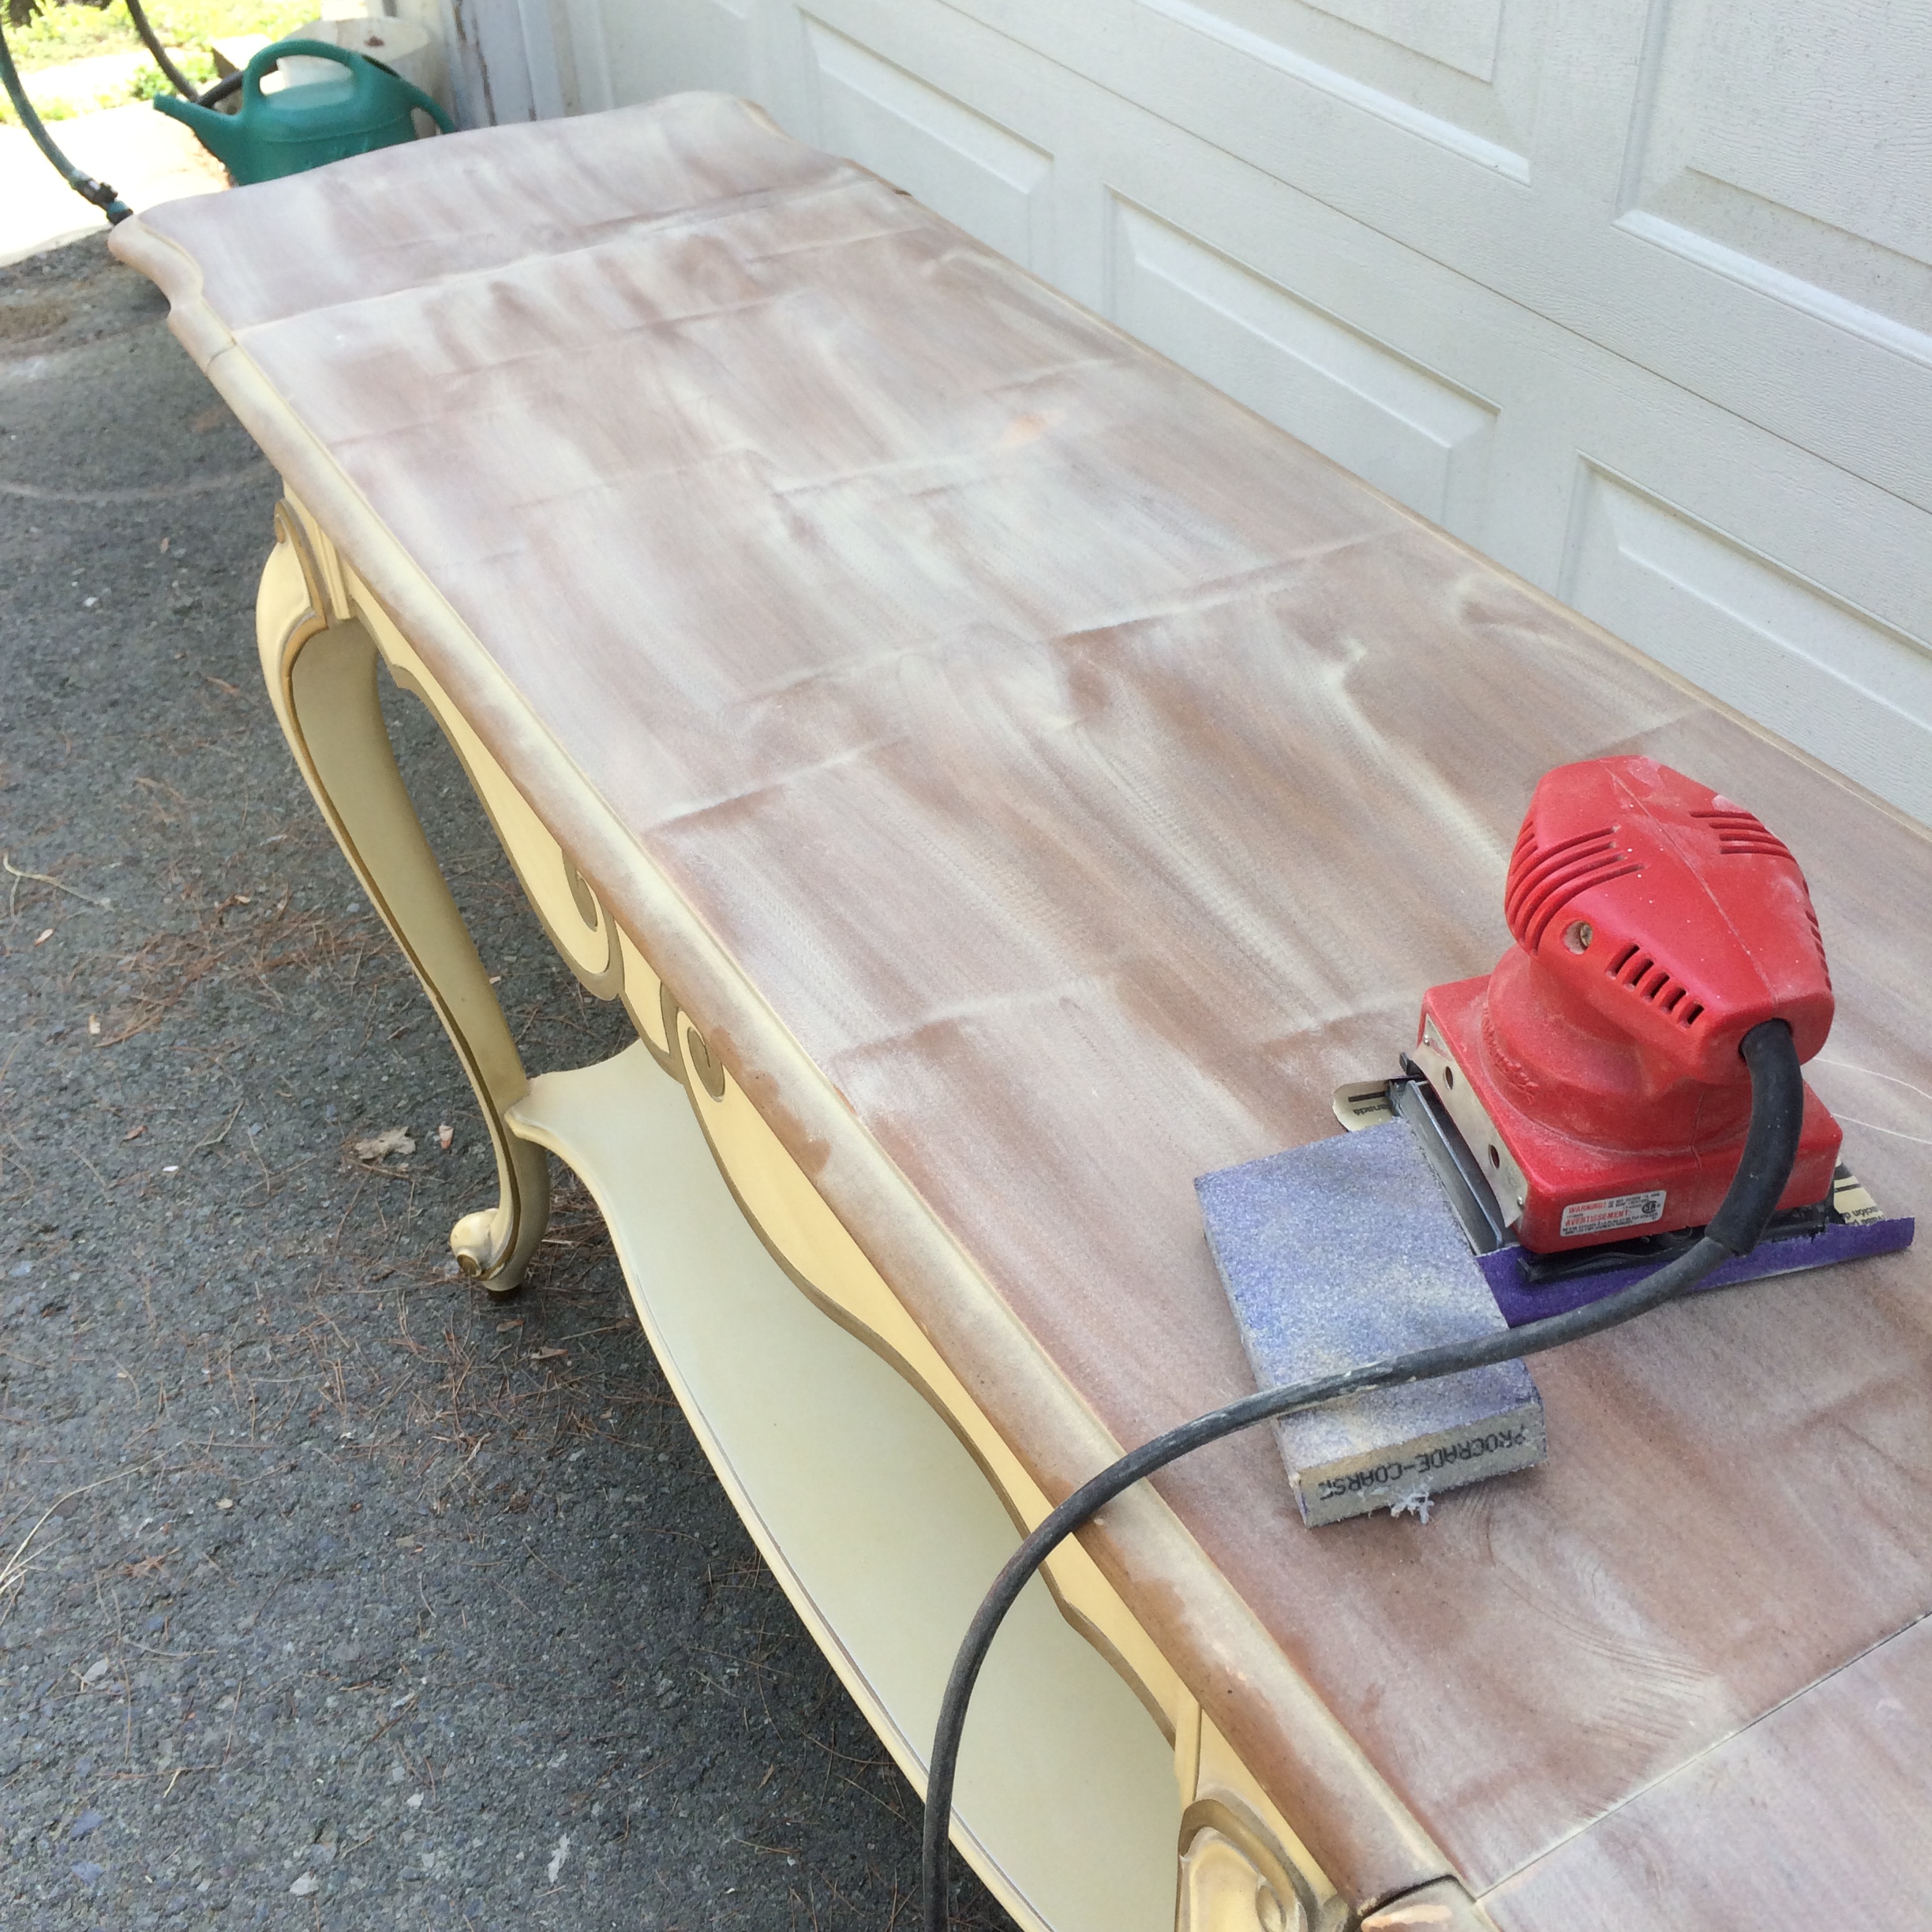
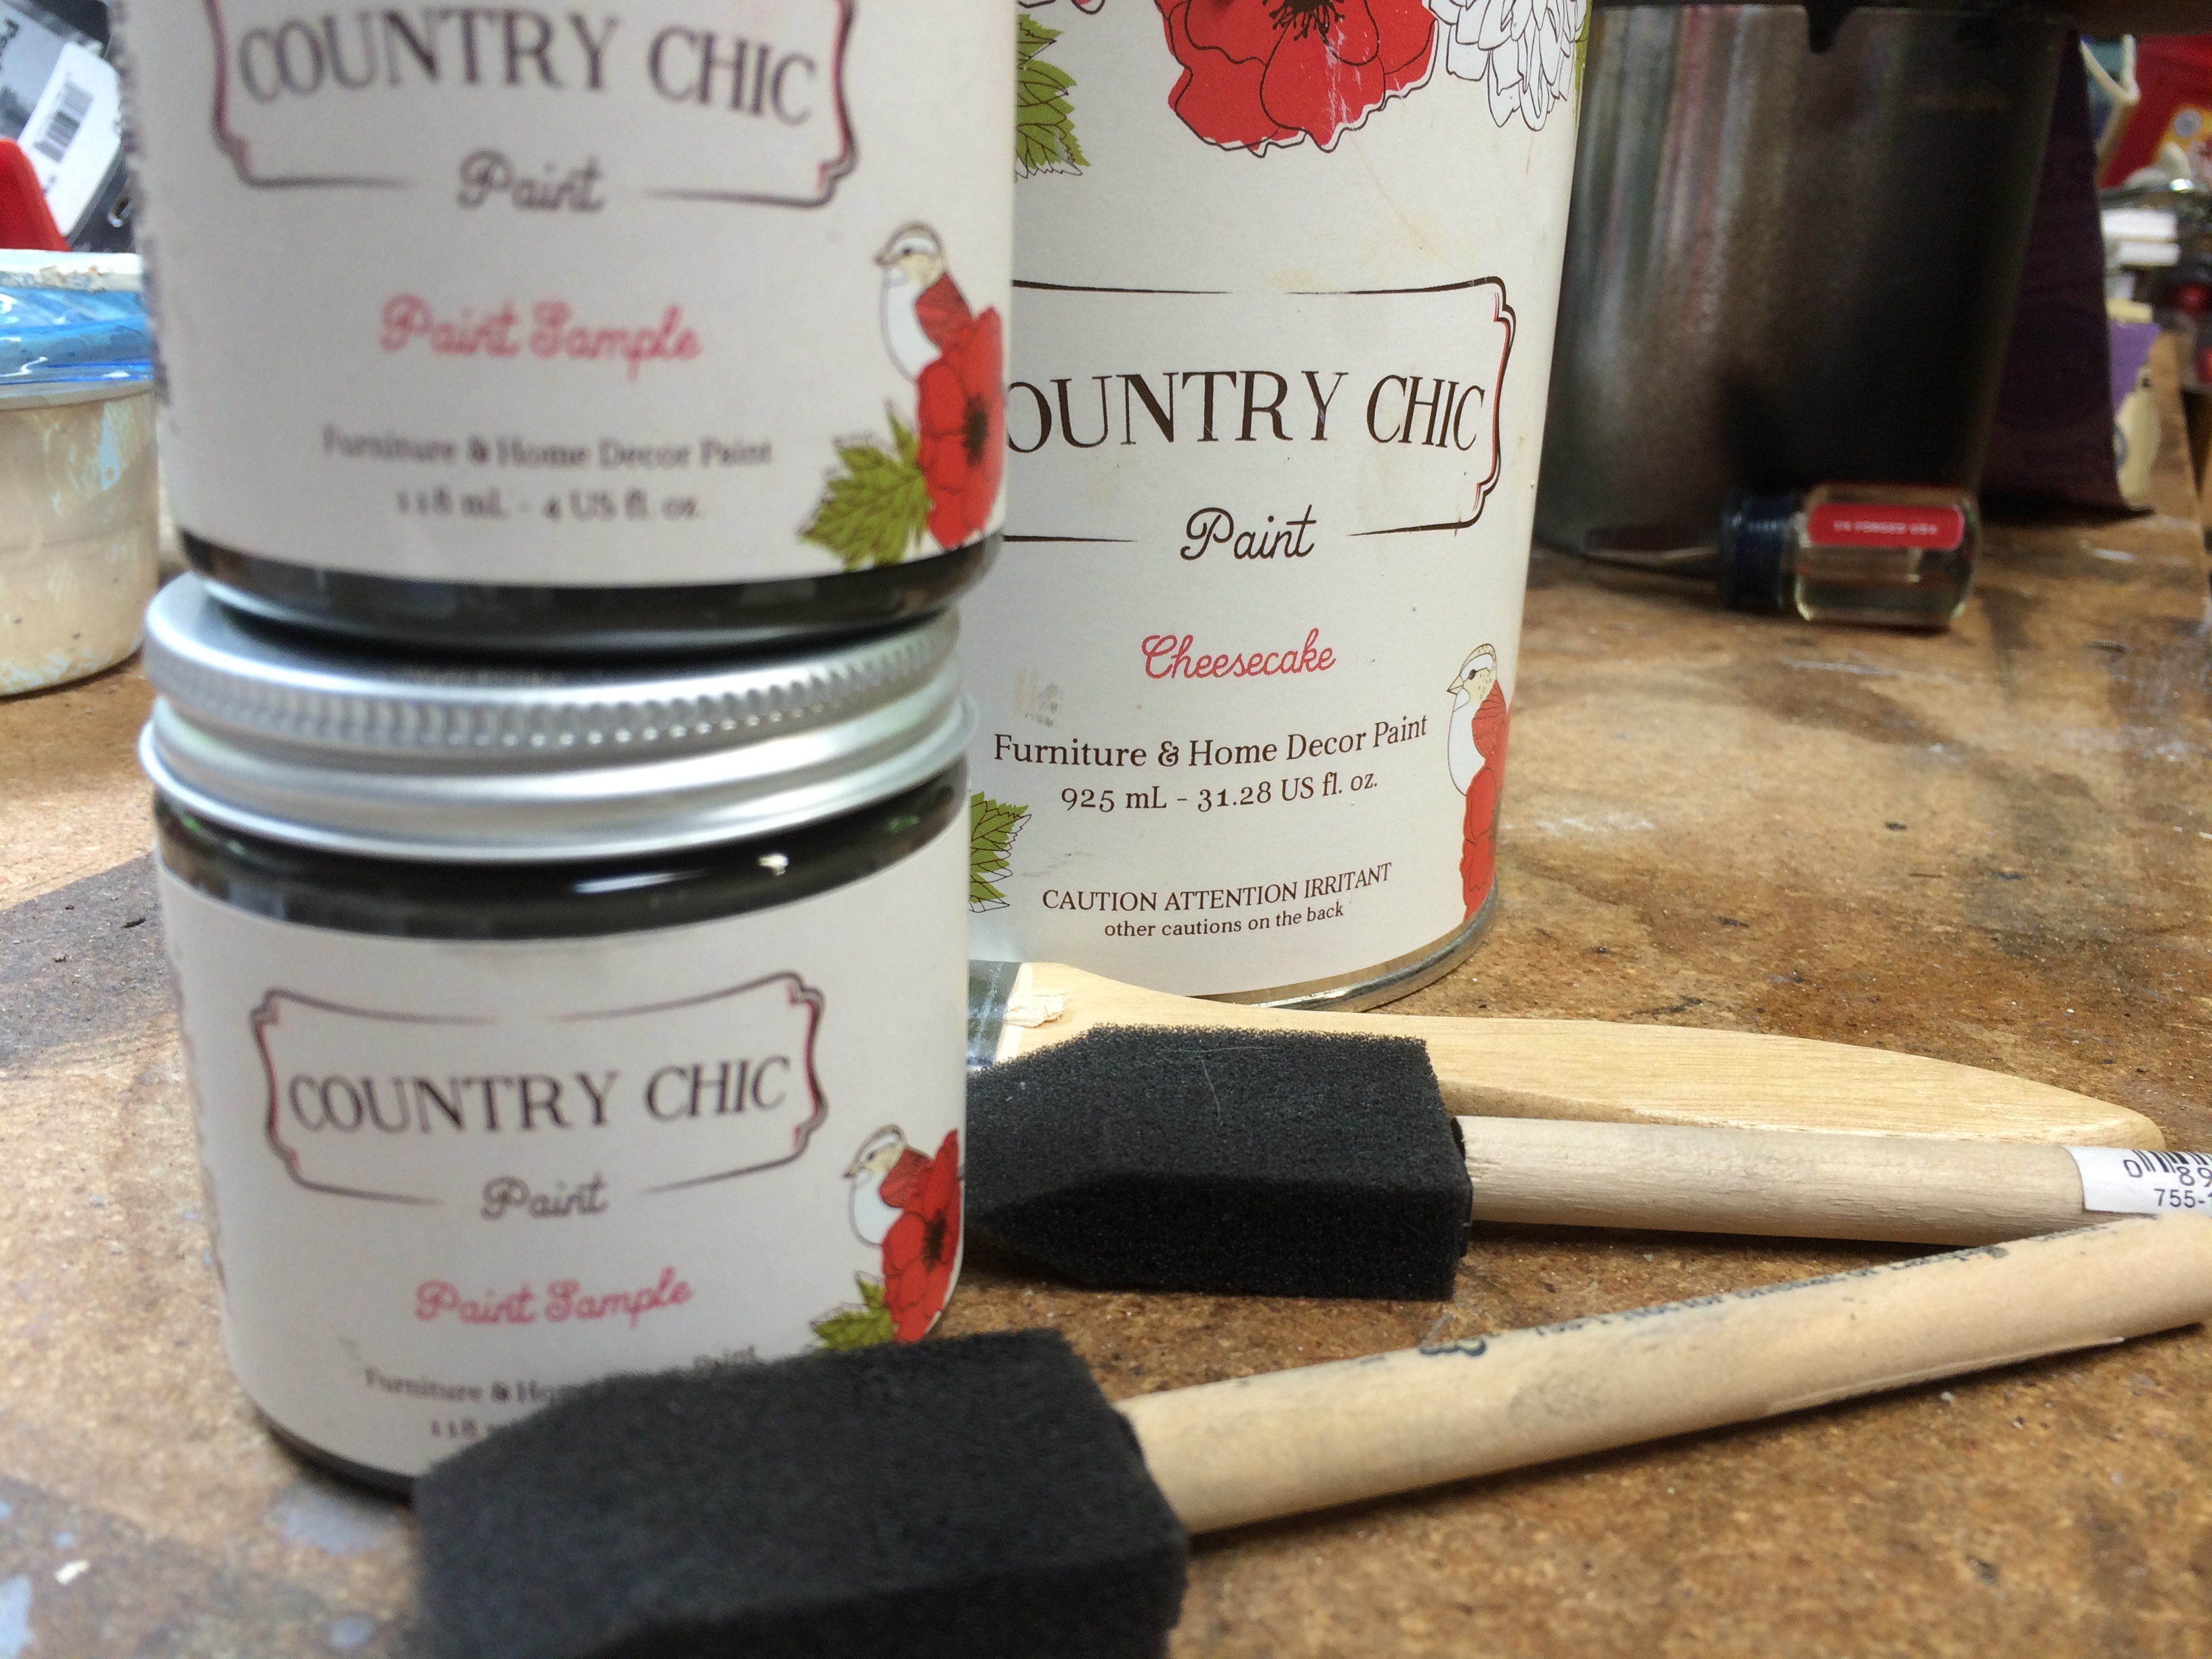
After sanding, I wiped off all of the sanding dust and wiped down all of the surfaces of the table so it had a clean, dust free surface to start painting. Cutting Edge Stencils recommends acrylic or latex paint which I would have used if I painted my table with a latex paint, but I chose to try the mineral based paint again from Country Chic Paints in the color Cheesecake, for that color is a warm cream and goes with everything. I wanted a contrast color for accents and for the legs, so deciding the 2nd paint color was between Dark Roast and Licorice….dark brown or black. I chose the dark brown color, mainly because again, it would have a better chance of blending in with most decor, and I also wanted to add some metallic highlights, and an antique gold would best suit a dark brown color.
So with paint colors in hand and after the top of the table was sanded down, I used a sanding block to rough up the surface on the legs and apron of the table. One of the features that I liked about this table was that the ends flip up or down, and transforms from a really long table to a shorter version depending on the space allowed. Another feature is that there is a drawer, which is very nice to have to store items for buffet, desk or playing cards .
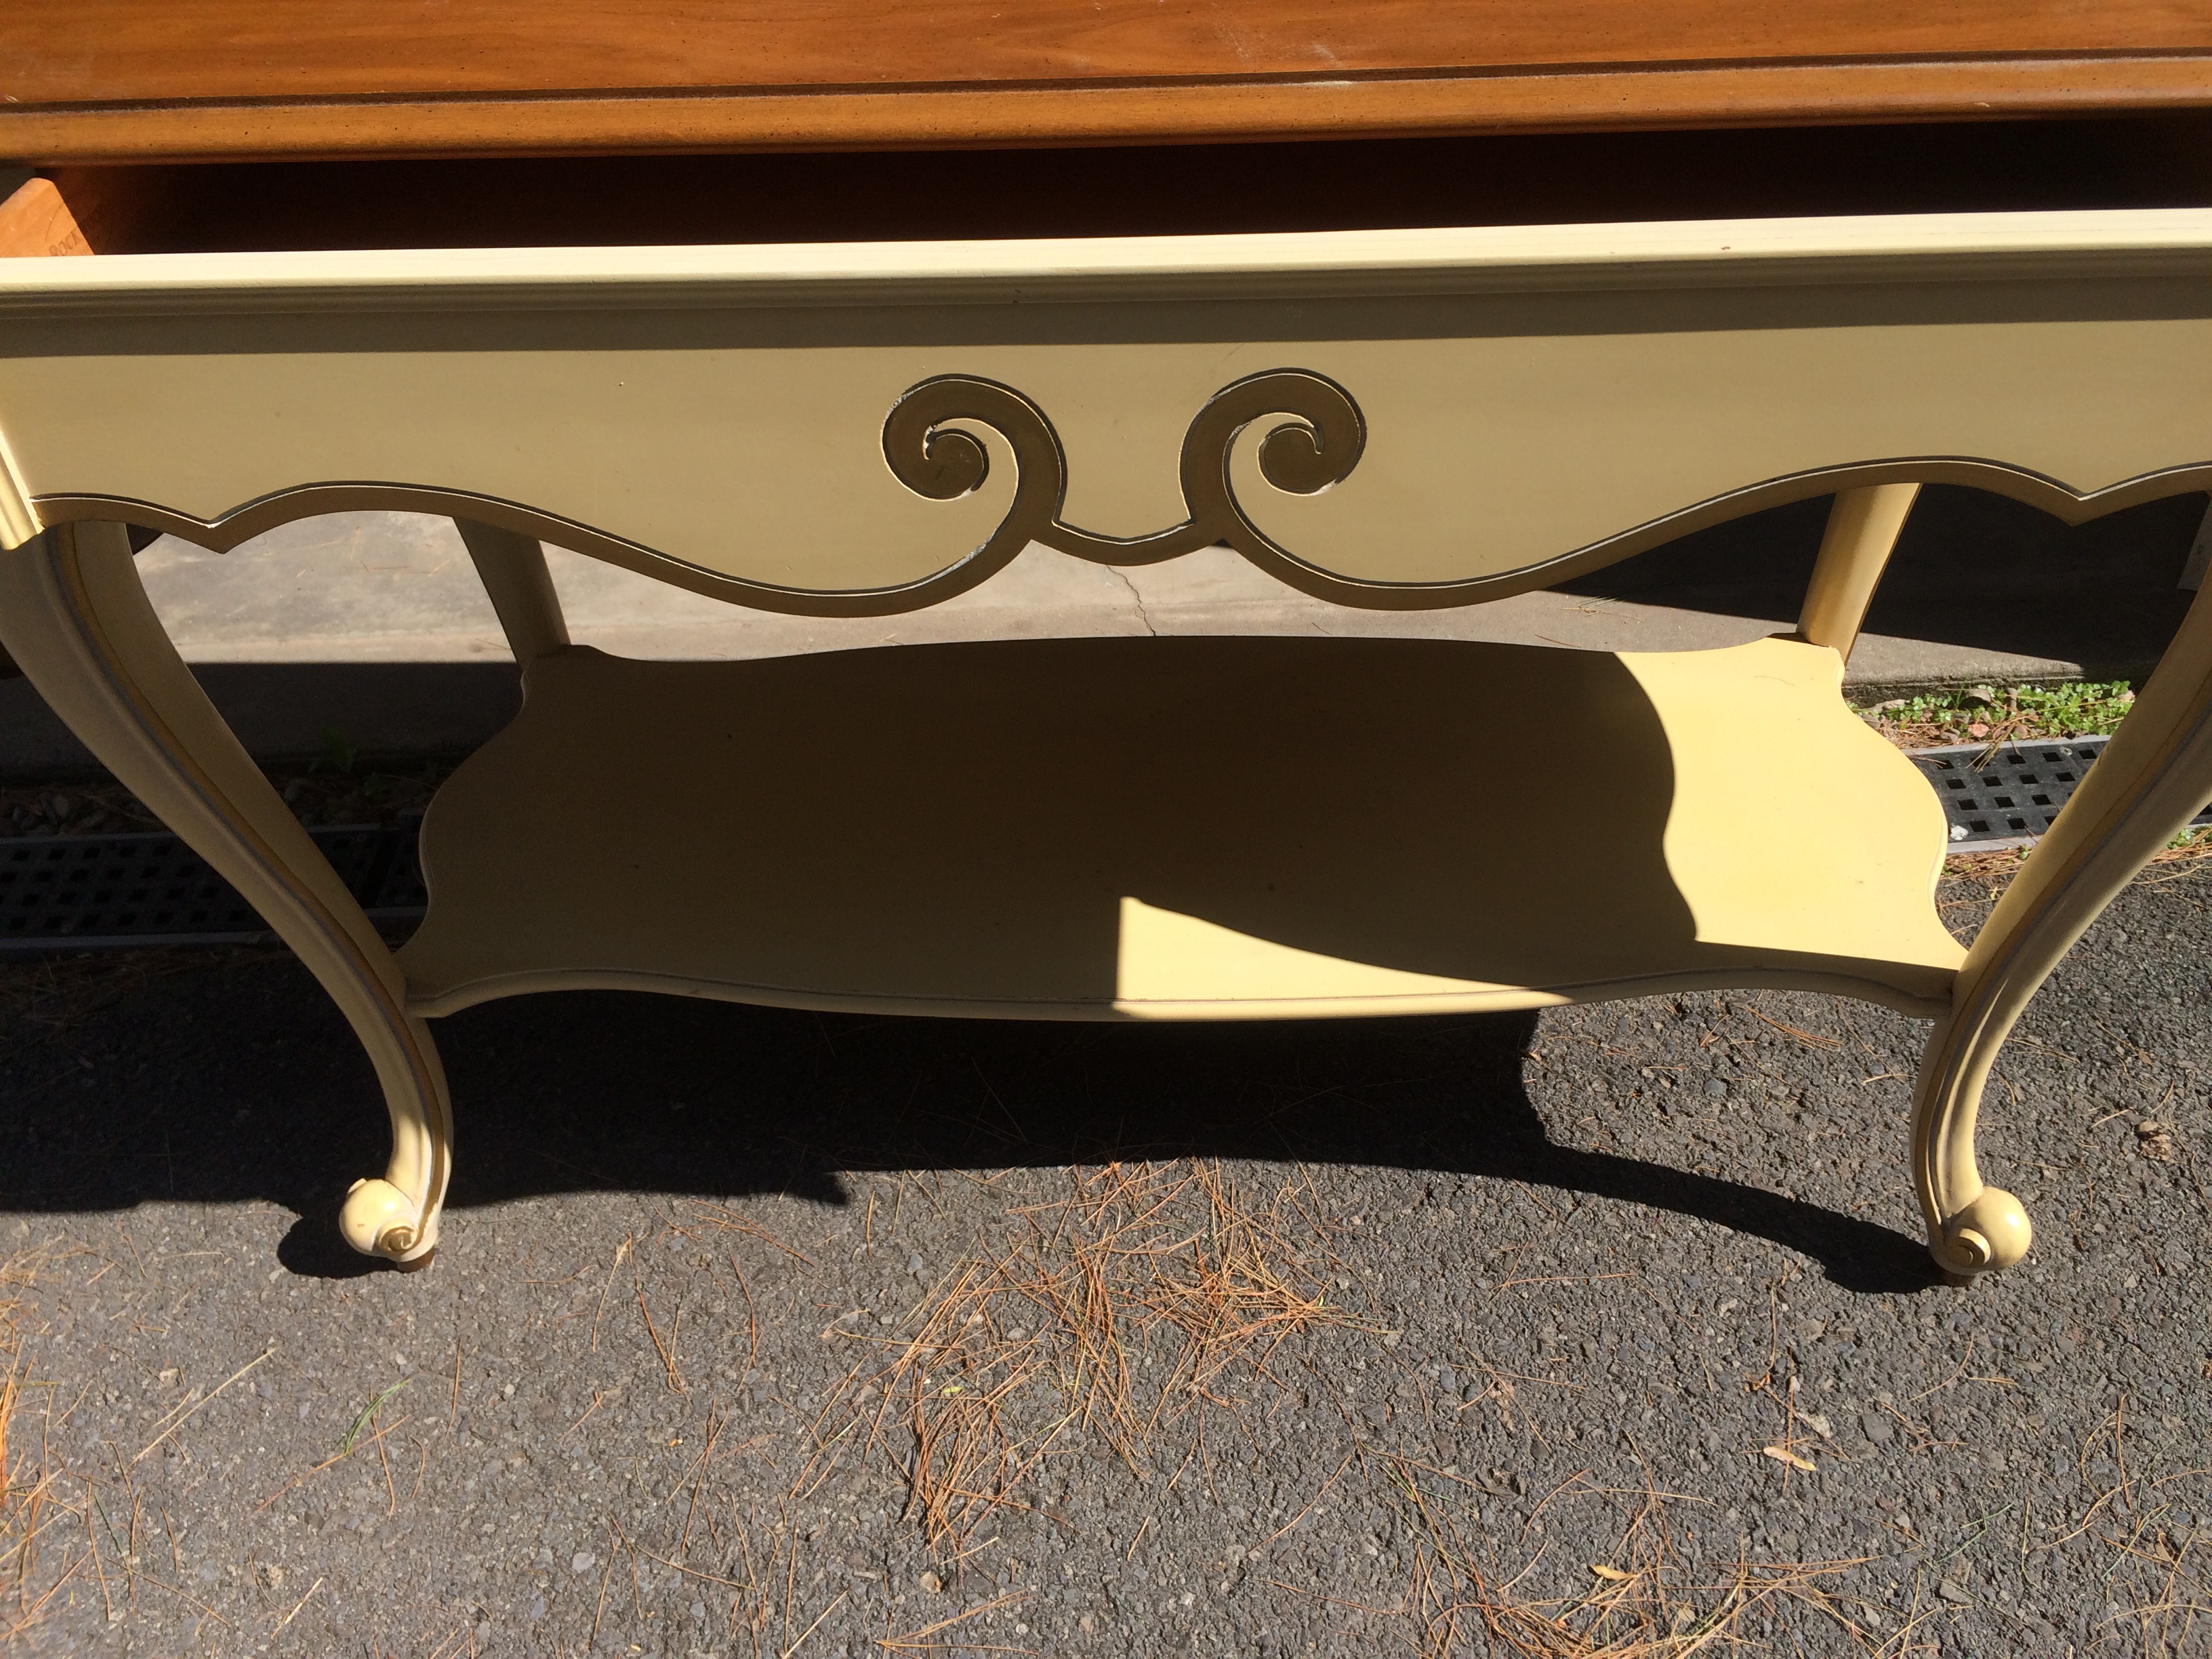
I painted 2 coats of paint on the top and on the bottom shelf and let it dry. I used a roller for the 2nd coat to smooth the layer, although the grain in the wood still showed the pattern, at least the paint was smoother without brush marks for an easier surface to stencil on. I also painted the legs and the border in the contrast color with 2 coats as well. The stencil arrived and there was a nice instructional sheet included along with a mini foam roller with several replacements and a small stencil brush. The instructional included everything I needed from materials, getting started, stenciling techniques, tips and tricks and finally, cleaning and storage of the stencil. Cutting Edge Stencils also have wonderful tutorials on their website that I referred to before I got started so a lot of the uncertainty I felt melted away.

The stencil I received was an allover stencil, which means it is made for large surfaces like a wall. Since the top and shelf of my table were on a much smaller scale, I ended up taping the stencil on the ends to stabilize the stencil so it wouldn’t move as I painted.
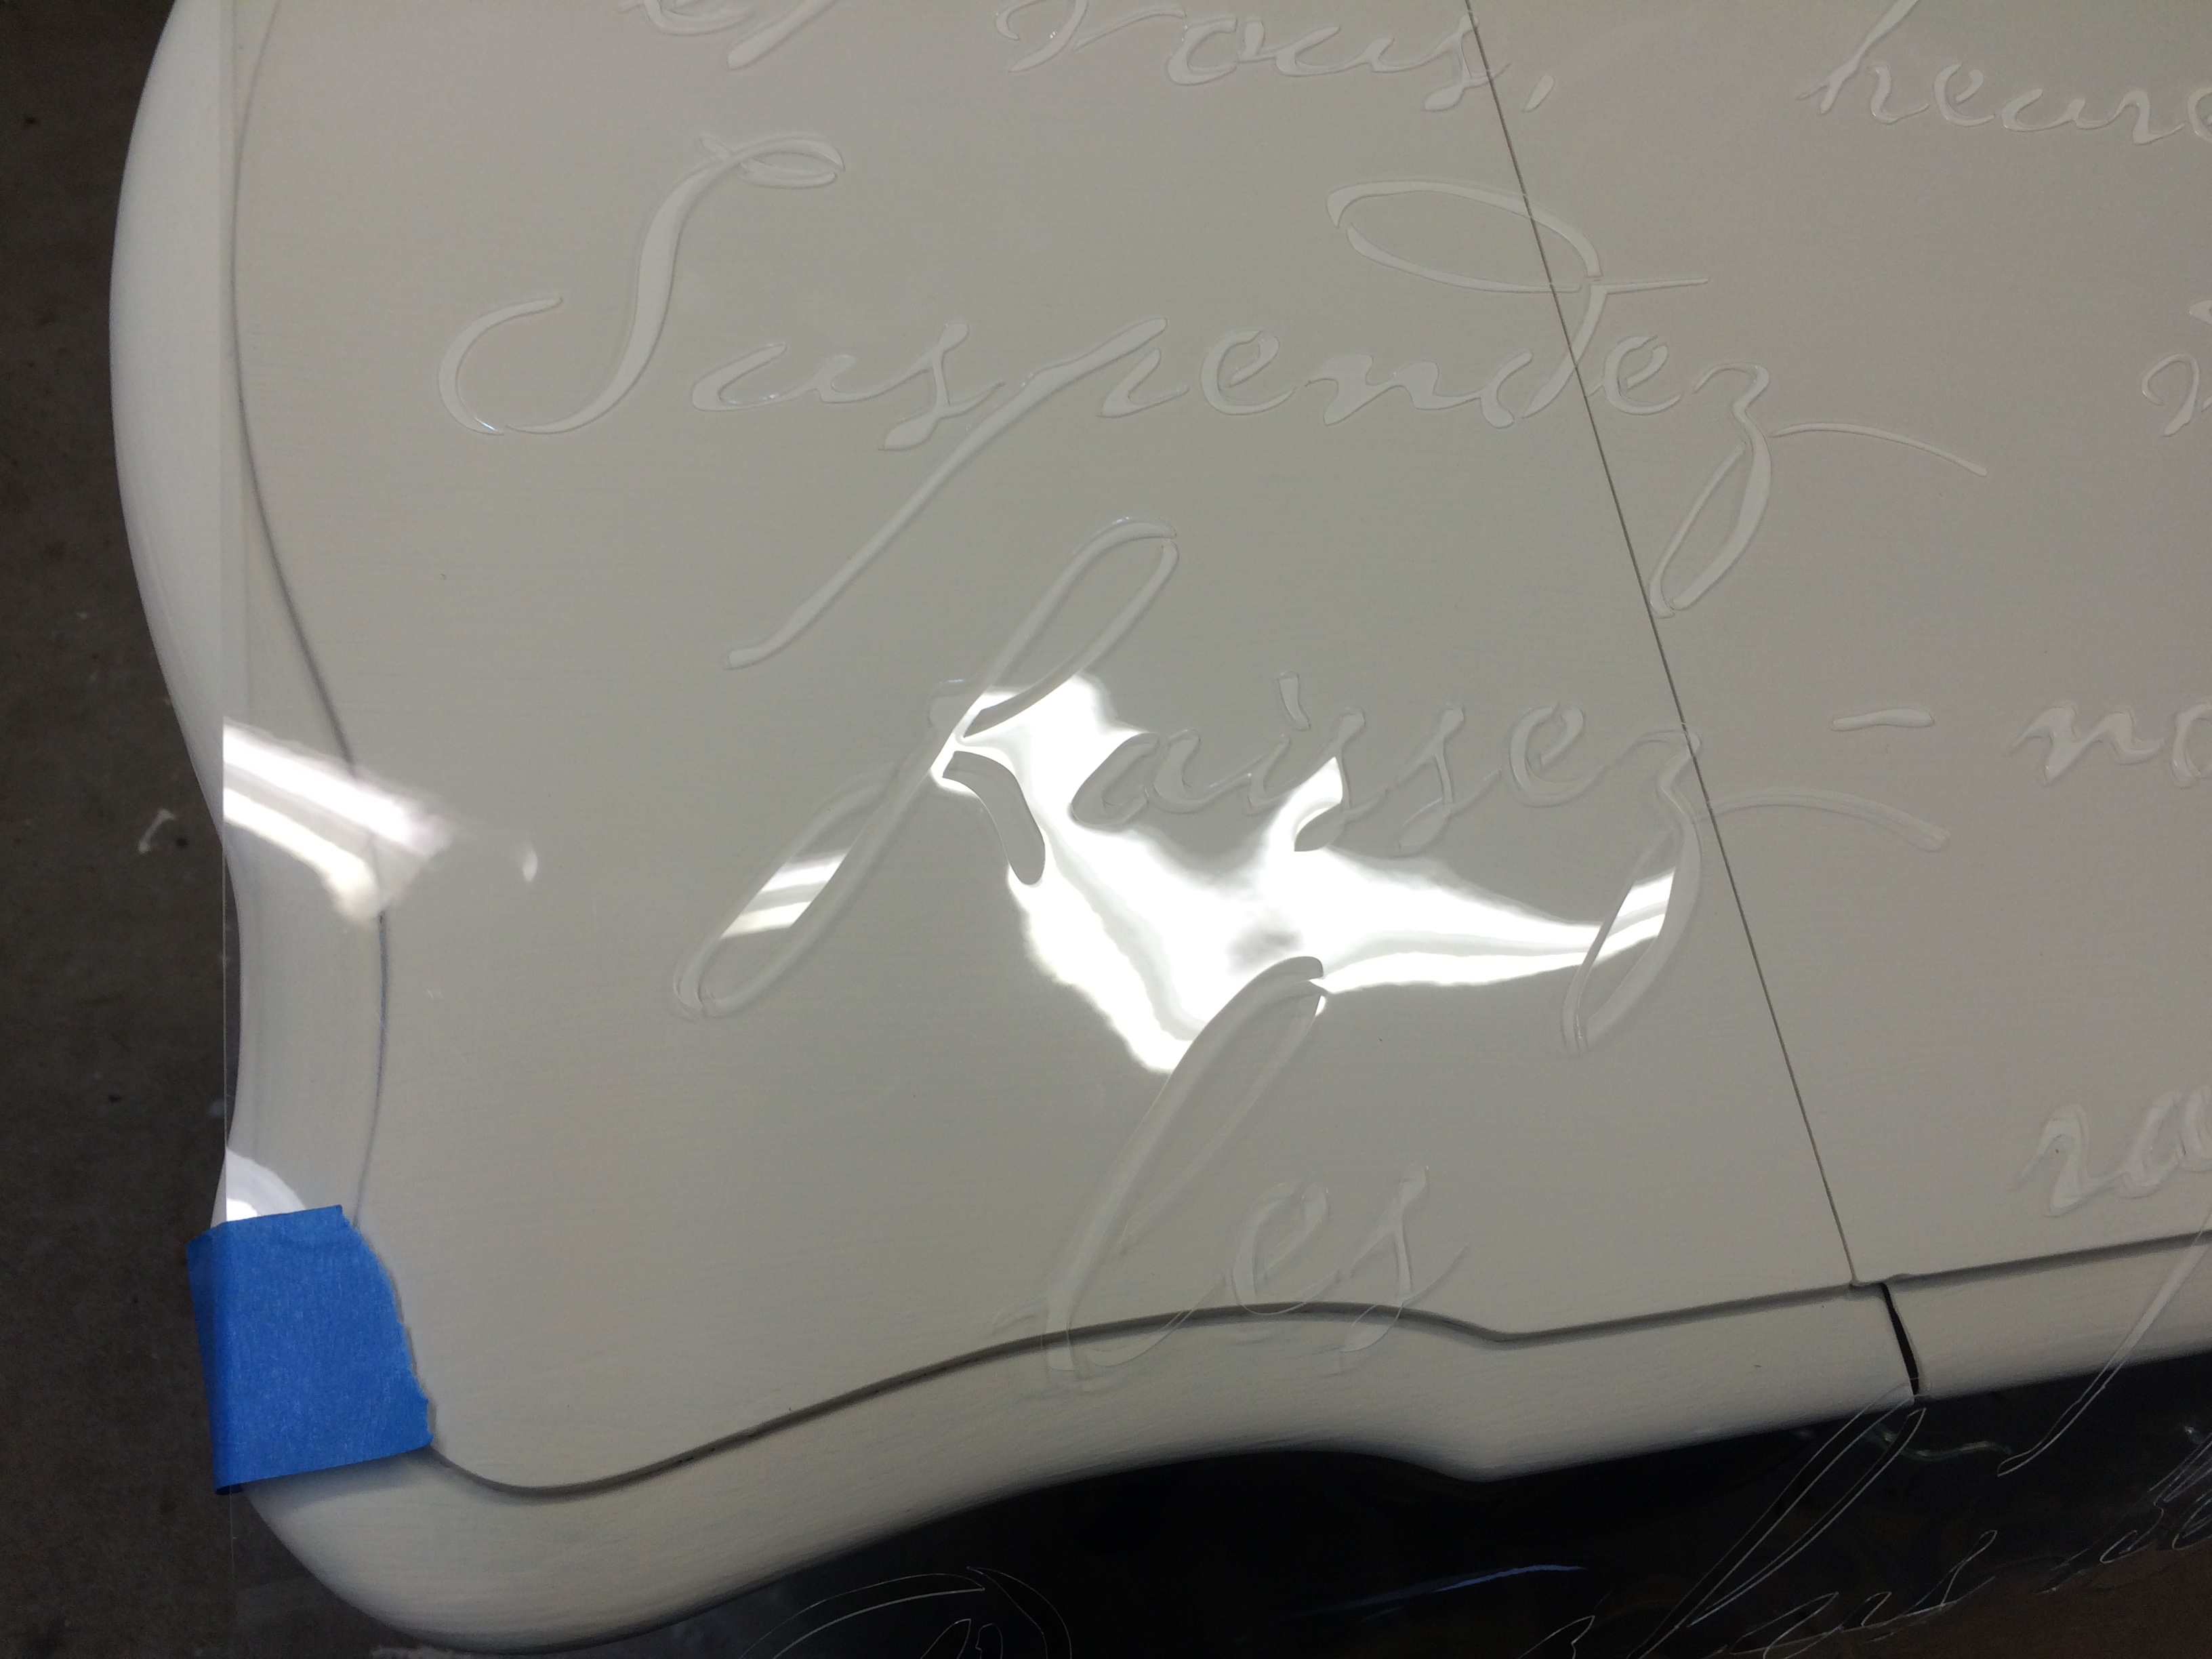
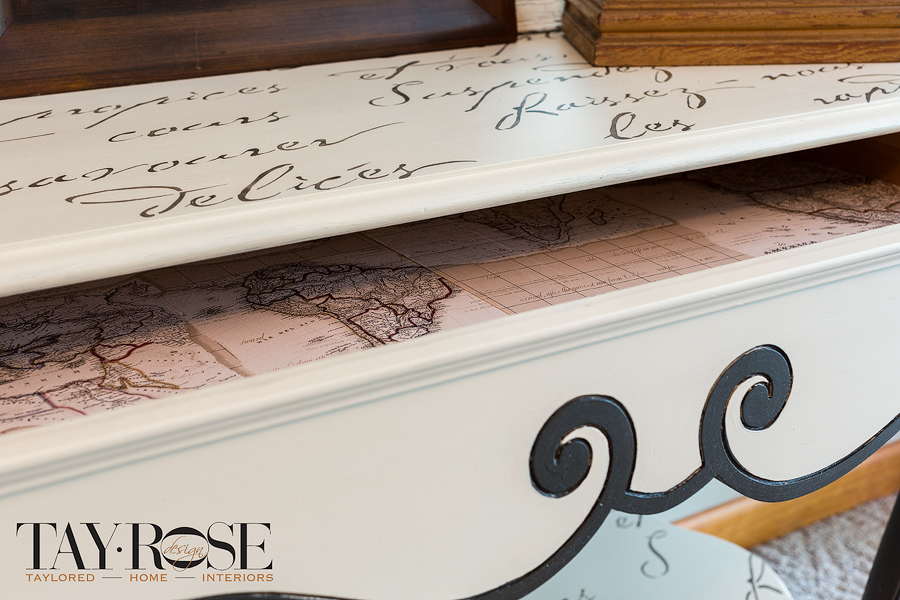
The table was also longer than the stencil, so I needed to re-lay the stencil after the paint had dried on the first half and line it up with the lettering to continue the poem. Since the stencil is clear, it was easy to line up lettering as the pattern continued on the surface. I started to use the small stencil brush using a small amount of paint on the brush, then dabbing on a paper towel before dabbing on table surface, and this process worked fine, but it was going very slowly, so I opted to try the foam roller instead.
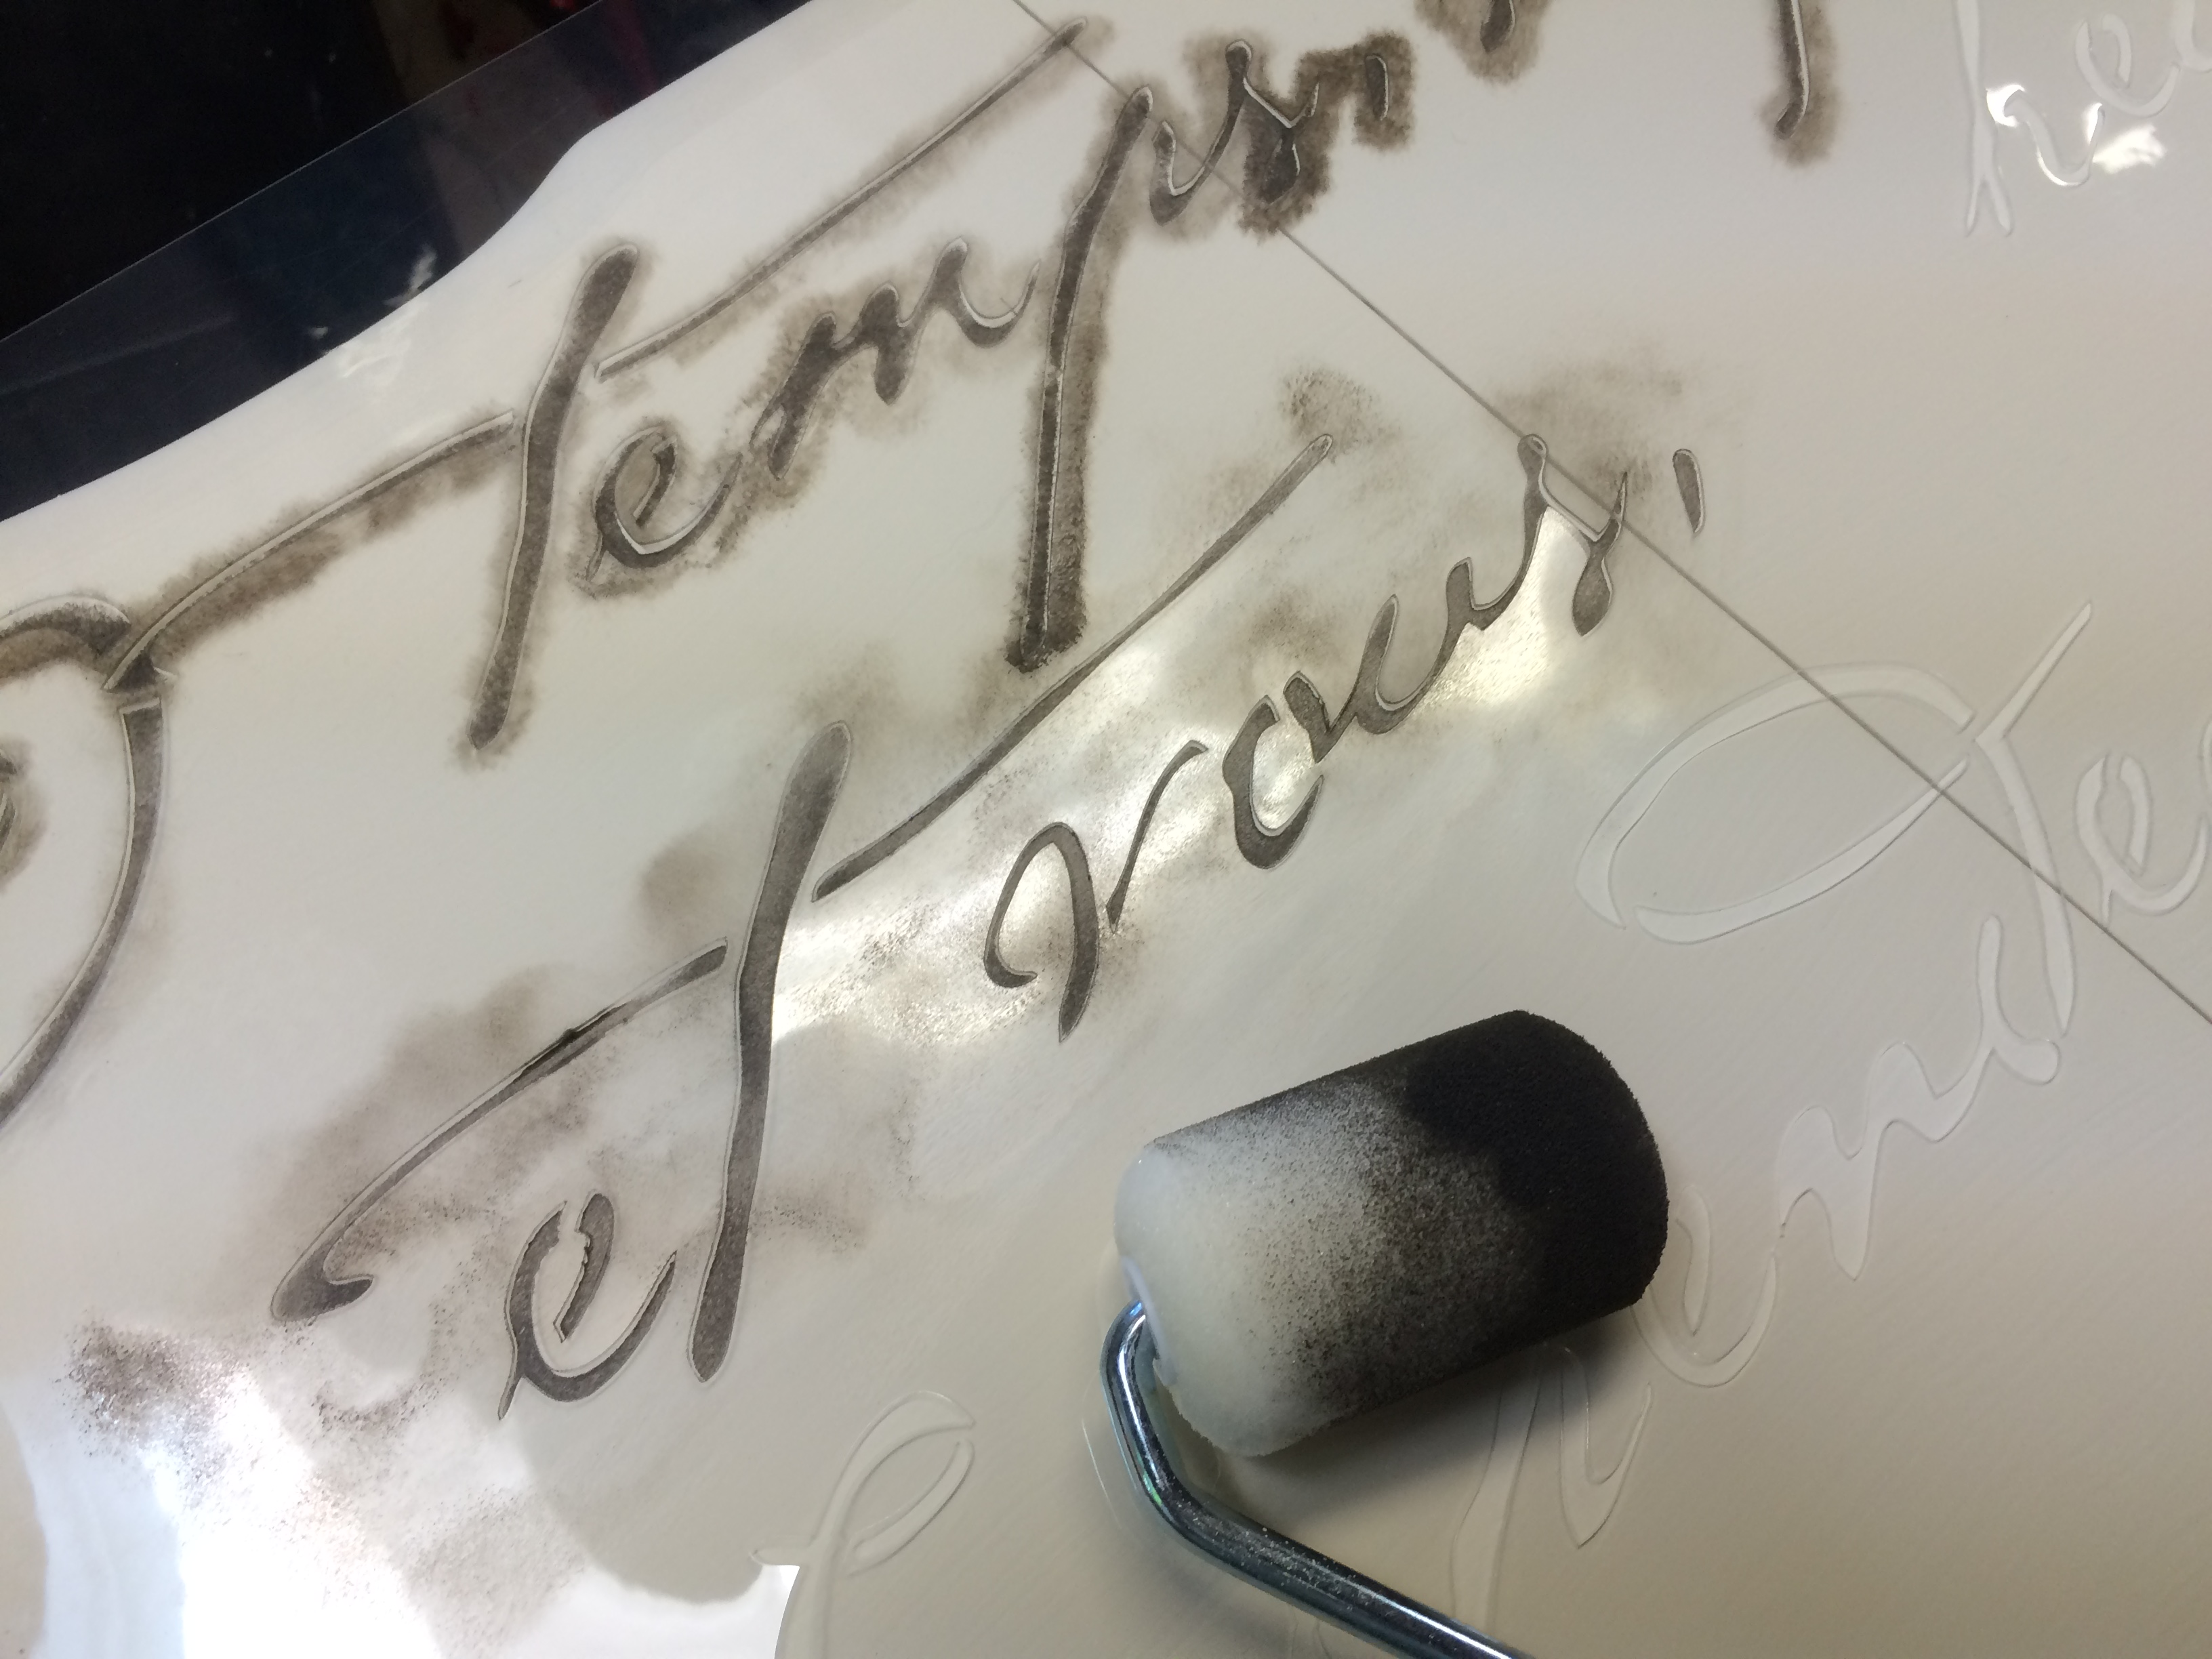
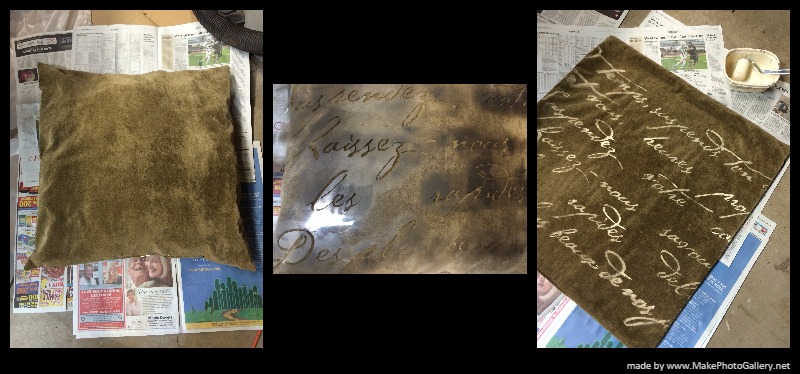
What a difference! With the roller, painting went super fast and very easy. I still rolled off a lot of the paint on a paper towel before applying on stencil and was careful how I rolled so that the roller didn’t catch on the letter edges and pull them up while rolling. The chalk based paint seemed to work fine, no problems at all with the stencil. I wanted to also try the stencil on fabric, so after finishing the table, and laying the stencil on the pillow cover to see how I wanted to line it up, I used windex to spray on the dried paint and wiped clean with paper towels and rags. Easy peasy.

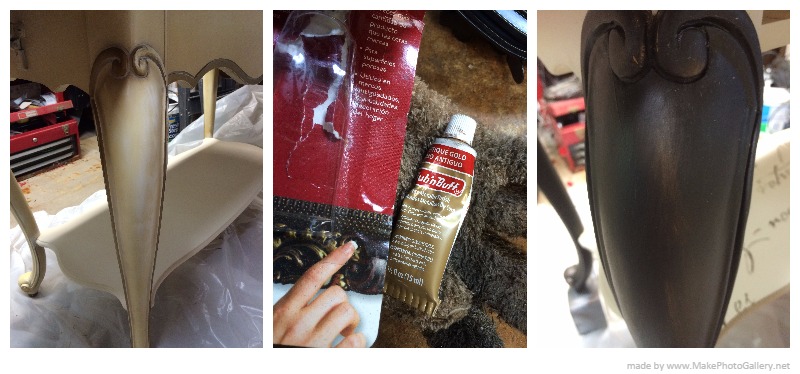
After all the surfaces were painted and dry, I applied some antique gold colored rub n’ buff metallic to the legs and a little on the borders to bring out some highlights on the curves and brighten up the brown a bit.
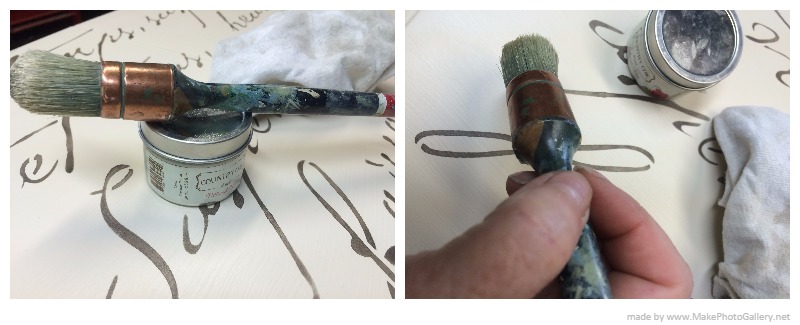
After applying the metallic, I used the natural wax offered by the same company as the paint and brushed on all the surfaces and buffed off the excess until all the stickiness was gone.
I found a wallpaper roll I had onhand that I used to line the drawer, so a bit of a surprise when opened, and the colors seemed to work well with the paint colors.
As I mentioned earlier, I wanted to try the stencil on fabric, so I used a solid velveteen pillow I had onhand, and I first removed the pillow insert, then laid the stencil down on top of the fabric and lined up the lettering as straight as I could, then taped down the edges of the stencil to the floor to keep it steady as I painted. I was able to use the foam roller in the same application procedure on the fabric as I did on the table top and shelf and it worked like a charm! I even used the same chalk based paint that I used on the table, for I read that the paint could be used on fabric as well. I decided to flip and have the cream stencil words on a brown surface to show a different look with the lettering, plus I did have the pillow on hand, so no added cost there!
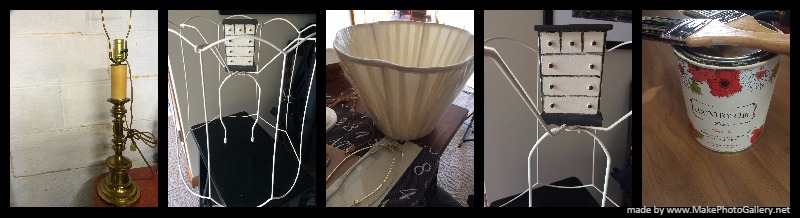
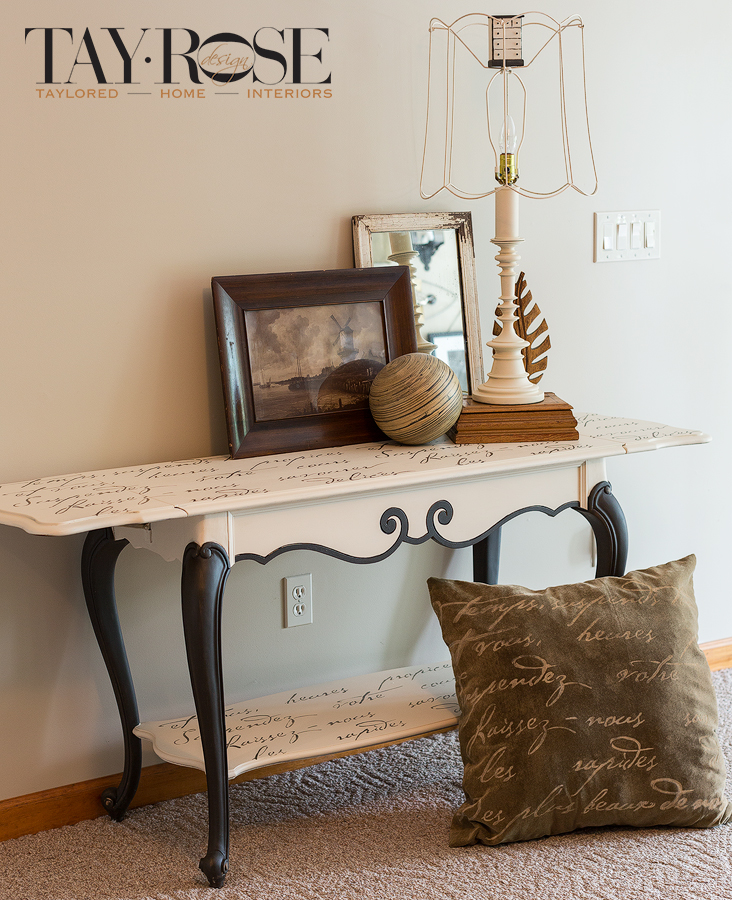
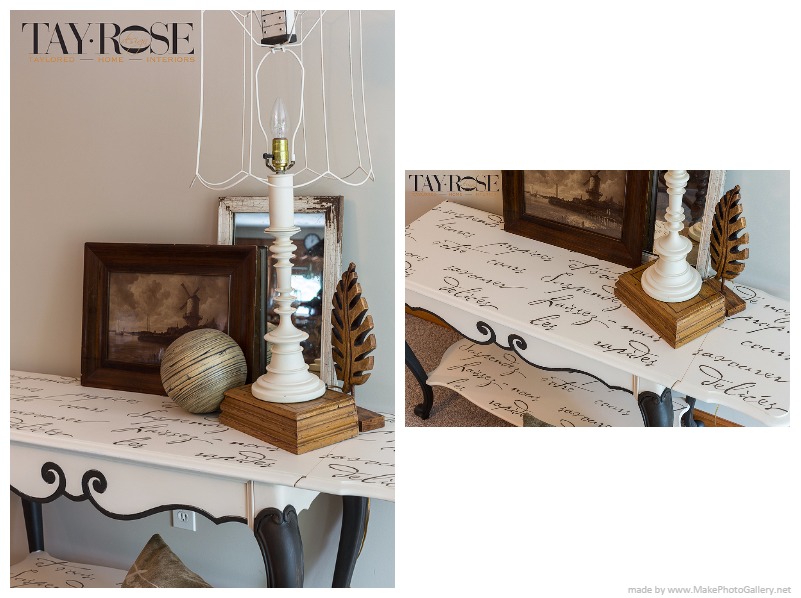
When staging the photo with the table, I used a table lamp that had originally been brass and I painted it in the same color as the table with the chalk based paint, and I also took the lampshade and stripped off the fabric and painted the wire in cheesecake color as well. I found at Hobby Lobby back in the dollhouse furniture area, a small wood dresser that I painted in same paints as the sofa table to pull in the colors as your eye went to the top of the lamp, and to have a little unexpected finial idea.
I love how the stencil poem gives enough of a pattern but doesn’t feel too busy and can be decorated easily. (Of course, when my husband takes such beautiful pictures, everything looks awesome. See more of his wonderful work at eRegalStudio.com. )
Cutting Edge Stencils recommend storing the larger stencils flat and under a bed as an option, so that is where my stencil is heading….but not for long for I’m sure I will have more projects in the future that will include this stencil!
To receive posts via email click HE RE  Subscribe in a reader or signup in Subscription box in sidebar.