I had a client who called about needing help to decide what to do with a large blank wall in her living room. She wanted something pretty; loved the wall I had done for a friend of hers; was willing to try something out of her comfort zone; and her husband’s desk had to stay where it was on the wall. She had just moved into this new spec house recently and still had lots of moving boxes in the basement, but nothing she felt would work on the wall. The wall is vaulted a bit and stretches from the living room into the dining room….it’s one large open space. Her sofa and chair with coffee table defined and grounded with area rug created the living room space, then behind on the other side of the room was the dining room space. The kitchen was on the opposite wall with the fireplace and windows to the backyard on the back wall. The desk was only about 4 1/2′ wide, so I didn’t want to extend any wall treatment too far past this width or it would dwarf the feel of the desk even further. 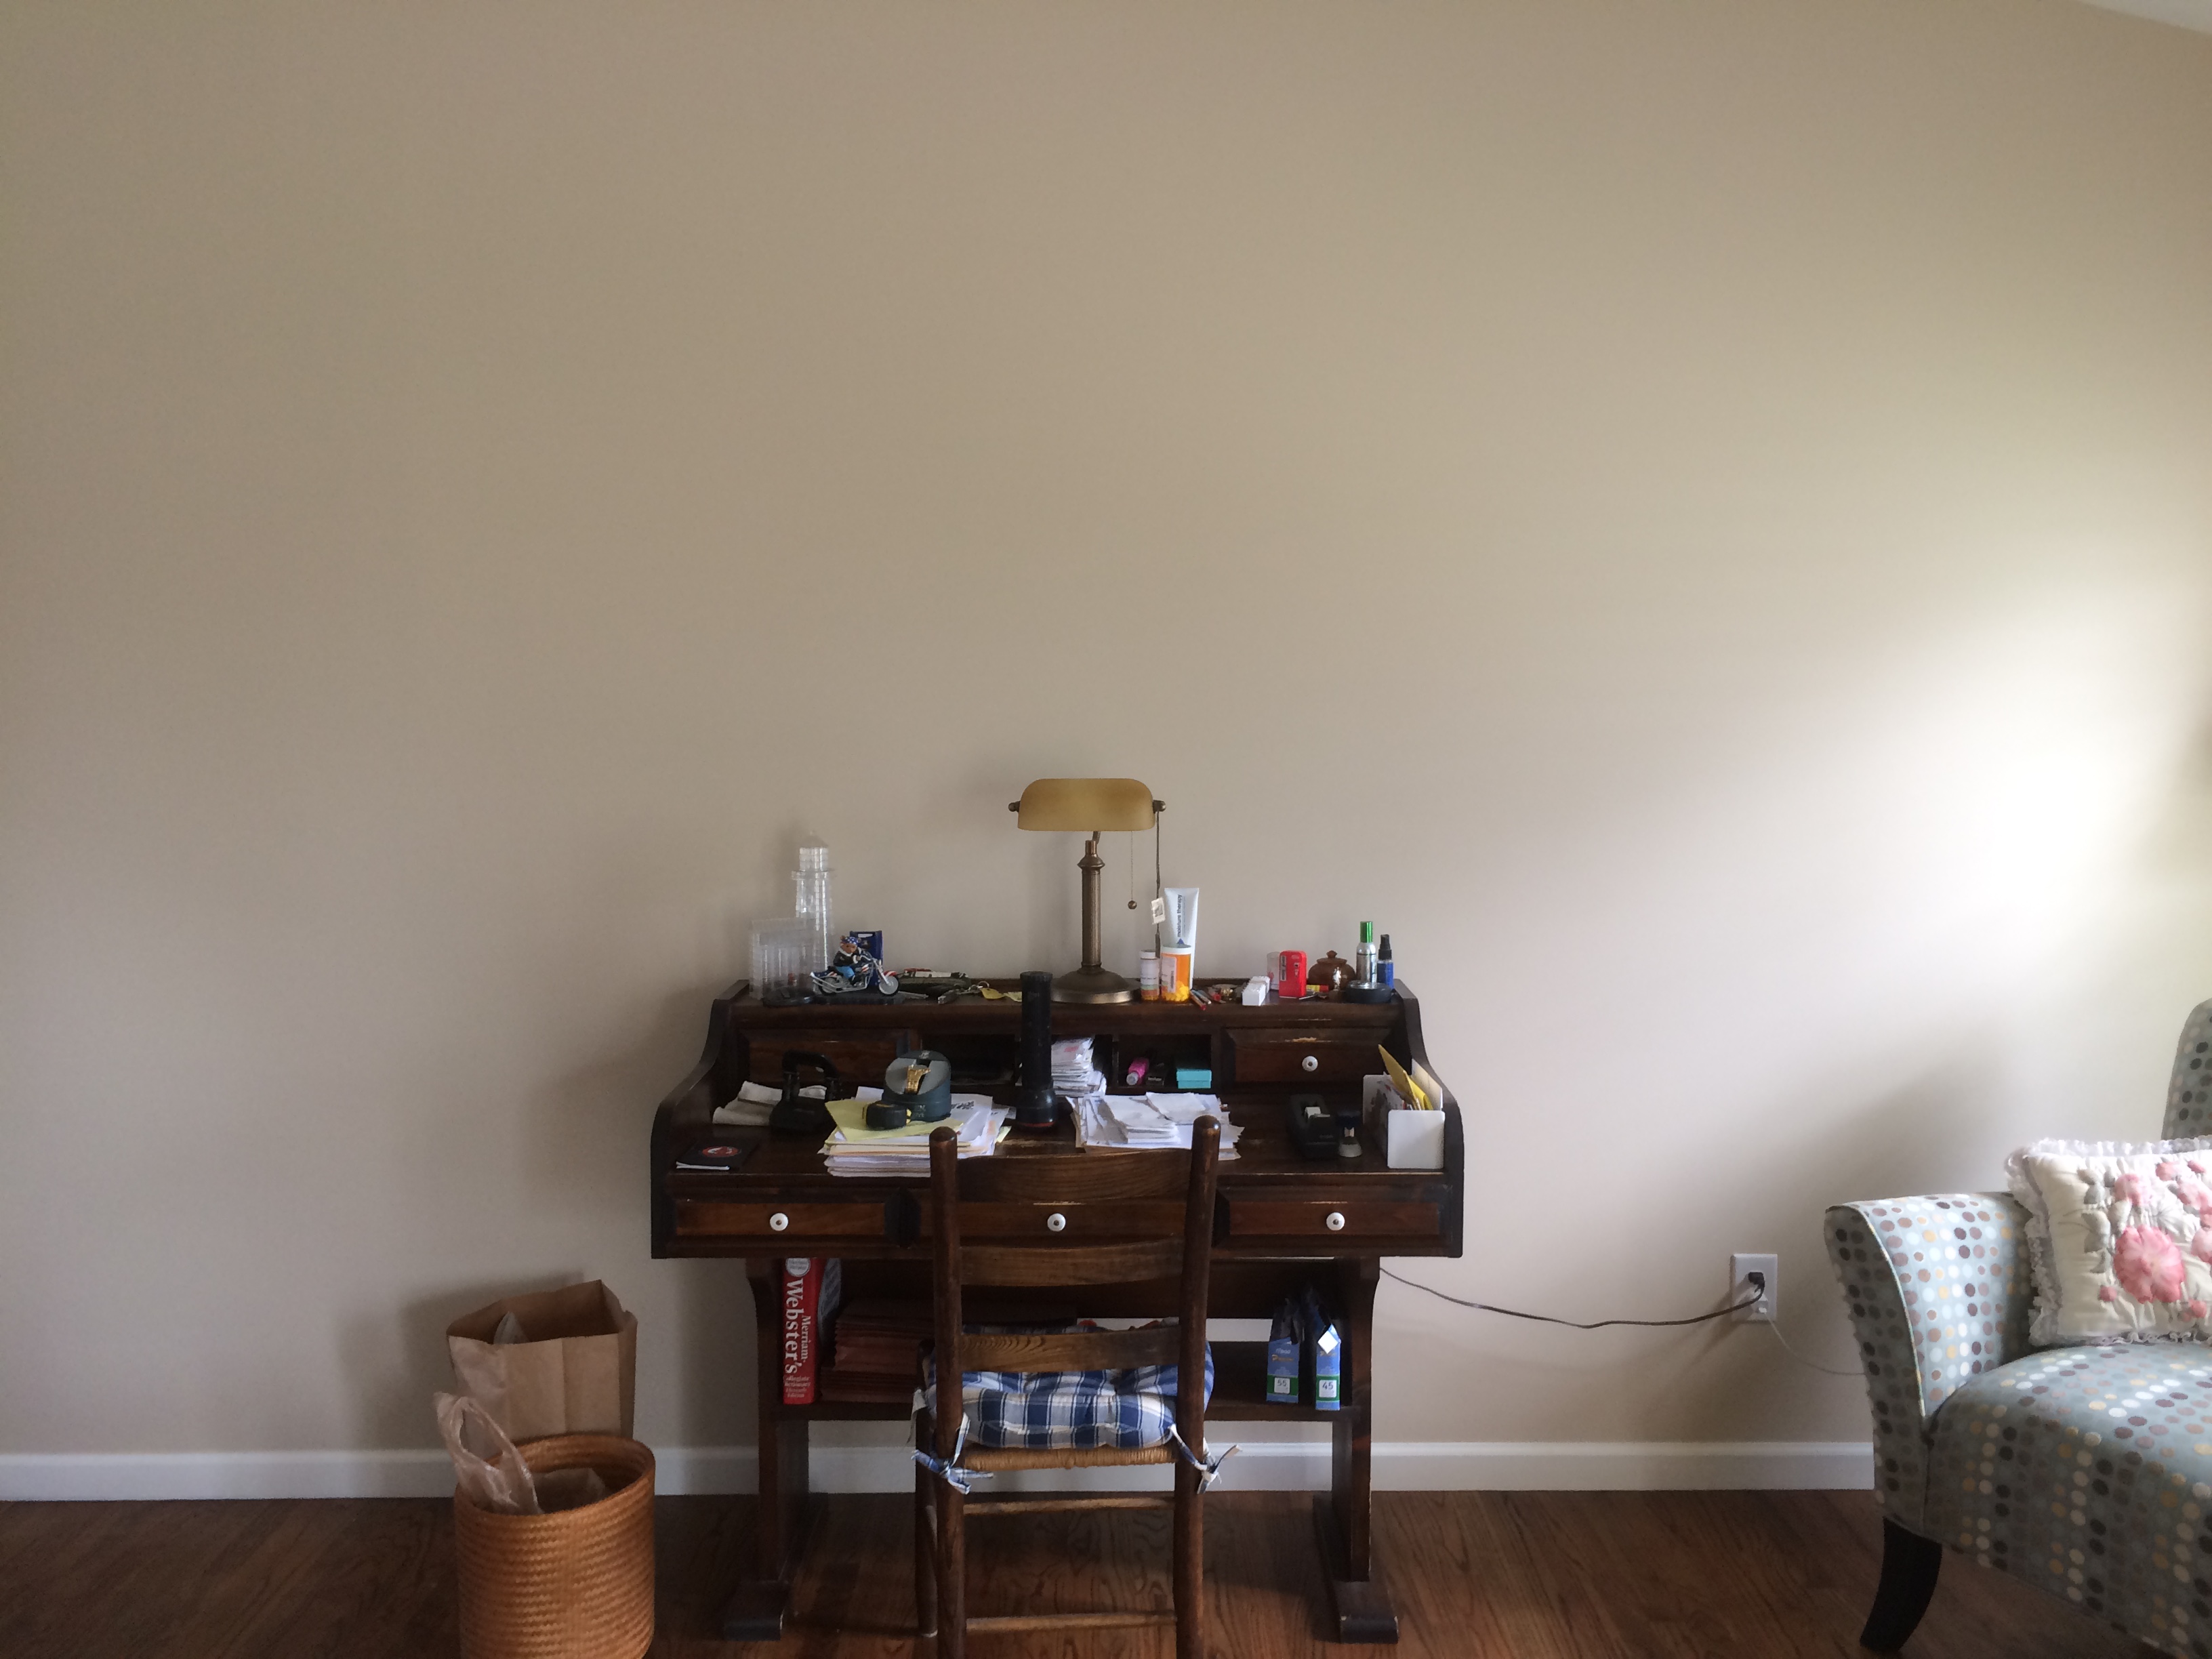
The client didn’t want a “heavy” look, she loved the light and airy feel of the walls, so I asked her if she had any mirrors or frames that I could repaint to make a collage for the wall. Soon, there were several mirrors and frames that she started pulling out of packing boxes in the basement.
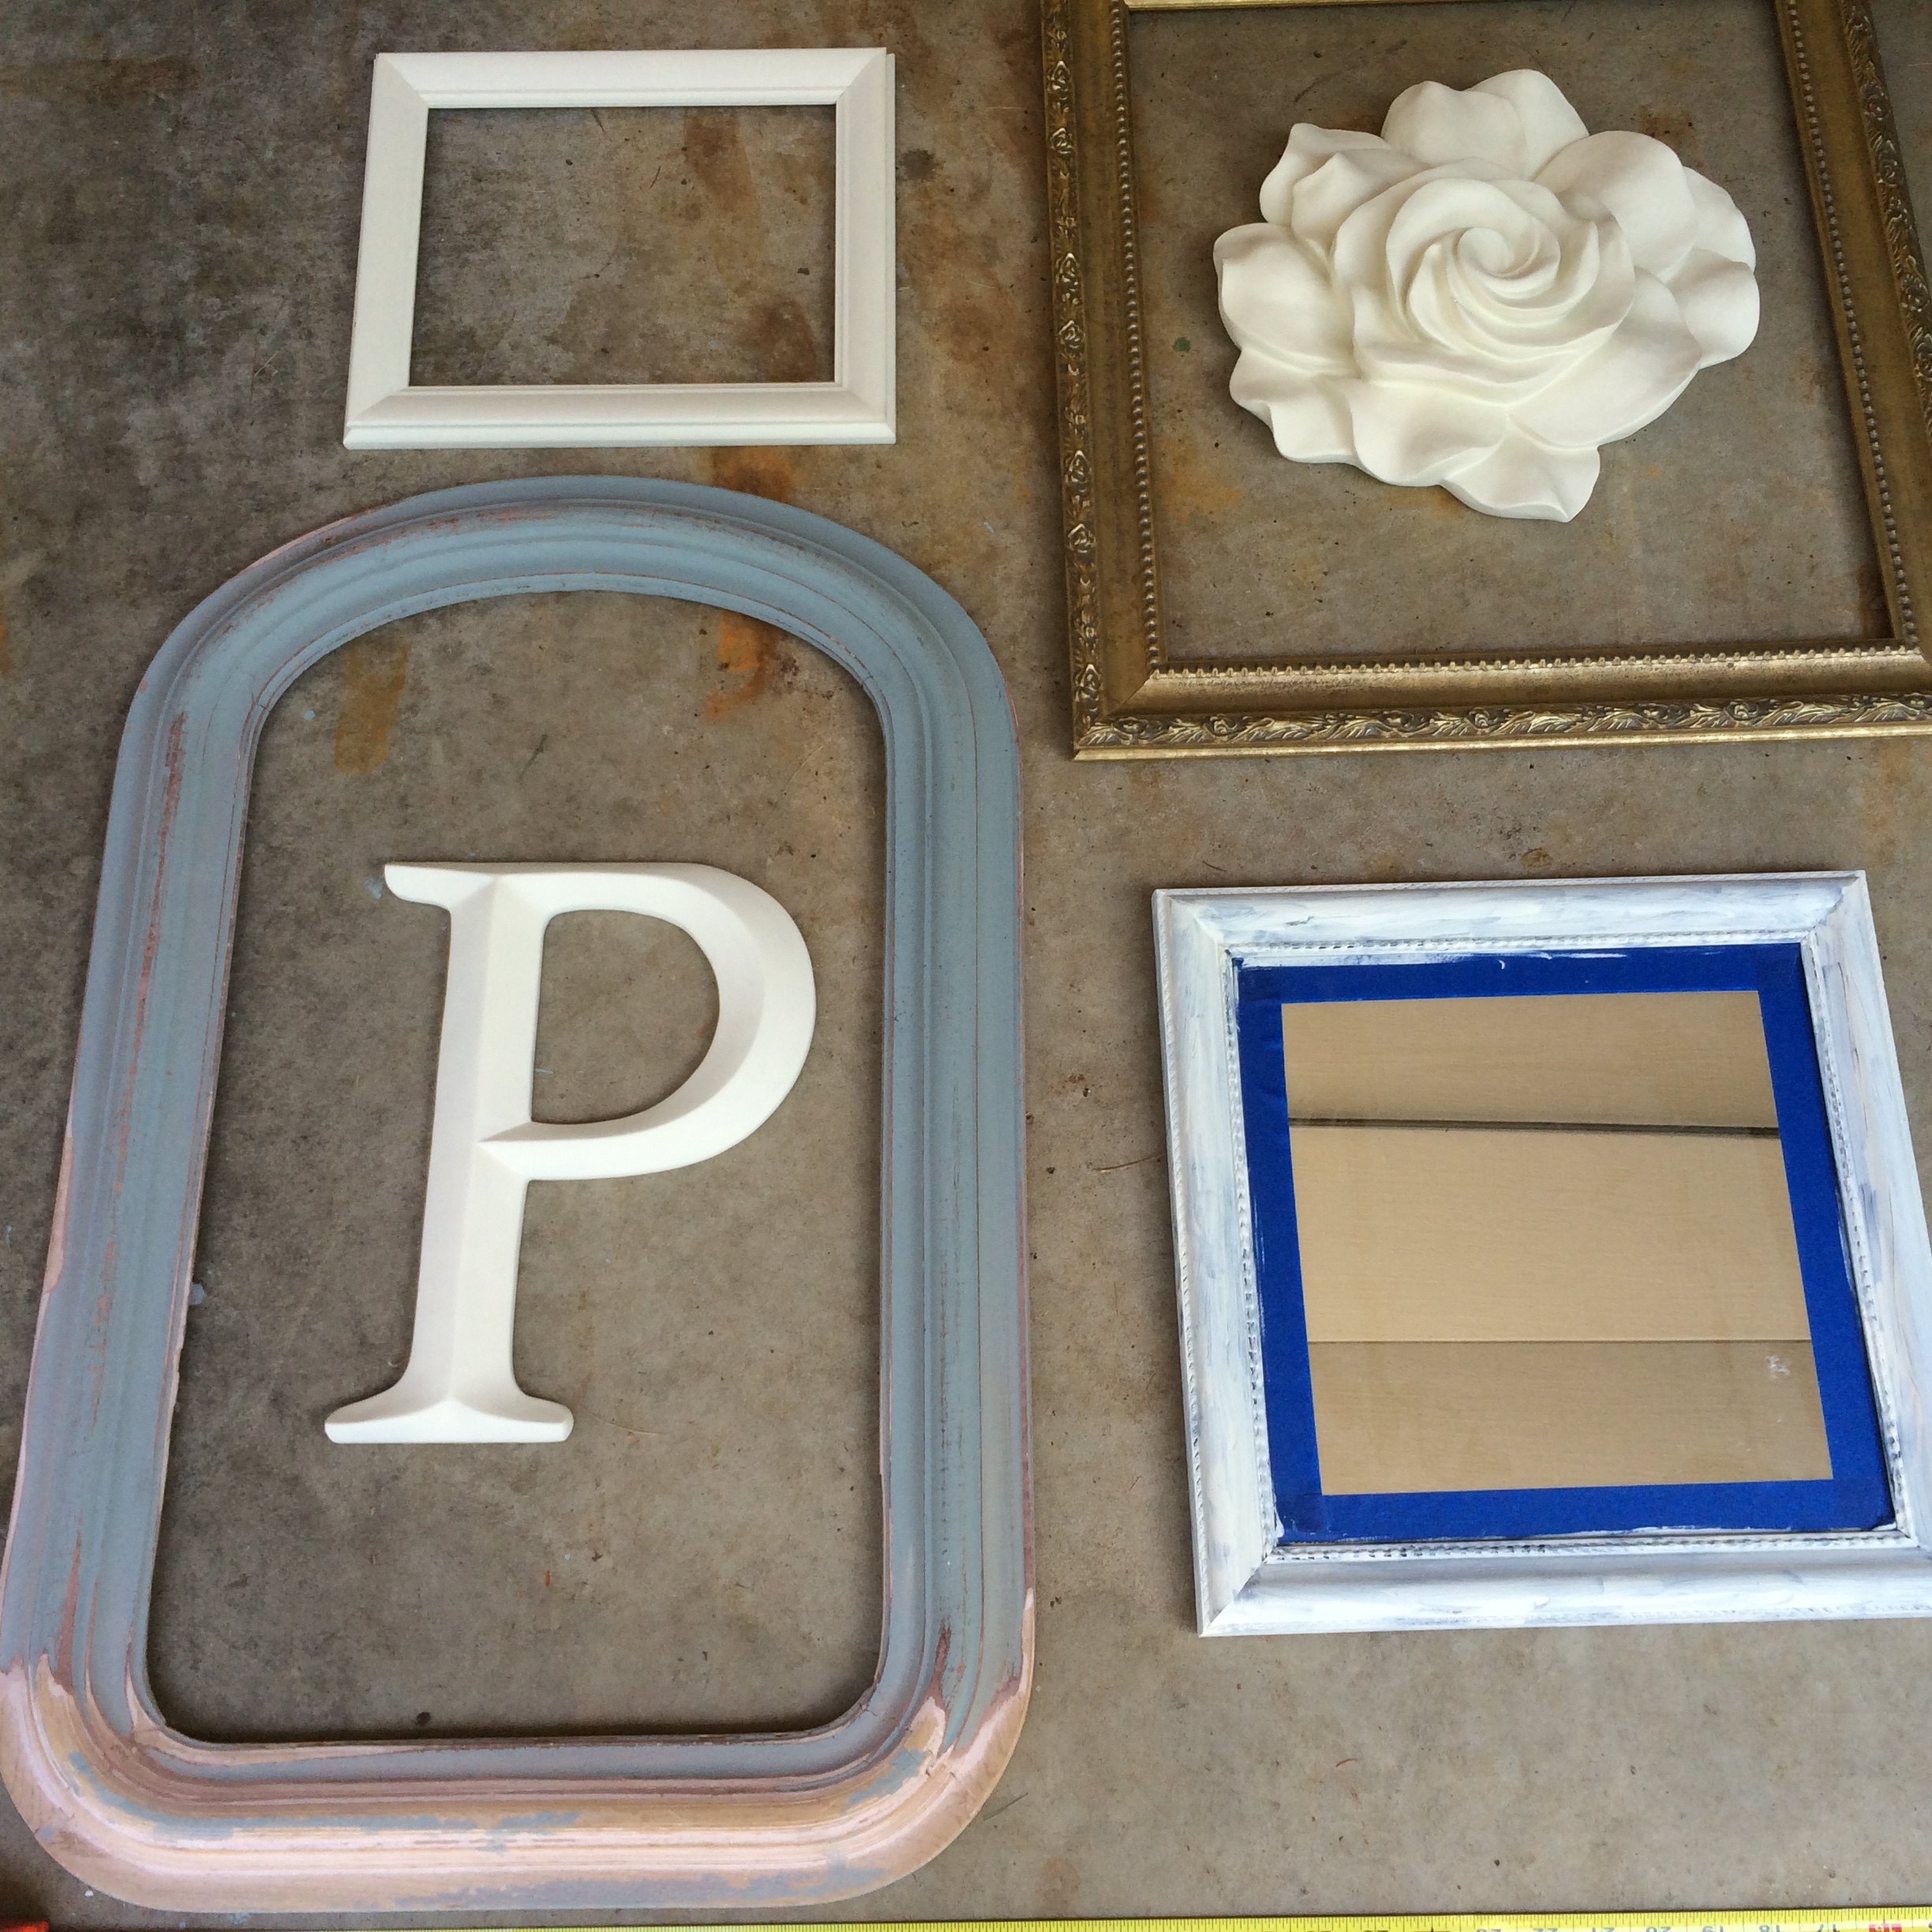
In my mind, I was envisioning a wall collage using mirrors and frames all painted in the same color, the color of the all the wood trim work. What I liked about using the frames is that with empty frames, the walls show through so just the outside of the frame is framing the art, which is the wall. The client said she would like a rose and an initial letter included in the collage if I could make it fit.
I packed up all the mirrors and frames and went straight to Hobby Lobby to look for the initial and for a rose sculpture that I remembered seeing there the other week. I scored on both, for they were on sale, and then I picked up the paint from Country Chic mineral based paint that matched the wood trim very well. I was able to acquire several other vintage wood frames from garage sales or thrift finds to add to the ones I had brought home from the client. I set up my saw horses and work bench in the garage and started the light sanding and prep for painting the mirrors and frames.
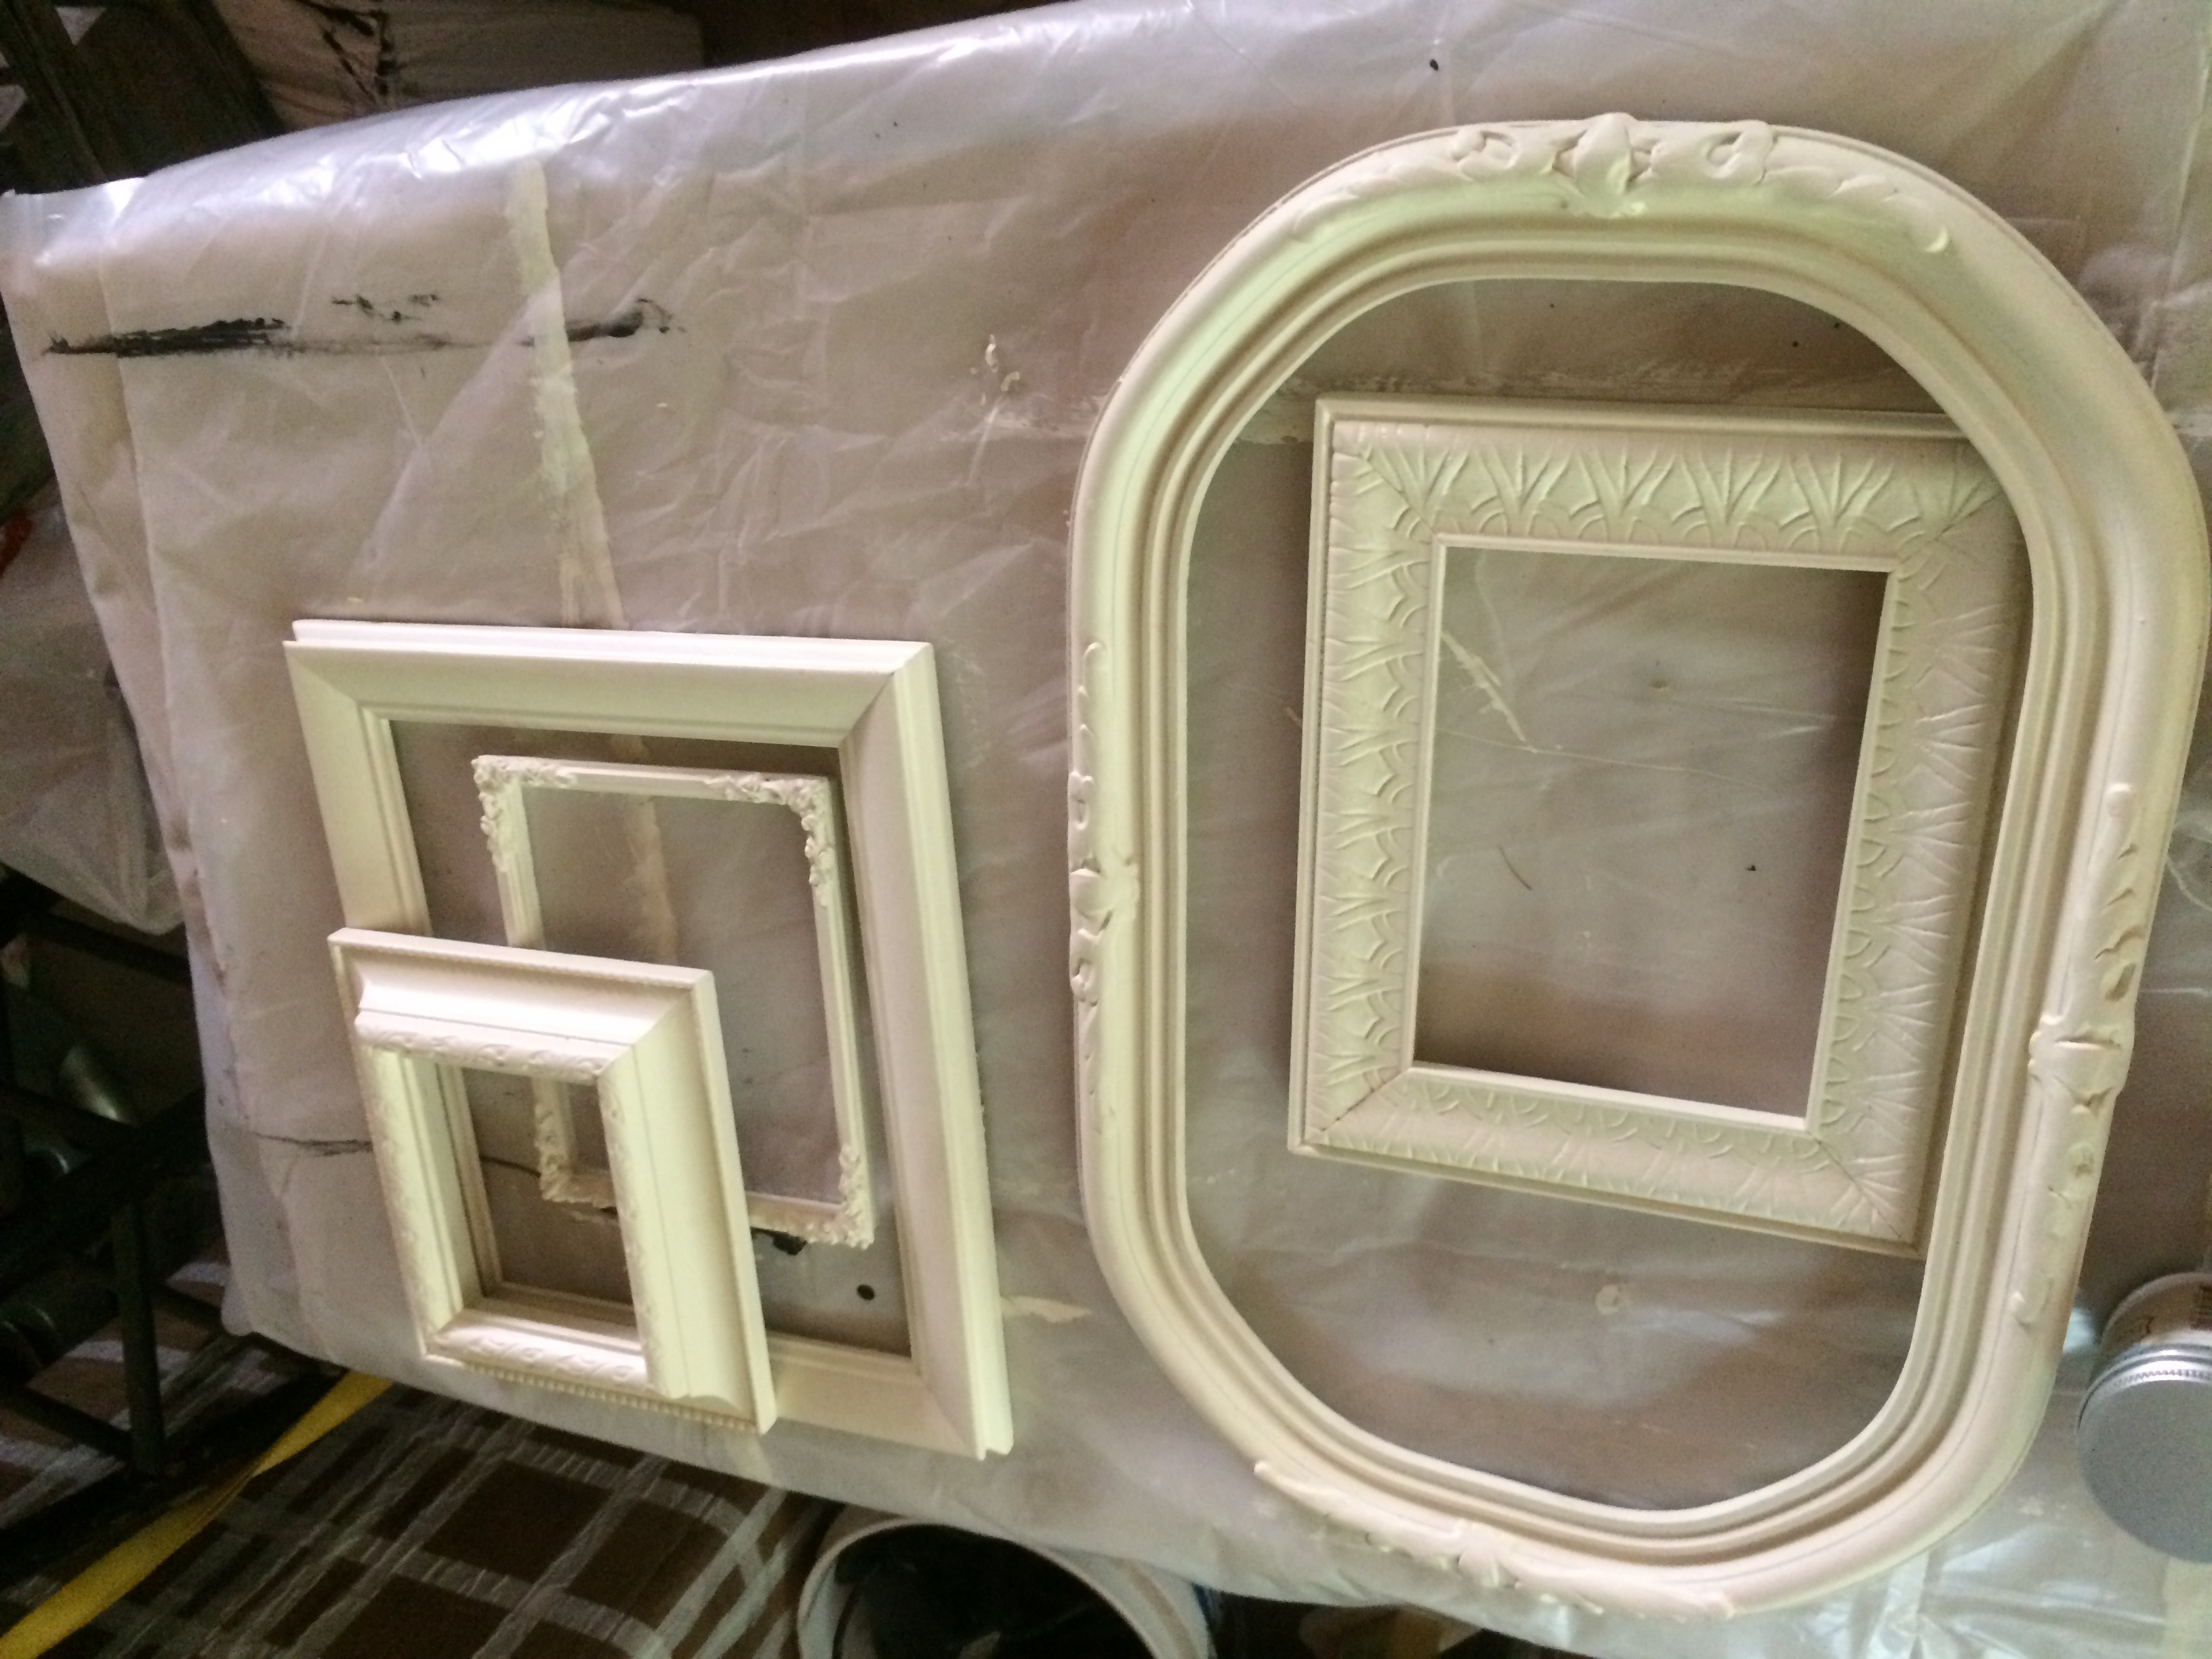
I used the chalk type paint, for I was working on several types of surfaces from plastic, to wood and even metal, so I knew this type of paint works on everything. Before I started, I did a trial layout of how the items would work together in the space I was allowing over the desk on the wall. Once I tried several layouts and chose one I liked, I started prepping those pieces for painting. I knew the client did not want the distressed look, so several coats had to be painted on each piece.
I taped the mirror with blue tape on the front, and I ended up sanding the backs of all the frames and mirrors lightly to remove any paint that ended up on the back edges. I had about 12 pieces to work with, and to lessen the amount of holes in the wall, I grouped a set of frames together and used nails and glue to make one piece out of 3 frames.
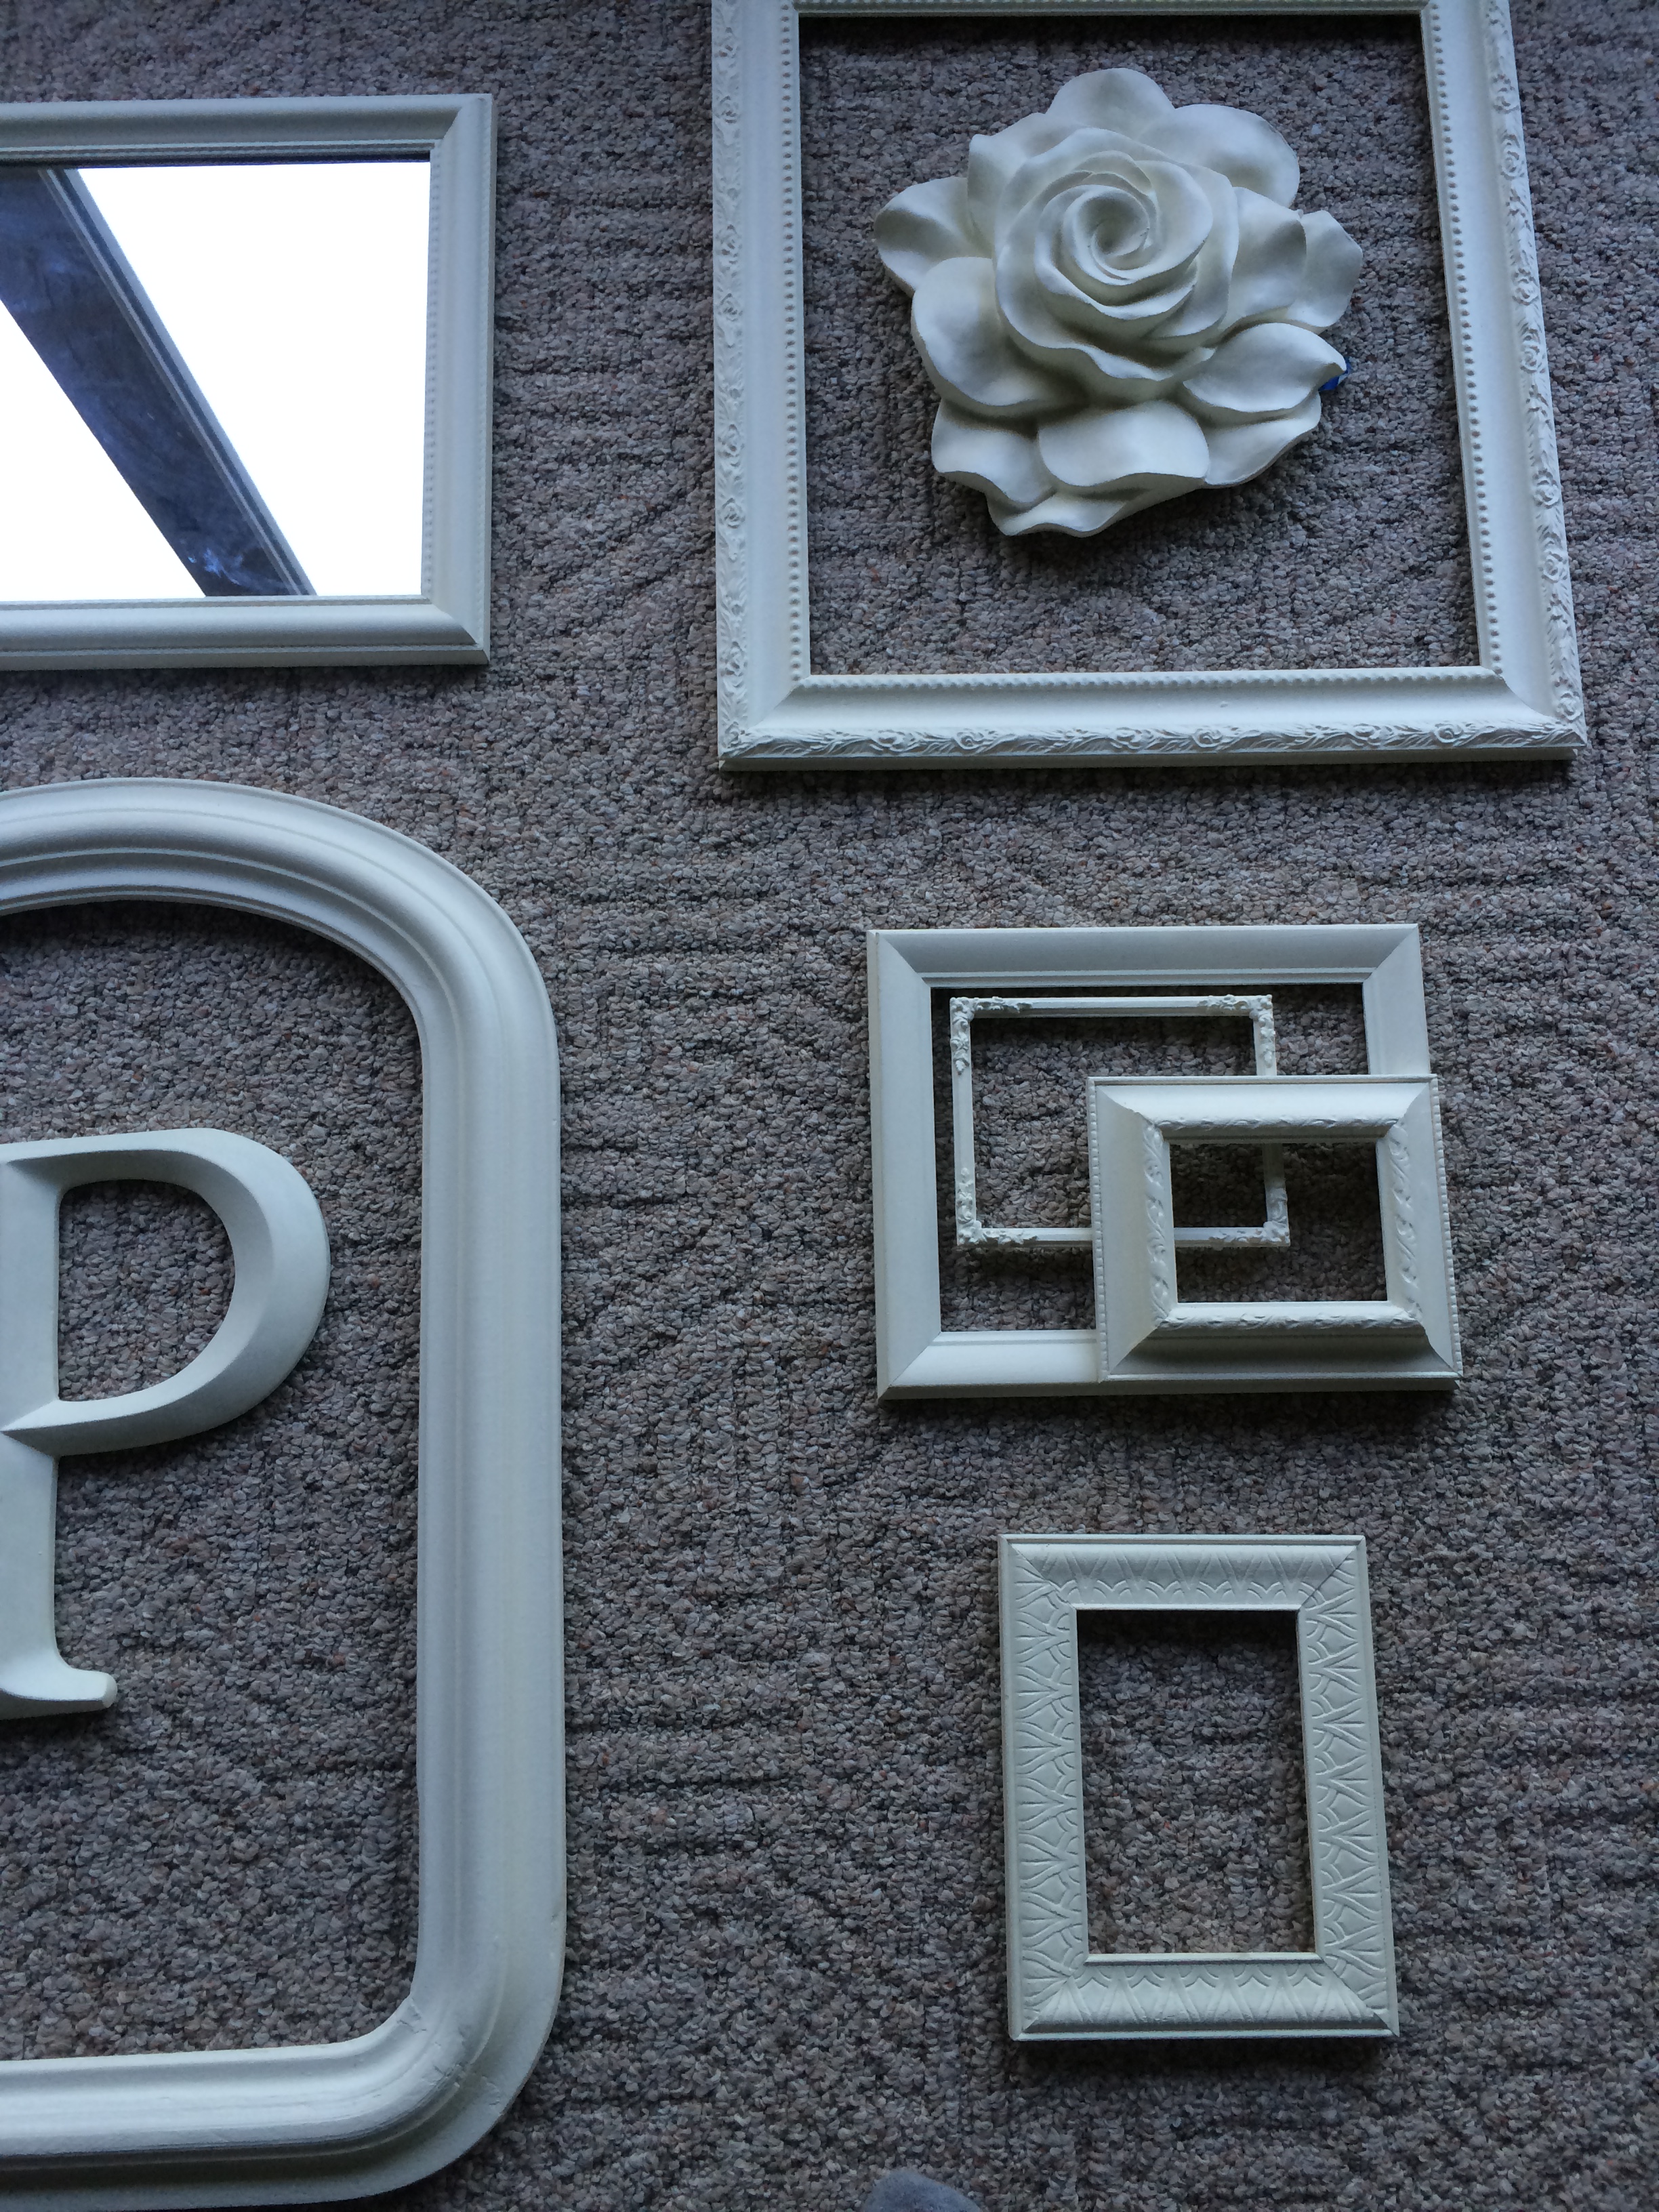
I also hung smaller frames inside larger frames and framed the initial and the rose. After applying at least 3 coats of paint on each, and touch up spots where the drips had to be sanded down, I rubbed on natural wax and buffed off so the surface would have a soft look and a smooth feel. Plus the wax after drying creates a nice protective coat. Of course, the warm weather didn’t help the wax to dry, so I had to bring them into the house for a few days to set. I kept buffing with a clean cloth until it didn’t feel sticky to the touch. I also applied many of the tiny felt pads to the backs of every frame and piece that would be touching the wall, so no marks would mar the newly painted wall surface when hung.
I initiated the help of a friend for installation day, and we brought in drop cloths and spread out the collage design on the floor first. I had cut out outlines on craft paper of every shape so we could tape to the wall in place, adjust as needed with the blue tape, and then measure where the nail hanger would go. We started with the middle row and made our way out the sides and it went up pretty quickly using the cutouts. The client was sitting at the kitchen table during this whole time and kept saying, “it’s so pretty” so I knew we were assured of a successful outcome.
What I liked about doing a collage rather than a large piece of framed art, was that with a collage and having open frames, it still gave the feel of space and airiness to the wall and wasn’t heavy or made the desk look too wimpy or small. We discussed with the client about changing out the knobs on the desk to match her glass lamps and she was happy to hear the suggestions.

The great thing about collages is that you can add to, change up without too much effort and still have a great timeless look.
And the best compliment of all is an email I received from the client – “Thank you so much for doing all that work I love it and sit and look at it lot
Thank you”
Nothing better than a happy client!
To receive posts via email click HE RE  Subscribe in a reader or signup in Subscription box in sidebar.