• Shop
    • Antiques
    • Home Decor
    • Jewelry
      • Necklaces
      • Bracelets
      • Earrings
      • Rings
      • Pins
    • Upcycled handmade
      • upcycled womens tops
      • upcycled womens jackets
      • Upcycled womens pants
      • upcycled pillows
      • Upcycled Pickleball Shirts
      • upcycled purses
    • MacKenzie-Childs
      • MacKenzie-Childs Taylor Dinner Plate
      • MacKenzie-Childs Taylor Luncheon Plate
      • MacKenzie-Childs small oval dish
      • MacKenzie-Childs Taylor Bread & Butter
      • MacKenzie-Childs Taylor Mugs
      • MacKenzie-Childs Taylor Saucers
      • MacKenzie-Childs Taylor Breakfast Bowls
      • MacKenzie-Childs Taylor Berry Bowl
      • MacKenzie-Childs Taylor Chowder Bowls
      • MacKenzie-Childs Wallcourt pieces
      • MacKenzie-Childs Enamelware
      • MacKenzie-Childs Torquay dinnerware
      • MacKenzie-Childs MacLachlan Dinnerware
      • MacKenzie-Childs Taylor Serving Ware
      • MacKenzie-Childs Glass Goblets
      • MacKenzie-Childs glass tumbler
      • MacKenzie-Childs Glass Serving pieces
      • MacKenzie-Childs Decor pieces
      • MacKenzie-Childs Placemats & Coaster sets
      • MacKenzie-Childs Paper Products
      • MacKenzie-Childs Tile
    • Shoes
  • Home
  • About
    • I believe…
  • Gallery
    • Custom Design
    • Interior Design
      • Bath
      • Bedroom
      • Dining Room
      • Entry Way
      • Kitchen
      • Laundry
      • Living Room
      • Office
      • Mudroom
      • Themed Rooms
  • Color CCE
  • Services
    • Services
    • Design Process
    • New Construction
  • Journal
    • DIY
    • Repurposed
    • Art
    • Interior Design Room
    • Holiday
    • Theme Room
  • Press
  • Contact

“Rev” Up your Home Decor with Car Parts!

Taylor
21 Feb 2015
Art, Custom Design, DIY, Interior Design Room, Repurposed
Baldwinsville NY, Clay NY, coil, consultation, crankshaft, custom, decorator, designer, DIY, Home Interior Designs, junkyard, Liverpool NY, Man Cave, mirror, Phoenix NY, repurpose, reuse, side table, spring, Syracuse NY, tassel, TayRose Design, vase

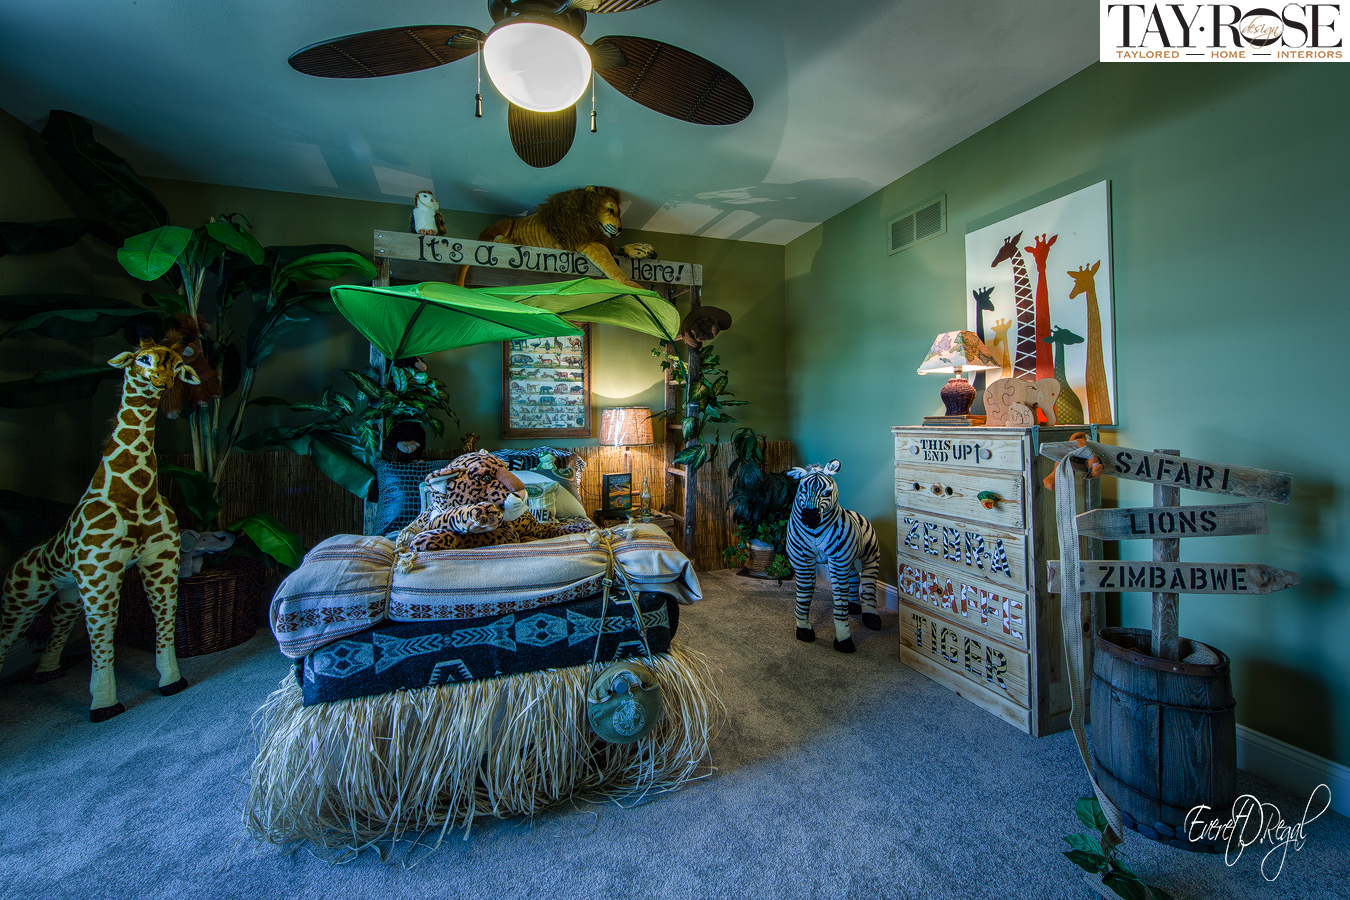
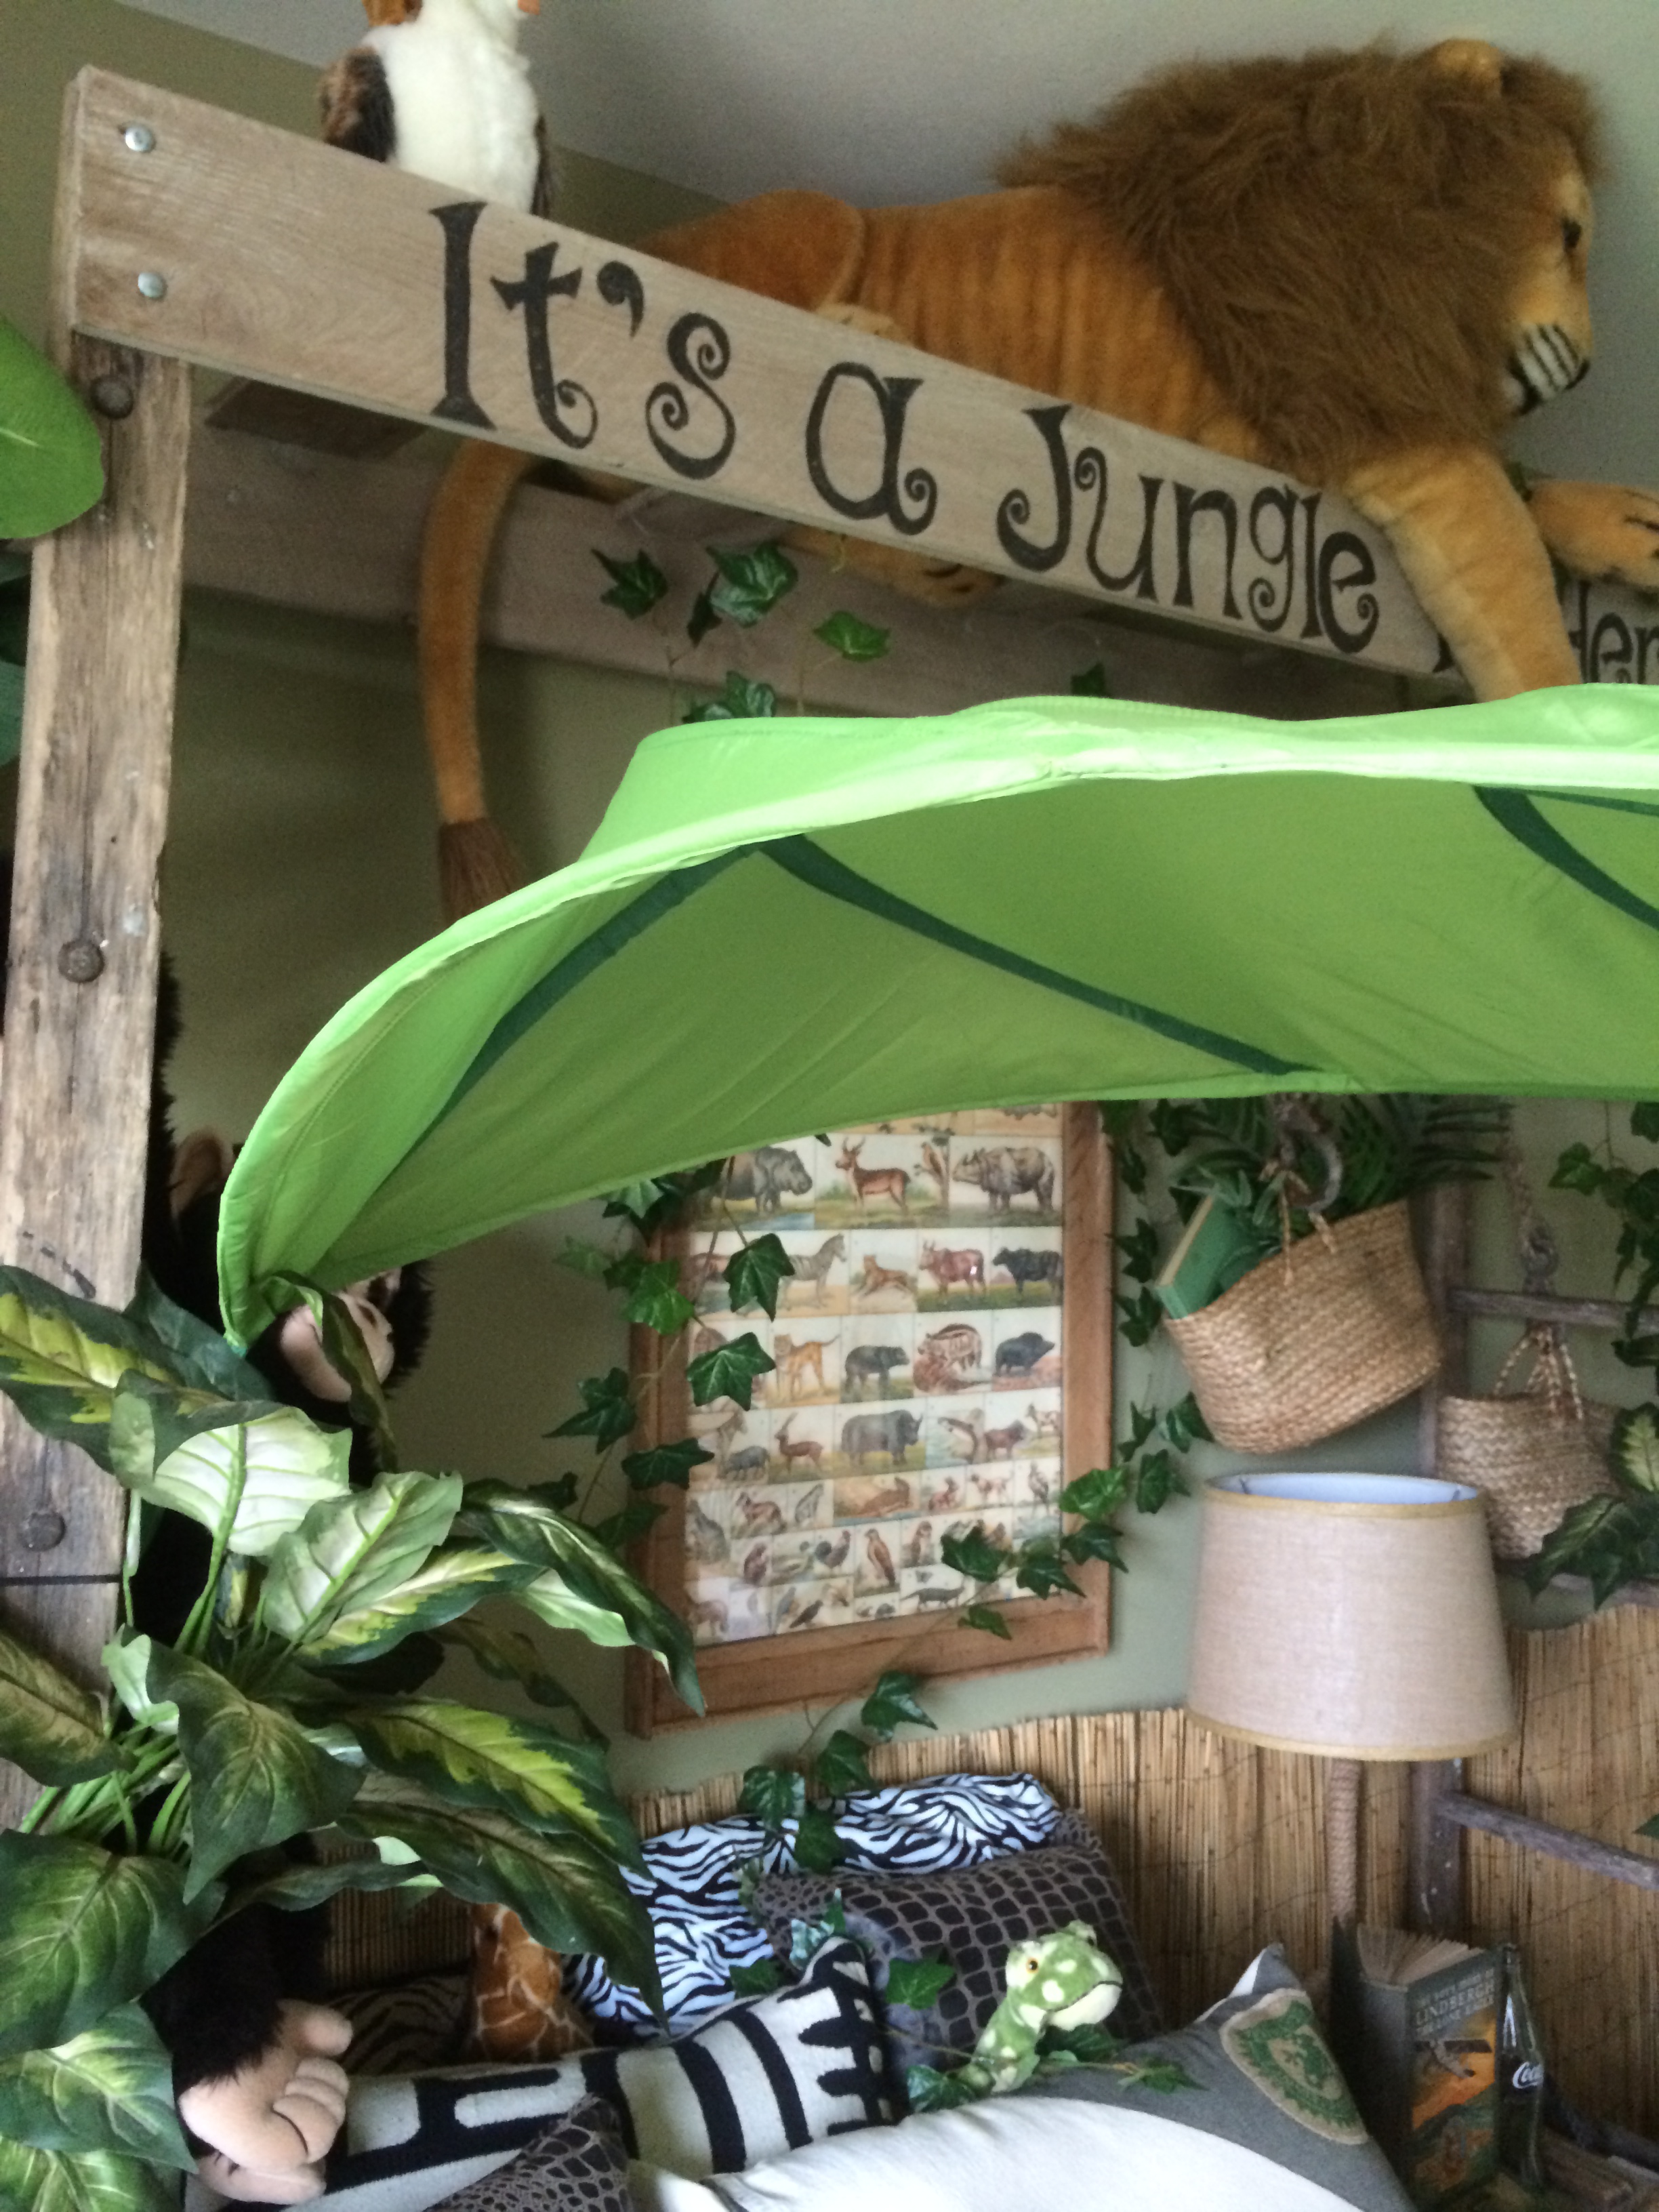
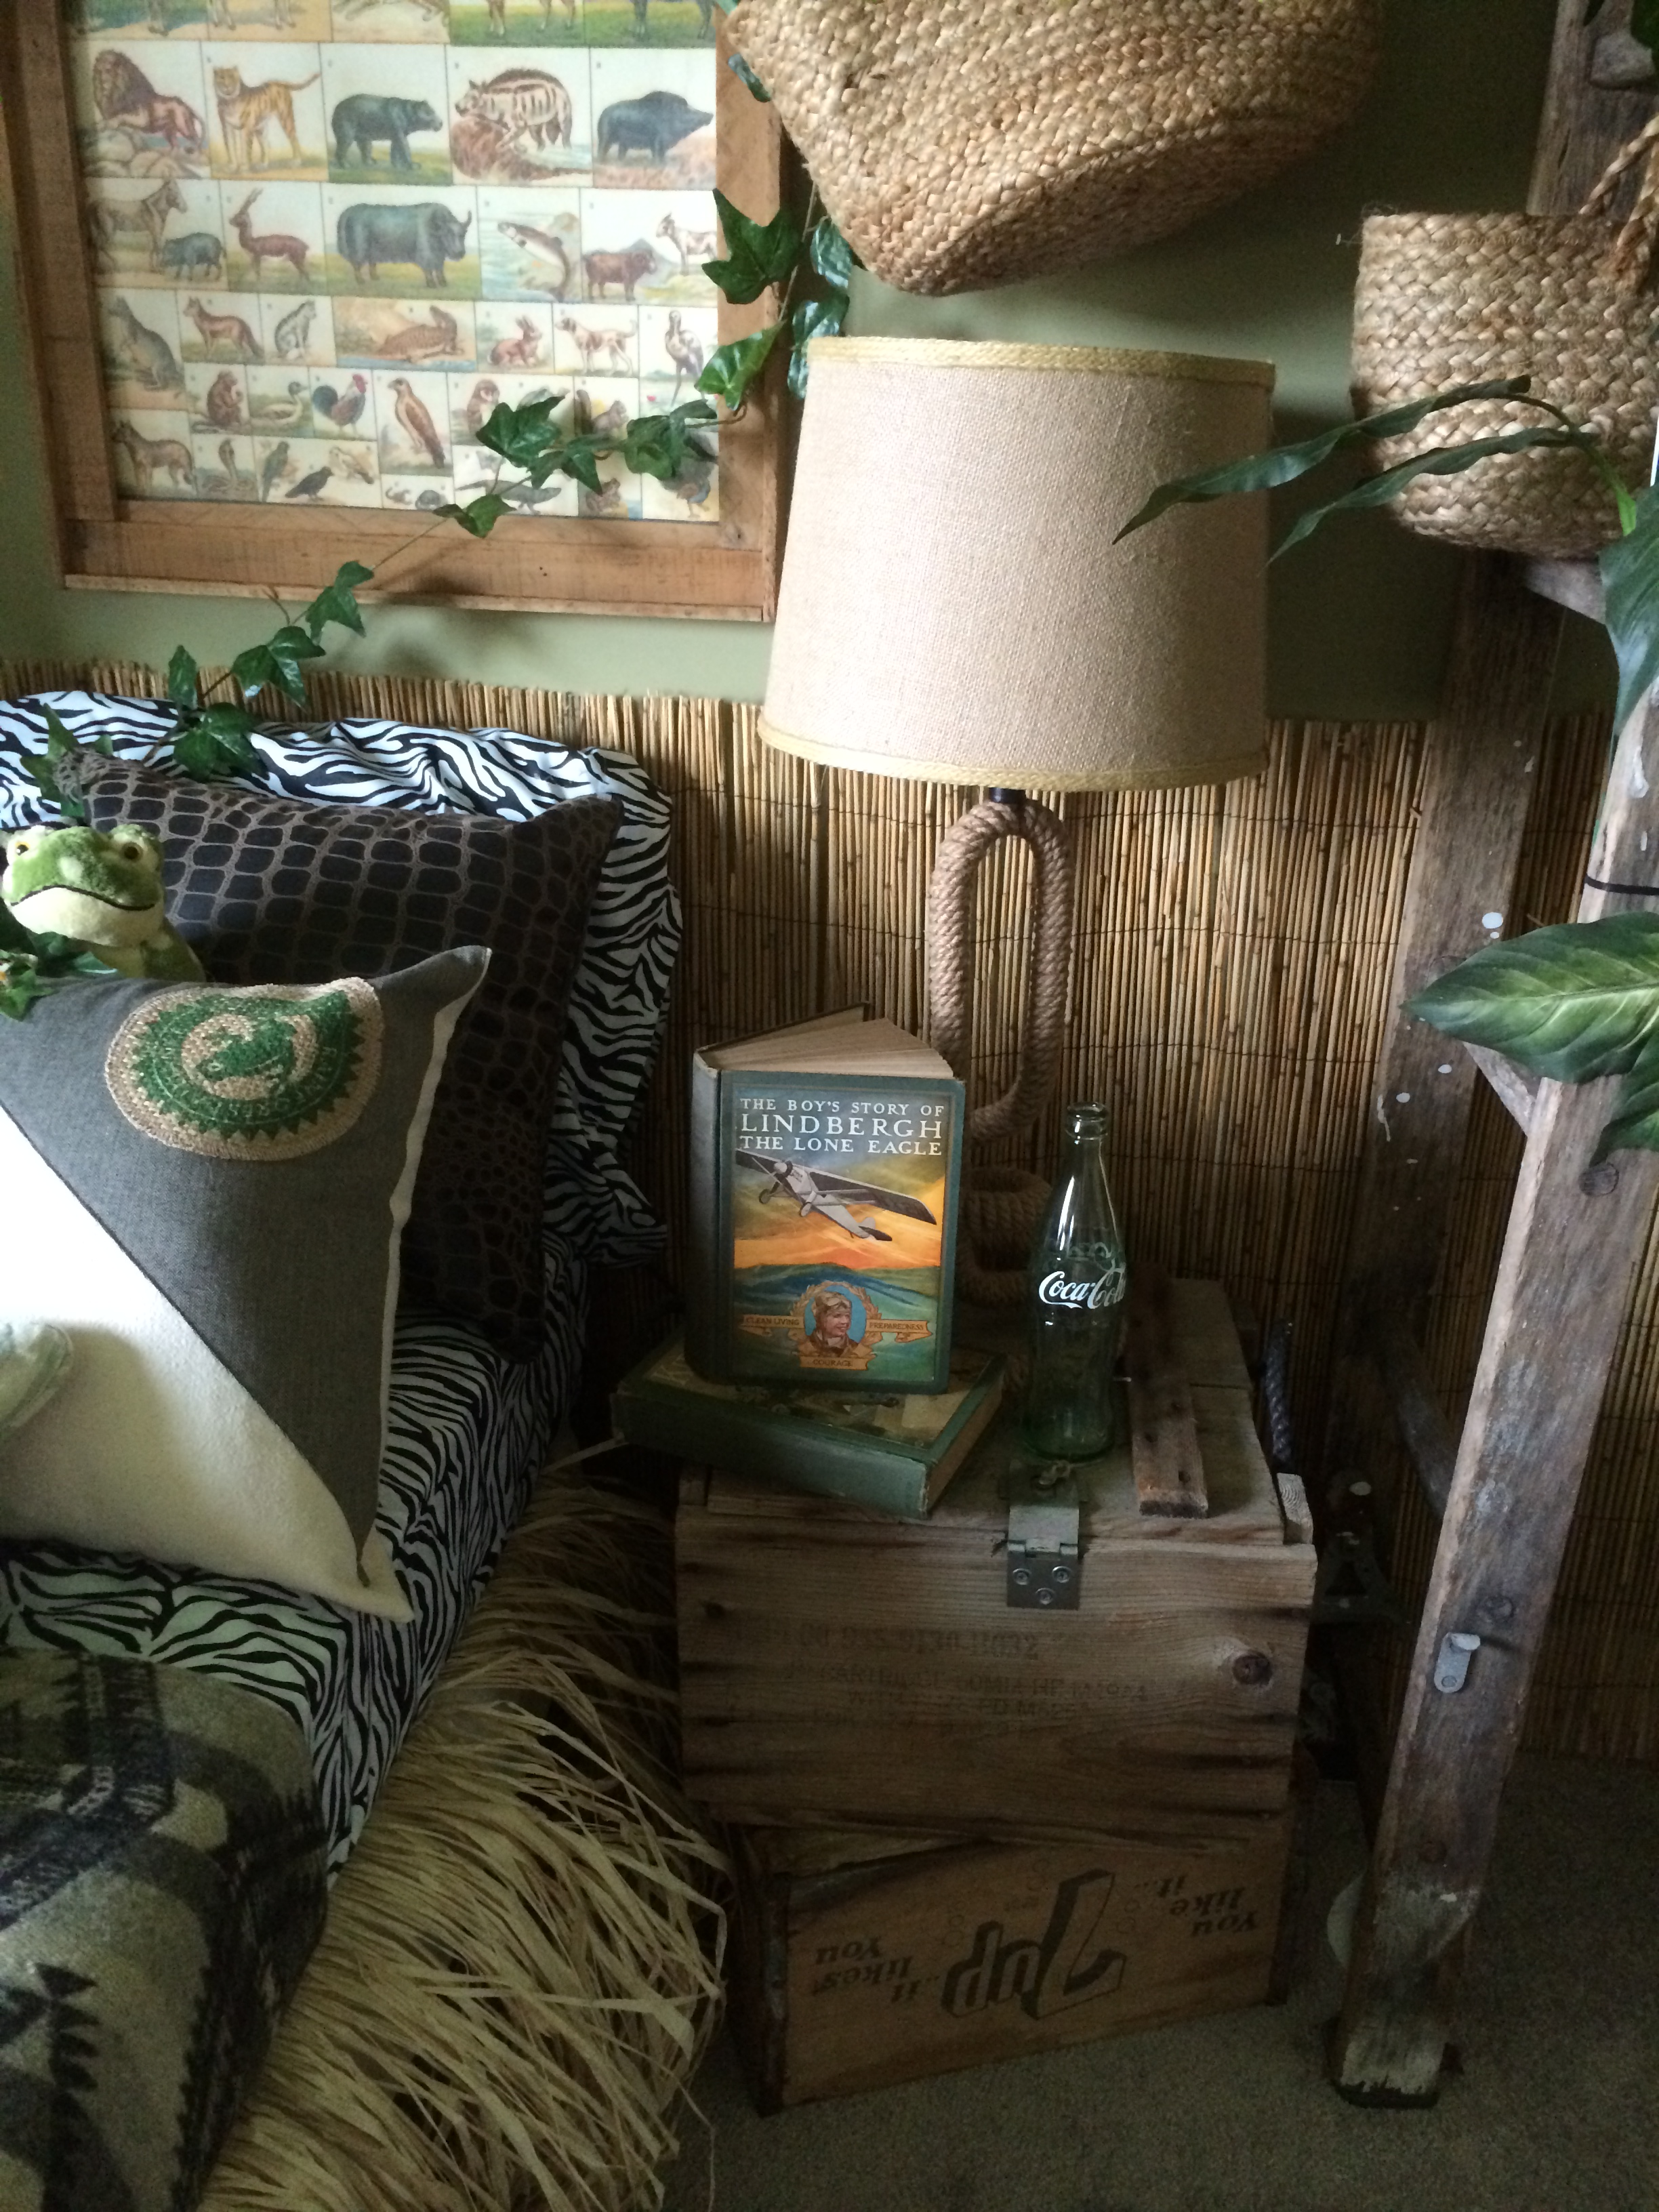
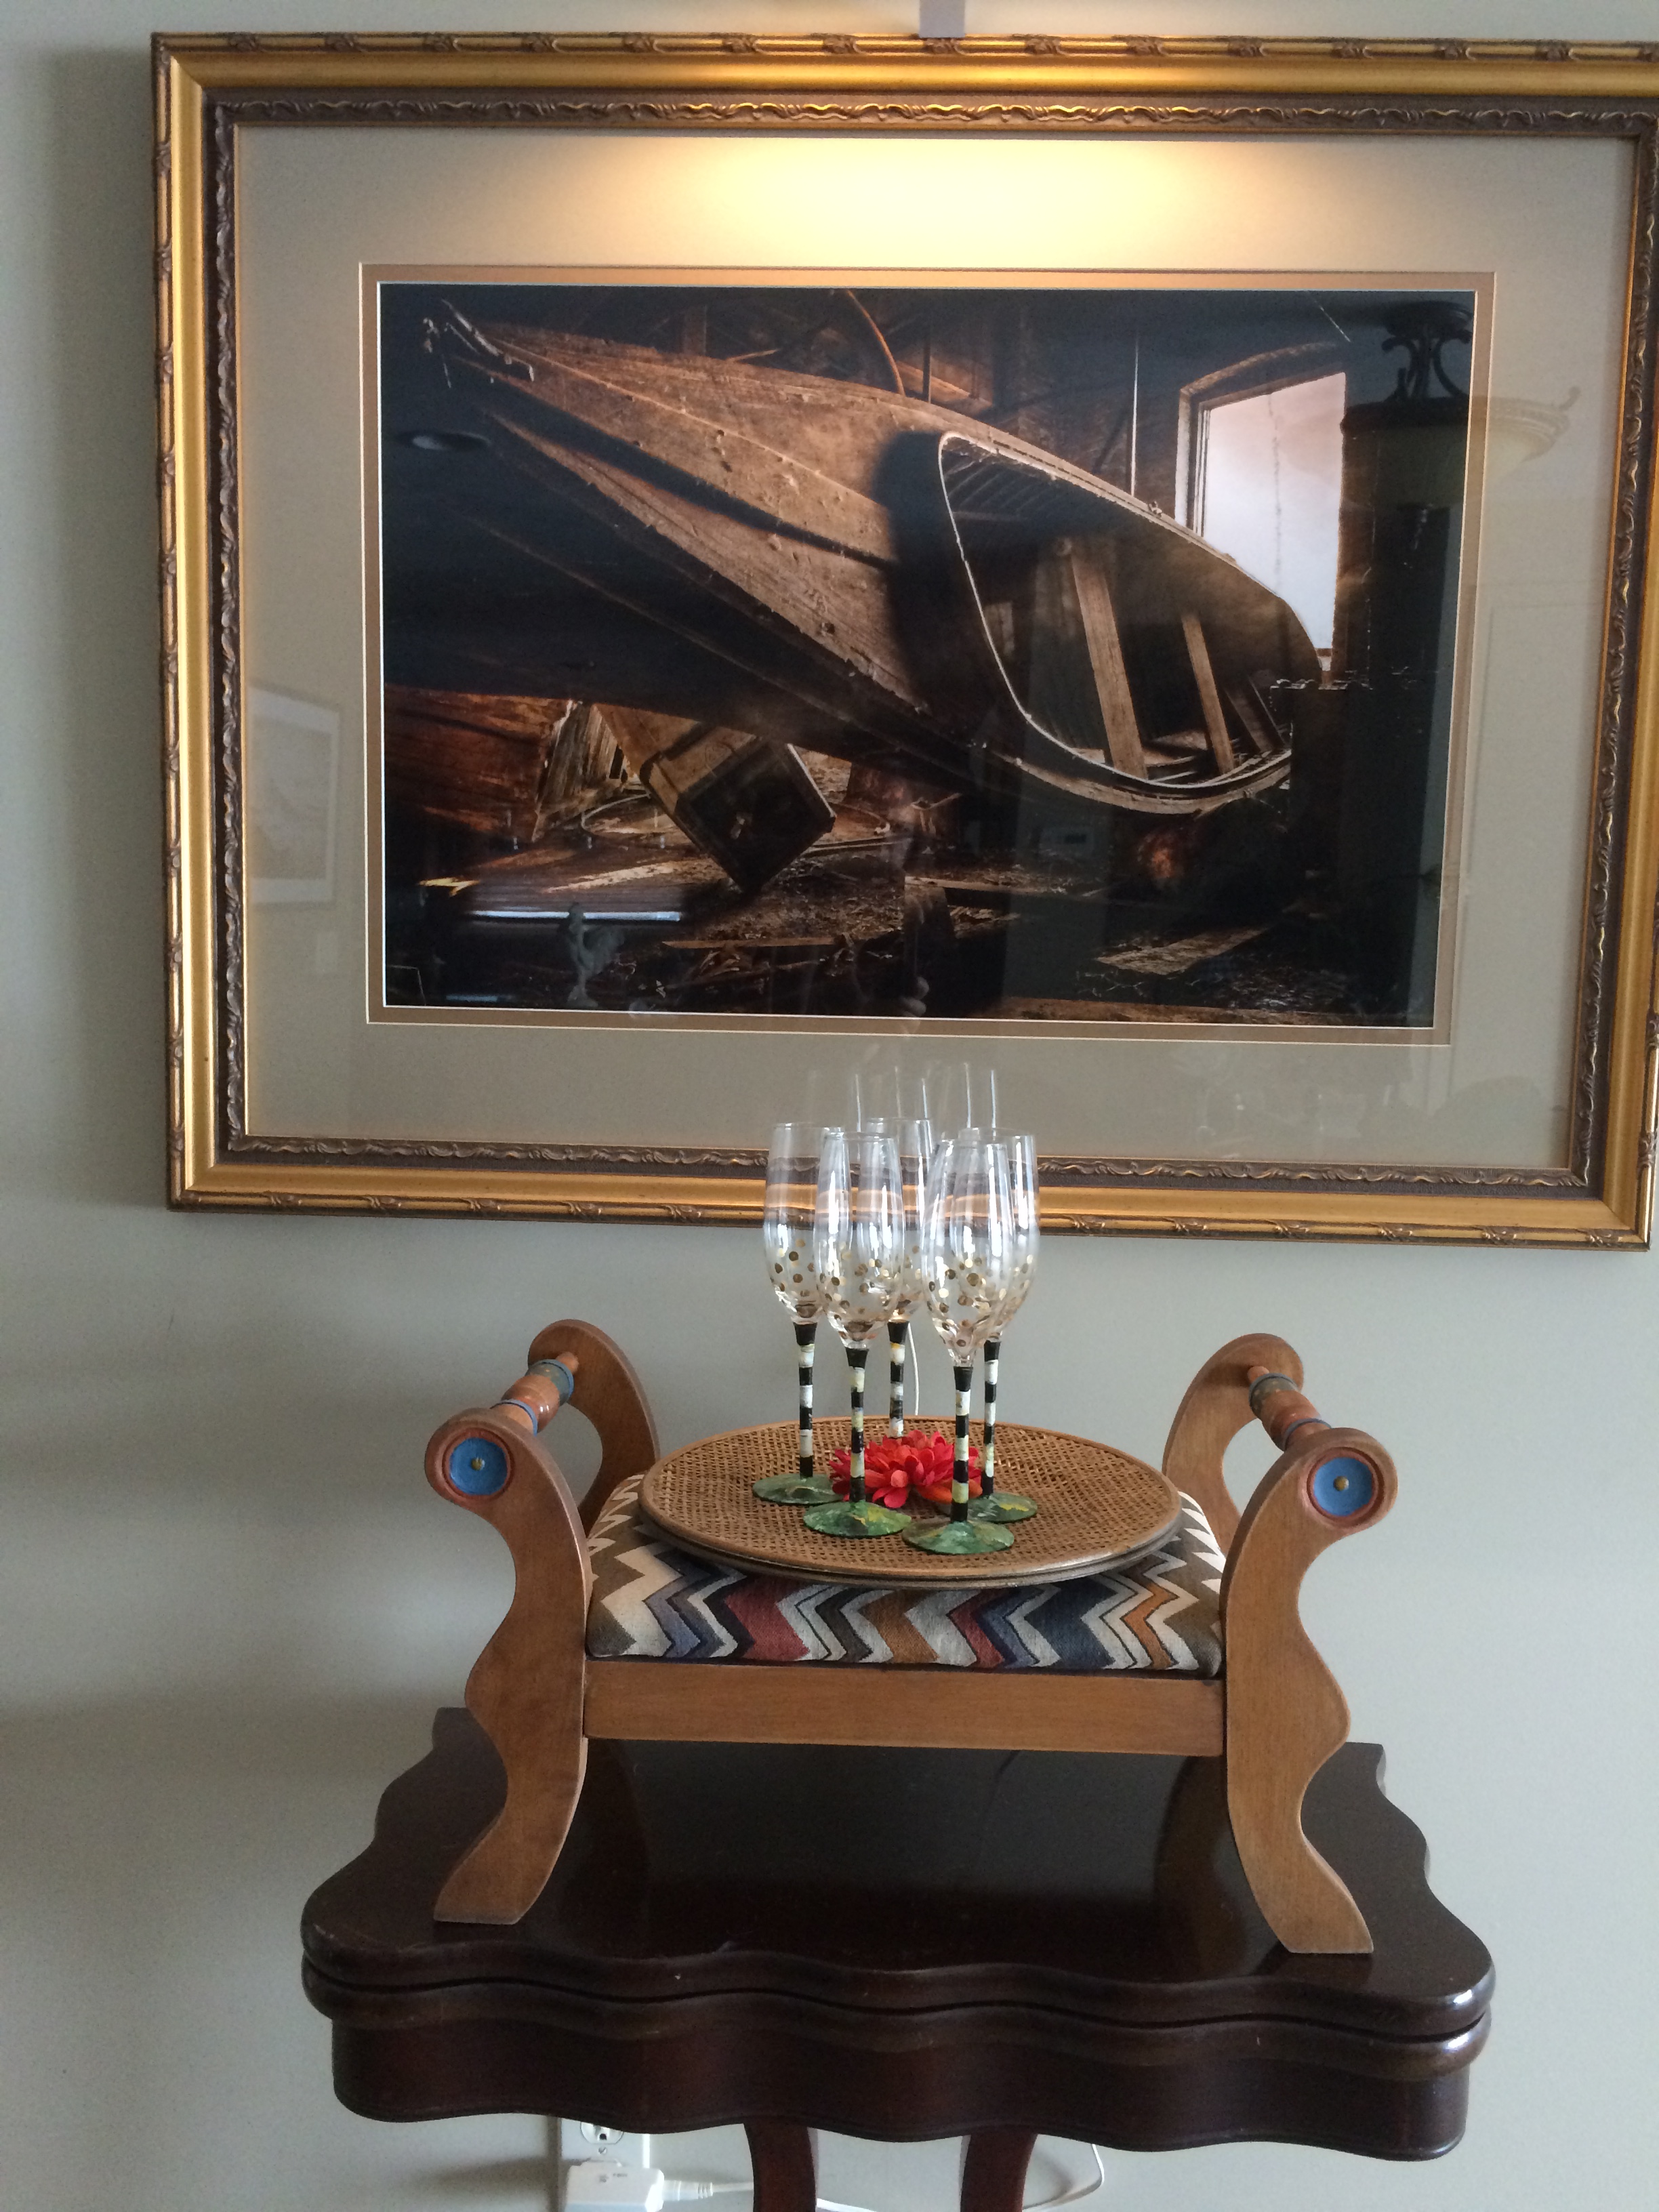
I  have been known to find “art” in the most unexpected places.  I was designing a showcase home, to show how furniture and wall art can be made by using everyday items; thrown out items; stuff that was found at  the curb; or in thrift stores.  I didn’t have far to go for this design plan….

Have you ever been to a Pick & Pull?  Oh boy, first be sure you wear your grungy clothes and shoes, bring gloves and I didn’t know this, but be aware that prices are not cheap for many items.  That was my biggest surprise.

I wandered up and down aisles of discarded cars, smashed up cars, and parts laying on the ground.  It was eery walking around all of those car shells…. what stories they would tell-not good ones in most cases.

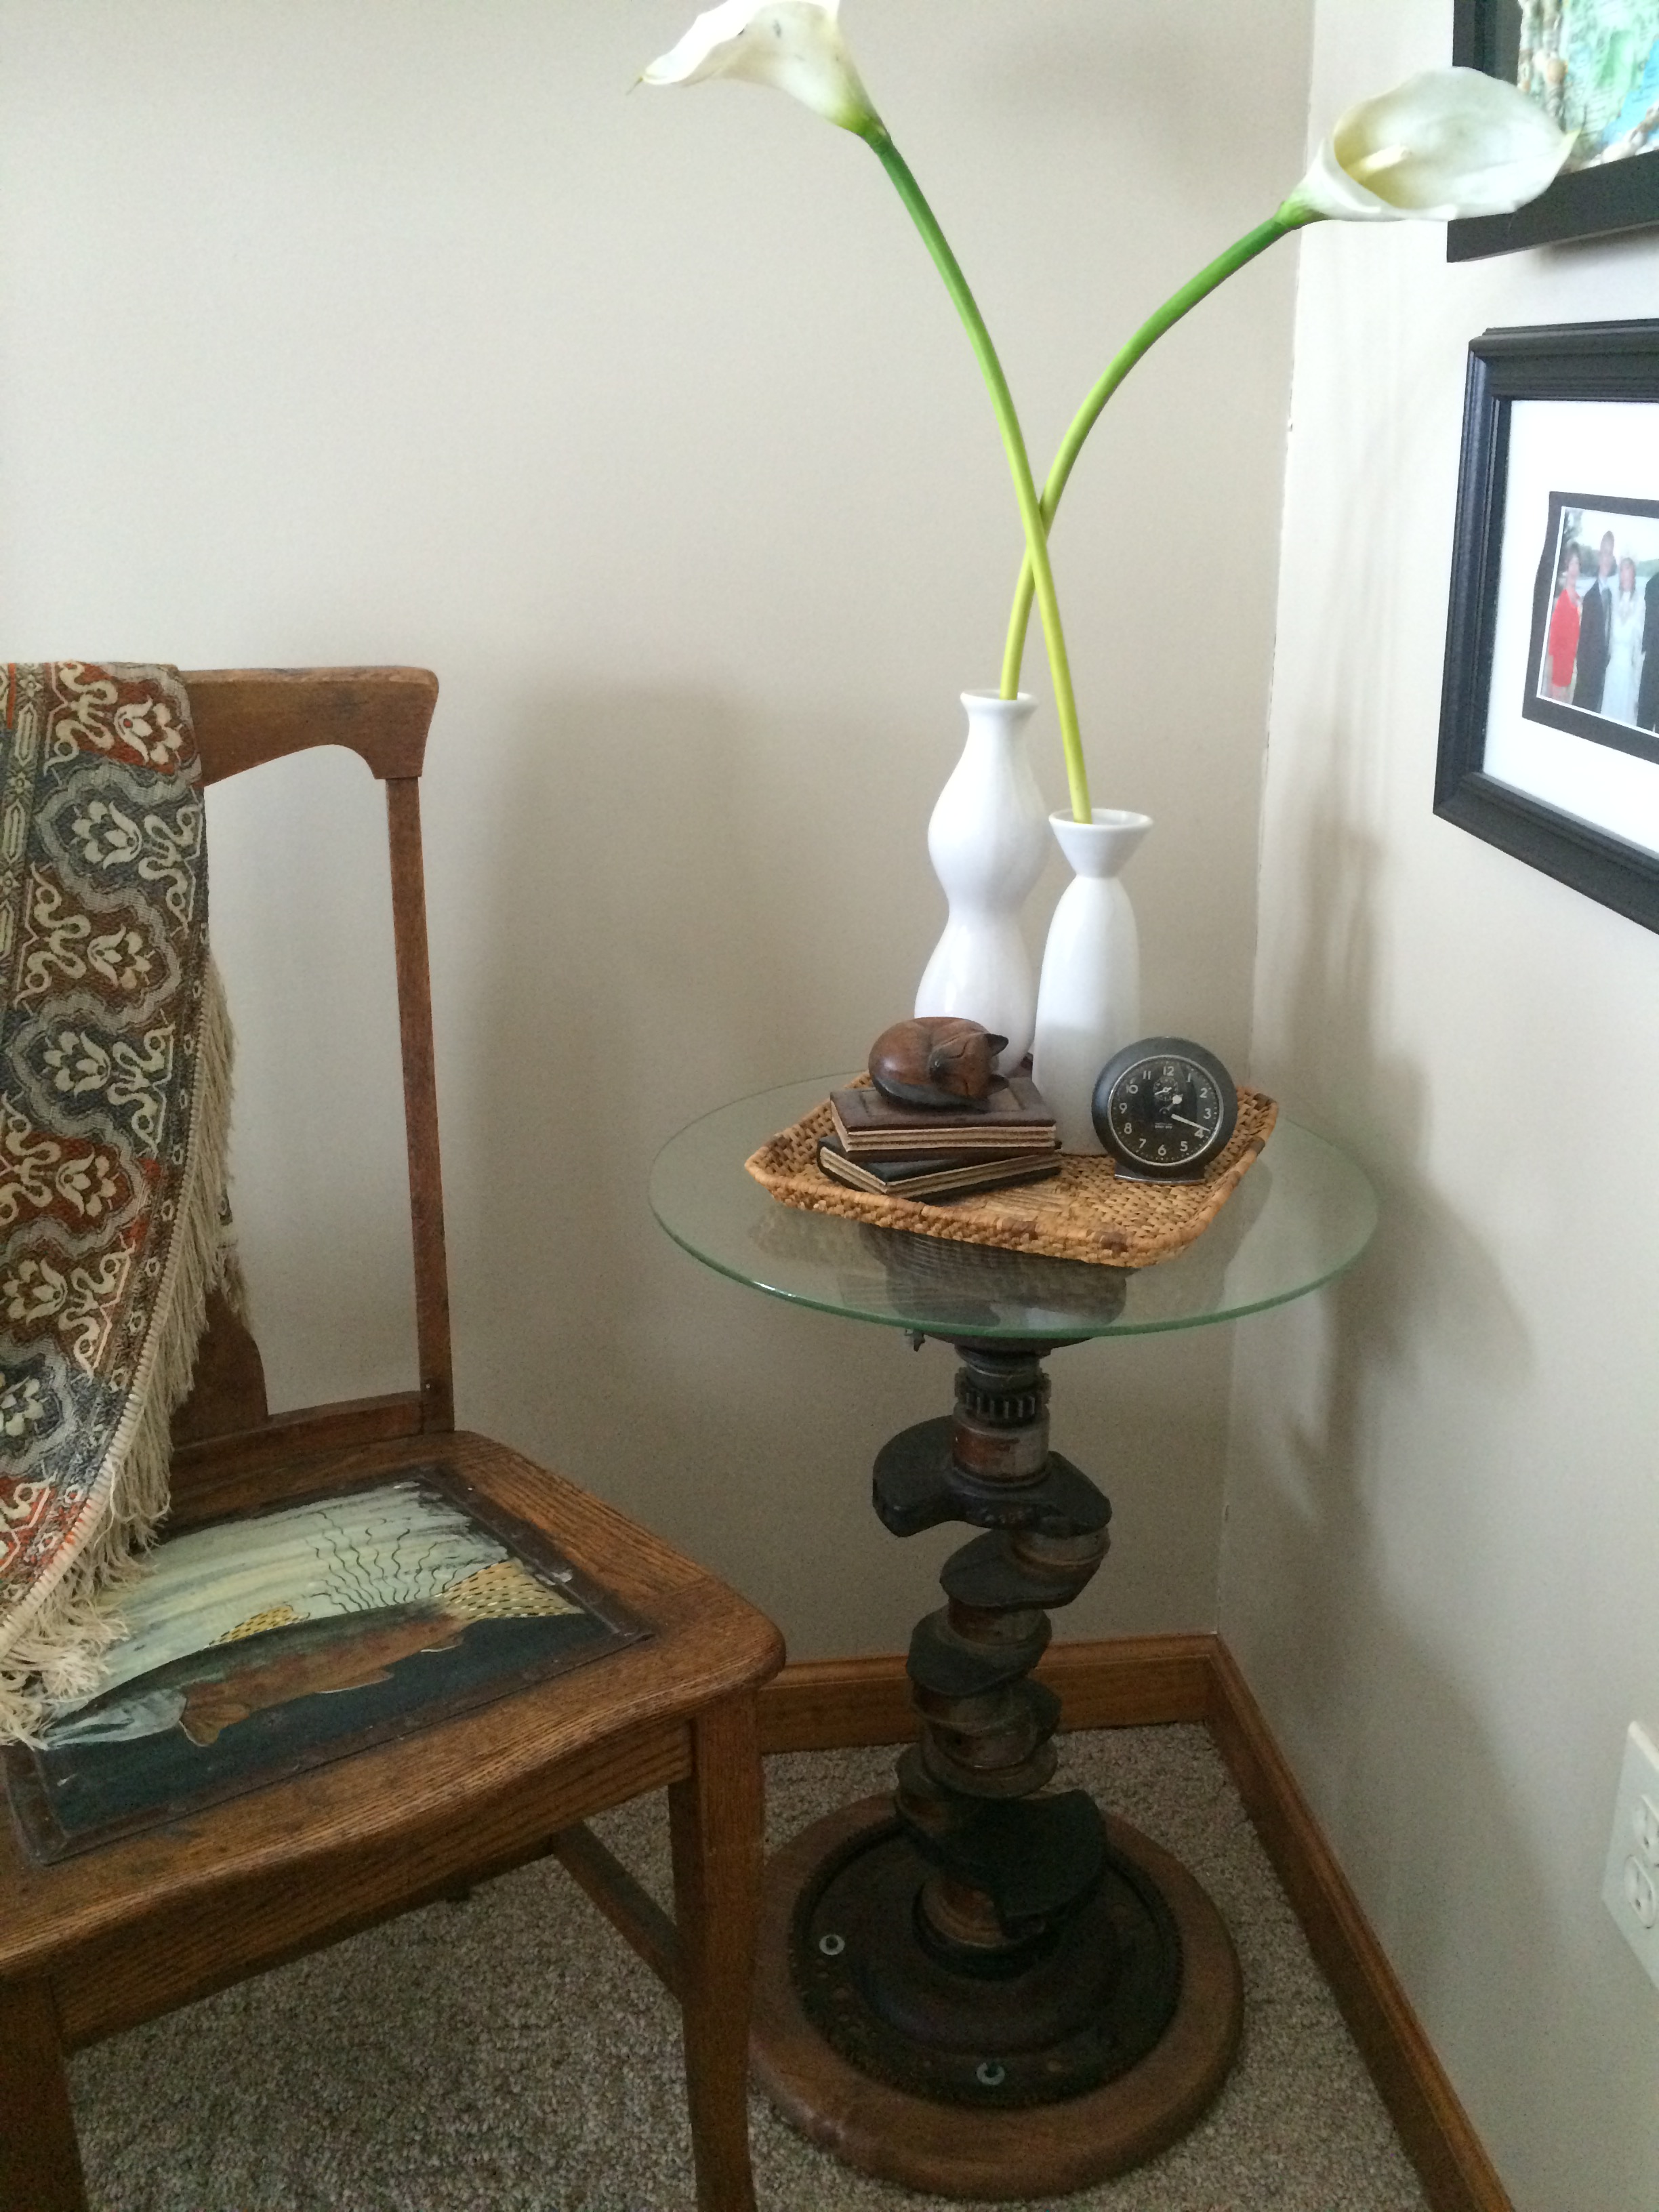
As I turned a corner, I saw this awesome sculptural piece of metal just sitting in the middle of the aisle like it was saying, “hey, here I am, just what you were looking for!”    I had no idea what part of the car it was, it was heavy, but I could still carry it, (oh, btw, you have to carry everything out yourself!)  The piece had beautiful rusty patina, and I thought it would serve perfectly as a side table base.  Now, if I could just carry it to the check out counter!

crankshaft piece from junkyard

I also found I think it was called an air cleaner that was metal, and I thought I could turn that piece into a wall art design.  So, I dragged my pieces to the checkout counter, had a bit of a sticker shock (I was very naive to costs, I thought being a junkyard it would be pennies to the pound or something similar…..oh no, more like $’s to the pound)  Anyway, I was happy with my purchases and now to get to work on creating my vision.

air cleaner mirror & vase

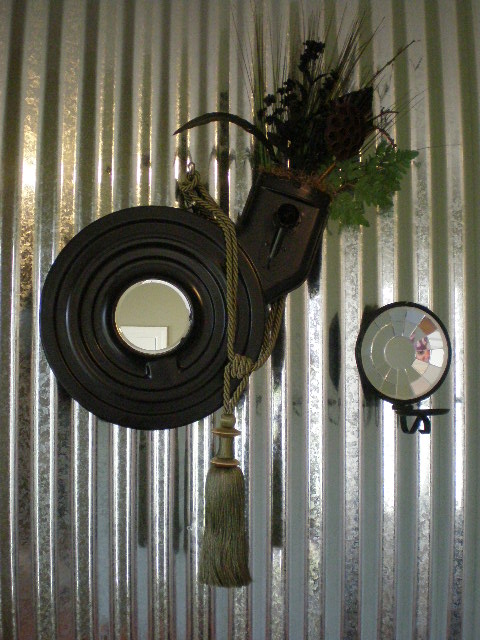
I started with the air cleaner.  I don’t have pictures of the process, but I can briefly tell you about it.  The air cleaner was black already, but I cleaned it up and spray painted it black again just to keep any rust at bay.  I found a round piece of mirror at the Dollar Store and glued it under the opening that was in the middle, then positioned it on the wall with the “arm” facing up so I could put some dried floral, then hung a tassel to complete the look.  This piece was for my client’s entry where we hung metal siding on one indented wall, then had a bench with custom pillows. He was thrilled- he loved the whole industrial look especially since being a race car driver, having car related “art” was what he had hoped for.

car coil vases

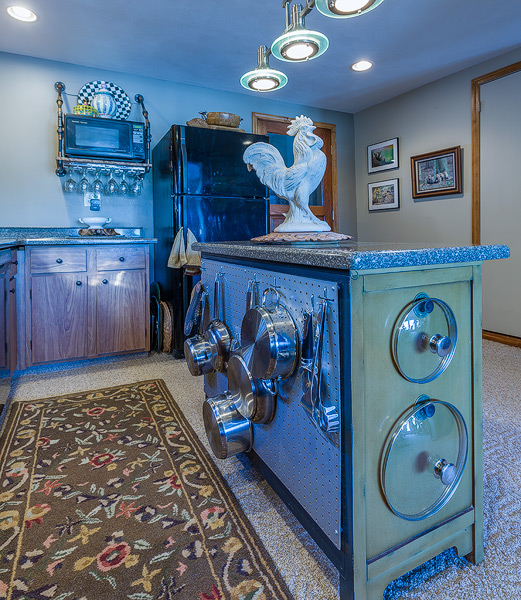
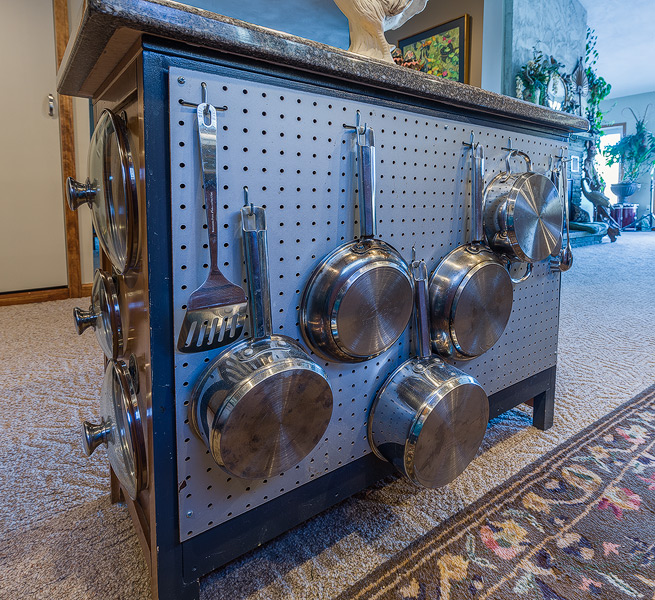
I also used some large coiled springs from his garage to place on both sides of the fireplace.  I inserted  large glass vases to hold floral sprigs.

For the side table, I found out that I had picked up a crankshaft from a car, and by turning it on end vertically, I was able to put a round glass top and bolt it on to a wooden round disk, found at Home Depot that I stained a dark brown.  I had cleaned up the crankshaft removing the grease, then sprayed it with a satin clear coat spray.  Super simple, and so interesting looking.  Being a small table, this table fits just about anywhere.  I love how something so industrial works inside a home.  This table would be perfect for a Man Cave, or set as I have it, in a corner next to a chair.

crankshaft table TayRose Design

Pick and pull parts from lots of sources to create unique items, and “Rev” up your decor!
To receive posts via email click HERE Subscribe in a reader or signup in Subscription box in sidebar.

“It’s a Jungle in here!”

Taylor
08 Feb 2015
Custom Design, Interior Design Room, Kids Room, Theme Room
Baldwinsville NY, bamboo, Clay NY, consultation, custom, decorator, designer, DIY, Hobby Lobby, Home Interior Designs, jungle, lion, Liverpool NY, Phoenix NY, plush animals, raffia, reading nook, repurpose, reuse, Syracuse NY, TayRose Design, theme room, tiger

If you haven’t already guessed, I love to design theme rooms.  I get lost in looking at everything asking myself how I can blend it into the theme I’ve decided on.  Such a challenge, but oh, so fun…so, for this past Parade of Homes, I decided that a jungle theme was in order..and a tall order it was!

Jungle Room at the 2014 Parade of Homes

It’s a Jungle in here! Parade of Homes Pigliavento Builder, TayRose Designs

I had been collecting large jungle animals from Thrift stores for several years just waiting for the right design to include them, and along with a couple of “borrowed” jungle friends, I really had the “wild” feel I was going for.

jungle animals for theme room


I also knew that I would have to construct the jungle arbor over the bed.  I had an old wooden ladder that must have reached up to the roof for it was very tall and could be taken apart into 2 pieces.  I cut them so they were the same heights to be the sides of  the arbor…perfect for hanging monkeys and jungle vines.   I purchased some inexpensive fence planks from Home Depot, brought them home and used a mixture of watered down acrylic paints in black, grey, white and biege to give them a “weathered” look-as if they had been out in the elements for years.  I had a college intern working with me for the summer, and she painted in the words, “It’s a jungle in here” on the top cross board of the arbor.

intern painting jungle sign

I had to be sure that the arbor was not too high, for I wanted that lion to be on top …lounging, well, he is the King of the Jungle you know!

jungle arbor design by TayRose design


I also found at a garage sale of all places, some bamboo fencing that stretched across the whole back wall plus some, so that brought more of the jungle feel in to the room.

bamboo fencing for jungle room wall

My hubby and I were able to design the arbor so it could be transported in pieces and assembled on site easily which was perfect.  It went up very easily, and I screwed the back to a stud in the wall to secure, then dangled monkeys and vines along with baskets from pulleys.  A twin bed was dressed up with a bed roll at the end and a custom made lathe frame enclosing a vintage feel zoo animal poster to hang above the bed.  Zebra patterned sheets with a tribal patterned blanket along with custom pillows made up the bed, where a leopard dozed.

raffia trim for bedskirt jungle room


I stuffed raffia trim along the mattress box spring to hang down to the floor.  For the show, I just pinned it, but it could be sewn onto a sheet as a proper bedskirt.

A large banana tree with real bananas I tucked among the leaves sat in the corner which also hid the cd player playing ” A lion sleeps tonight” in the background.  I purchased from IKEA, 2 large green leaves, and attached them to the arbor, and with the ceiling fan, they moved up and down, as if swaying to the music….lots of animation..love it!

Ikea large leaf canopy for jungle room

The curtains were inspired…I had found a zebra print curtain panel set at Hobby Lobby, then attached more of the raffia trim along the top, but I wanted to have more of a “jungle” way to hang the panels to the rod.  So I purchased online some jungle plush with velcro paws, and used them to hook the panels to the rod…I kept saying, “hang in there!” hoping they would hold up and they did, no prob!

jungle animal curtain tabs TayRose Design

In the corner of the room I wanted a little reading nook, so I had one of those netted canopies and hung it up where it draped down over large coffee bean bag covered floor cushions; a painted rattan glass top short table; a brass electrified lantern to read by; and a large tiger to lean on and read stories with….wouldn’t you want to read to a tiger?

Reading nook in Jungle Room 2014 Parade of Homes TayRose Designer

Reading nook in Jungle Room 2014 Parade of Homes TayRose Designer

From the inception of choosing the wall color to the rattan leaf ceiling fan; constructing the  arbor hut;collaborating on the crate dresser; stacked crate night stand; adding an empty coke bottle (remember “The gods must think I’m crazy?” movie?; custom painted giraffe wall art; jungle directional signs; to the canteen hanging at the end of the bed and the music in the background…this was a dream theme room, one that was amazing to be living in for a short time while pulling it all together…it really was a jungle in there!  Shhhh….the lion sleeps tonight….oh, and no more monkeys jumping on the bed!

crate dresser jungle roomjungle sign for jungle room

To receive posts via email click HERE Subscribe in a reader or signup in Subscription box in sidebar.

Taylor Regal in Phoenix, NY on Houzz

Footstool to server….riser to occasion

Taylor
02 Feb 2015
Custom Design, Dining Room, DIY, Repurposed
Baldwinsville NY, Clay NY, consultation, custom, decorator, designer, DIY, footstool, hand painted, Home Interior Designs, Liverpool NY, Parade of Homes, Phoenix NY, repurpose, reupholster, reuse, riser, serving tray, Syracuse NY, TayRose Design

During my usual scouting days at the Thrift Stores, I seemed to find quite a few small footstools. Some had storage and some had handles and some just spindley legs and all of them in need of some TLC. I couldn’t pass up the meager prices they were asking, and gathered them up knowing I would have a use for them sometime…and it didn’t take long before they solved a tablescape dilemma for me.
Interior design dining room  Parade Home by TayRose Design

I was designing for the Parade of Homes this past year, and since the formal dining room was the first room you noticed when walking through the front door, I wanted a real “wow” moment. The table setting would be over the top..not something that would be practical for a dinner with friends, but a really fun tablescape to keep on the table when not in use.
Tablescape Design dining room  TayRose Design

I had a china cabinet/buffet where I wanted to set various sized vegetable dishes and tureens, plus on the table, have different decor that I wanted to be at different heights so everything wasn’t all just sitting flat on the table. So, what could I use as a riser to lift up tableware so heights are staggered?…hmm…that stool over there is just the right height…I could reupholster the top to coordinate with my colors, and maybe paint the legs in a fun way.

Stool before with handles


So, over the next few days, I removed the old upholstery and replaced with new, adding some upholstery tacks along the edge for accent detail, painted designs on the wooden legs and handles, and sanded and restained the wood surface as needed. I even added wheels to the bottom of an extra storage stool lid I had leftover. storage stool for riser TayRose Design

The stools worked perfectly for risers both on the buffet and table. I was able to put dishes as well as centerpiece decor on top of the stools to create different heights but in a pretty way without having to stack books, or stick boxes under tablecloths. I love using my stools in different areas of the house, here is the after of that stool above where I reupholstered it and painted accent colors on the handles.   I use it to hold a tray of goblets ready for guests.
Stool holding goblets as riser TayRose Design

I will always look at a small footstool in the same way again…..

To receive posts via email click HERE Subscribe in a reader or signup in Subscription box in sidebar.

Accent Cabinet gets Island makeover

Taylor
30 Jan 2015
Custom Design, DIY, Interior Design Room, Kitchen, Repurposed
Baldwinsville NY, cabinet, Clay NY, consultation, countertop, custom, decorator, designer, DIY, Home Interior Designs, kitchen island, knobs, Liverpool NY, pegboard, Phoenix NY, Pier 1, pots and pans, recipe books, repurpose, reuse, Syracuse NY, TayRose Design

We all have read about similar dilemmas…small kitchens, wishes for that extra counterspace- dare we even dream of having room for an island?   

Kitchen Island cabinet TayRose Design

Well, I came across one of those kitchens…my own!  When I moved to my husband’s house, which was a small camp built in the 40’s on the river, I had to downsize from a 3 bedroom 2 bath house filled with furniture and decor I had been collecting for years.   I really had to think creatively on how to stretch what space I had in this kitchen.

Our kitchen is still a work in progress- a wish list for new cabinet fronts someday, but we did remodel ourselves adding a new back-splash and appliances with as much as we could at the time.   That is definitely another subject for a blog post…so on with the story..

During this whole semi-remodel, I really wanted something that would somehow partition the kitchen from the entry into the house since the mudroom comes right into the kitchen area.

Kitchen island storage view  TayRose Design

While out on one of my many shopping trips, this time at Pier 1, I was with my hubby (this doesn’t happen too often so fate was in our midst) we spied out of the corner of our eyes, this cabinet with an Asian theme which seemed to be just the right size.  Could this work?  Since it was on sale, and we were afraid it would be gone if we left it there to think about, we bought it and brought it home to try.  It was perfect, I loved it and I love the idea of repurposing an accent cabinet into a kitchen island.  Top Fabricators, the firm making our countertops http://www.countertopsbytopfab.com/had no trouble at all measuring and fitting the countertop onto the top of the cabinet….it fit like a glove!

I also wanted the island to be functional all the way around, so hubby got creative and got some peg board that I painted and we screwed to the back side facing the sink where I now can hang pots and pans at easy reach to the stove.  We also made great use of the ends of the cabinet, adding brass knobs over Chinese coins to hang up the pot lids, allowing for more room in the cabinets for other needs.  My recipe books are kept inside the cabinet and the drawers are perfect for our tools/junk, bottle openers, and cat treats.

Pot storage on Kitchen island

Although I didn’t have room for an island to sit at, I’m still very grateful for my island.  It not only didn’t take up much floor space, it gave me an additional surface for food prep, pot storage, and recipe book housing.

I’m so glad we opted to try an accent cabinet and not a standard kitchen cabinet for our kitchen…it’s more of a piece of furniture that greets you at the door and reveals it’s pretty practicalities!

To receive posts via email click HERE Subscribe in a reader or signup in Subscription box in sidebar.

Ribboned sheers for Master Bedroom

Taylor
23 Jan 2015
Custom Design, DIY, Interior Design Room, Master Bedroom
Baldwinsville NY, cheap home decor, Clay NY, consultation, custom, decorator, designer, DIY, hand sewn, Home Decor, Home Interior Designs, Liverpool NY, Master bedroom, Phoenix NY, repurpose, reuse, ribbons, sheer curtains, Syracuse NY, TayRose Design

Ah, window treatments….just thinking about designing something fresh and new can be daunting for the Parade of Homes or for a client, and they can be inspired by bedding, a rug, pillow, a painting…which makes it such a relief when the answer presents itself.   While working on the Master bedroom design for the Parade of Homes, the budget for window treatments ran thin, so when it came to the Master,  I knew that I would end up doing something myself.  Master bedroom for Parade 2011 TayRose Design


I found online some beautiful rods that actually swing out when you want to let more light and air come in through the window, then swing the rod back to close the curtain over the window.  I ended up using 2 swing rods for each of the 2 larger windows, and opted for white sheers for a lighter feel for the room.  For the other 2 smaller windows, I split of pair of sheers for a draped swag and had trimmed the ends with black ribbon.  If I had had more funds I would have done cornices and shades for all the windows.

Swing-Arm-curtain rod for Master windows

The color scheme for the room, was black, cream, white, and gold.  The bedding was a white background with cream and gold and a black squiggle shaped design.  I knew I wanted to do something to the sheers, for I don’t do “solid” or plain very well…I love to layer, add texture, pattern etc most of the time. for to me, it’s more interesting and draws me in to a wonderful world!  I happened to be at the Dollar Store one day…I find myself there when looking for off beat items, and found rolls and rolls of narrow black ribbon.  I’m talking huge rolls…industrial rolls.  What a steal of a deal!  I wasn’t sure what I was going to do with all this mile of ribbon, but for a dollar, it was coming home with me!

Black ribbon for curtain projec

While I was laying out one of the sheer curtain panels across the table, I glanced over at the bedding.  My eyes kept going to the squiggle pattern, and then I looked at the black ribbon I just bought spewing out of the bag.  This was risky for I hadn’t tried this before, and the thought of hand sewing ribbon onto 4 panels of sheers…the little voice in the back of my head was saying, “are you crazy?”  So, with needle and thread and black ribbon in hand, I decided to tackle it and tack the ribbon free hand- patterning along the way, squiggling as I went up from the hem to about midway up the curtain.  I stood back to look, and I loved it…just enough pattern to balance the pattern from the bedding, but not too much design to take away from the light streaming through the sheers.  The Fabric Mill, who had been making the window treatments for me in the other rooms, graciously offered to add a black fabric edge at the bottom of the panels as a finishing custom touch, so sweet of them!   The panels were light and breezy, just what I was going for.

squiggle ribbon sheers by TayRose Design


I may not hand sew on every curtain project I design, but it does feel, that I usually do something to tweak them a bit….just to be a little bit more interesting!
To receive posts via email click HERE Subscribe in a reader or signup in Subscription box in sidebar.

  • 1
  • 2
  • 3
  • 4
Recent Posts
  • Owl Inspired Theme Toddler Bedroom
  • Painted trunk blends with Decor
  • Create a “trunk” inspired look for a Nightstand
  • Decorate fireplace wall “naturally” on a budget
  • How to Inspire Design with Pinterest Photos
Archives
  • February 2018
  • January 2018
  • October 2016
  • January 2016
  • June 2015
  • April 2015
  • March 2015
  • February 2015
  • January 2015
  • December 2014
  • November 2014
  • June 2014
  • May 2014
Newsletter subscription form

Enter your email address:

Delivered by FeedBurner

Categories
  • Art
  • Bathroom
  • Craft Project
  • Custom Design
  • Dining Room
  • DIY
  • Entry
  • Holiday
  • Interior Design Room
  • Kids Room
  • Kitchen
  • Living room
  • Master Bedroom
  • Mudroom
  • Office
  • Repurposed
  • Theme Room
Houzz
Remodeling and Home Design
Instagram
Instagram
HomeTalk
Featured on Hometalk.com
Follow me on Facebook
TayRose Design

Promote Your Page Too
315.224.4142
© 2014 k.linndesign. All Rights Reserved.