This particular makeover didn’t start out as expected. You see, my client wanted to change the feel of her formal living room to more of a casual feel so they didn’t have to go downstairs to their family room all the time. My client was looking for new curtains, some updated wall art and accessories in colors that would bring some “pop” to the room.
Upon entering the room, what caught my eye first was the oversized sofa and loveseat which were newly purchased, so they had to stay. Secondly, the fireplace of multi-colored dark bricks didn’t give off the light and bright feeling she was looking for in the room. In the back of my mind, I remembered a fireplace makeover I had done just a few months prior and how well it turned out. So tentatively, not knowing whether she absolutely loved her fireplace or not, and, not wanting to offend her, but just to suggest, I asked her if she had ever thought of changing the brick color. Well, she almost jumped off the sofa with glee saying she always wanted to paint it but wasn’t sure- if I had any photos of the one I did prior, how much it would lighten the room, how soon it could be painted, and, oh, did I mention how excited she was!
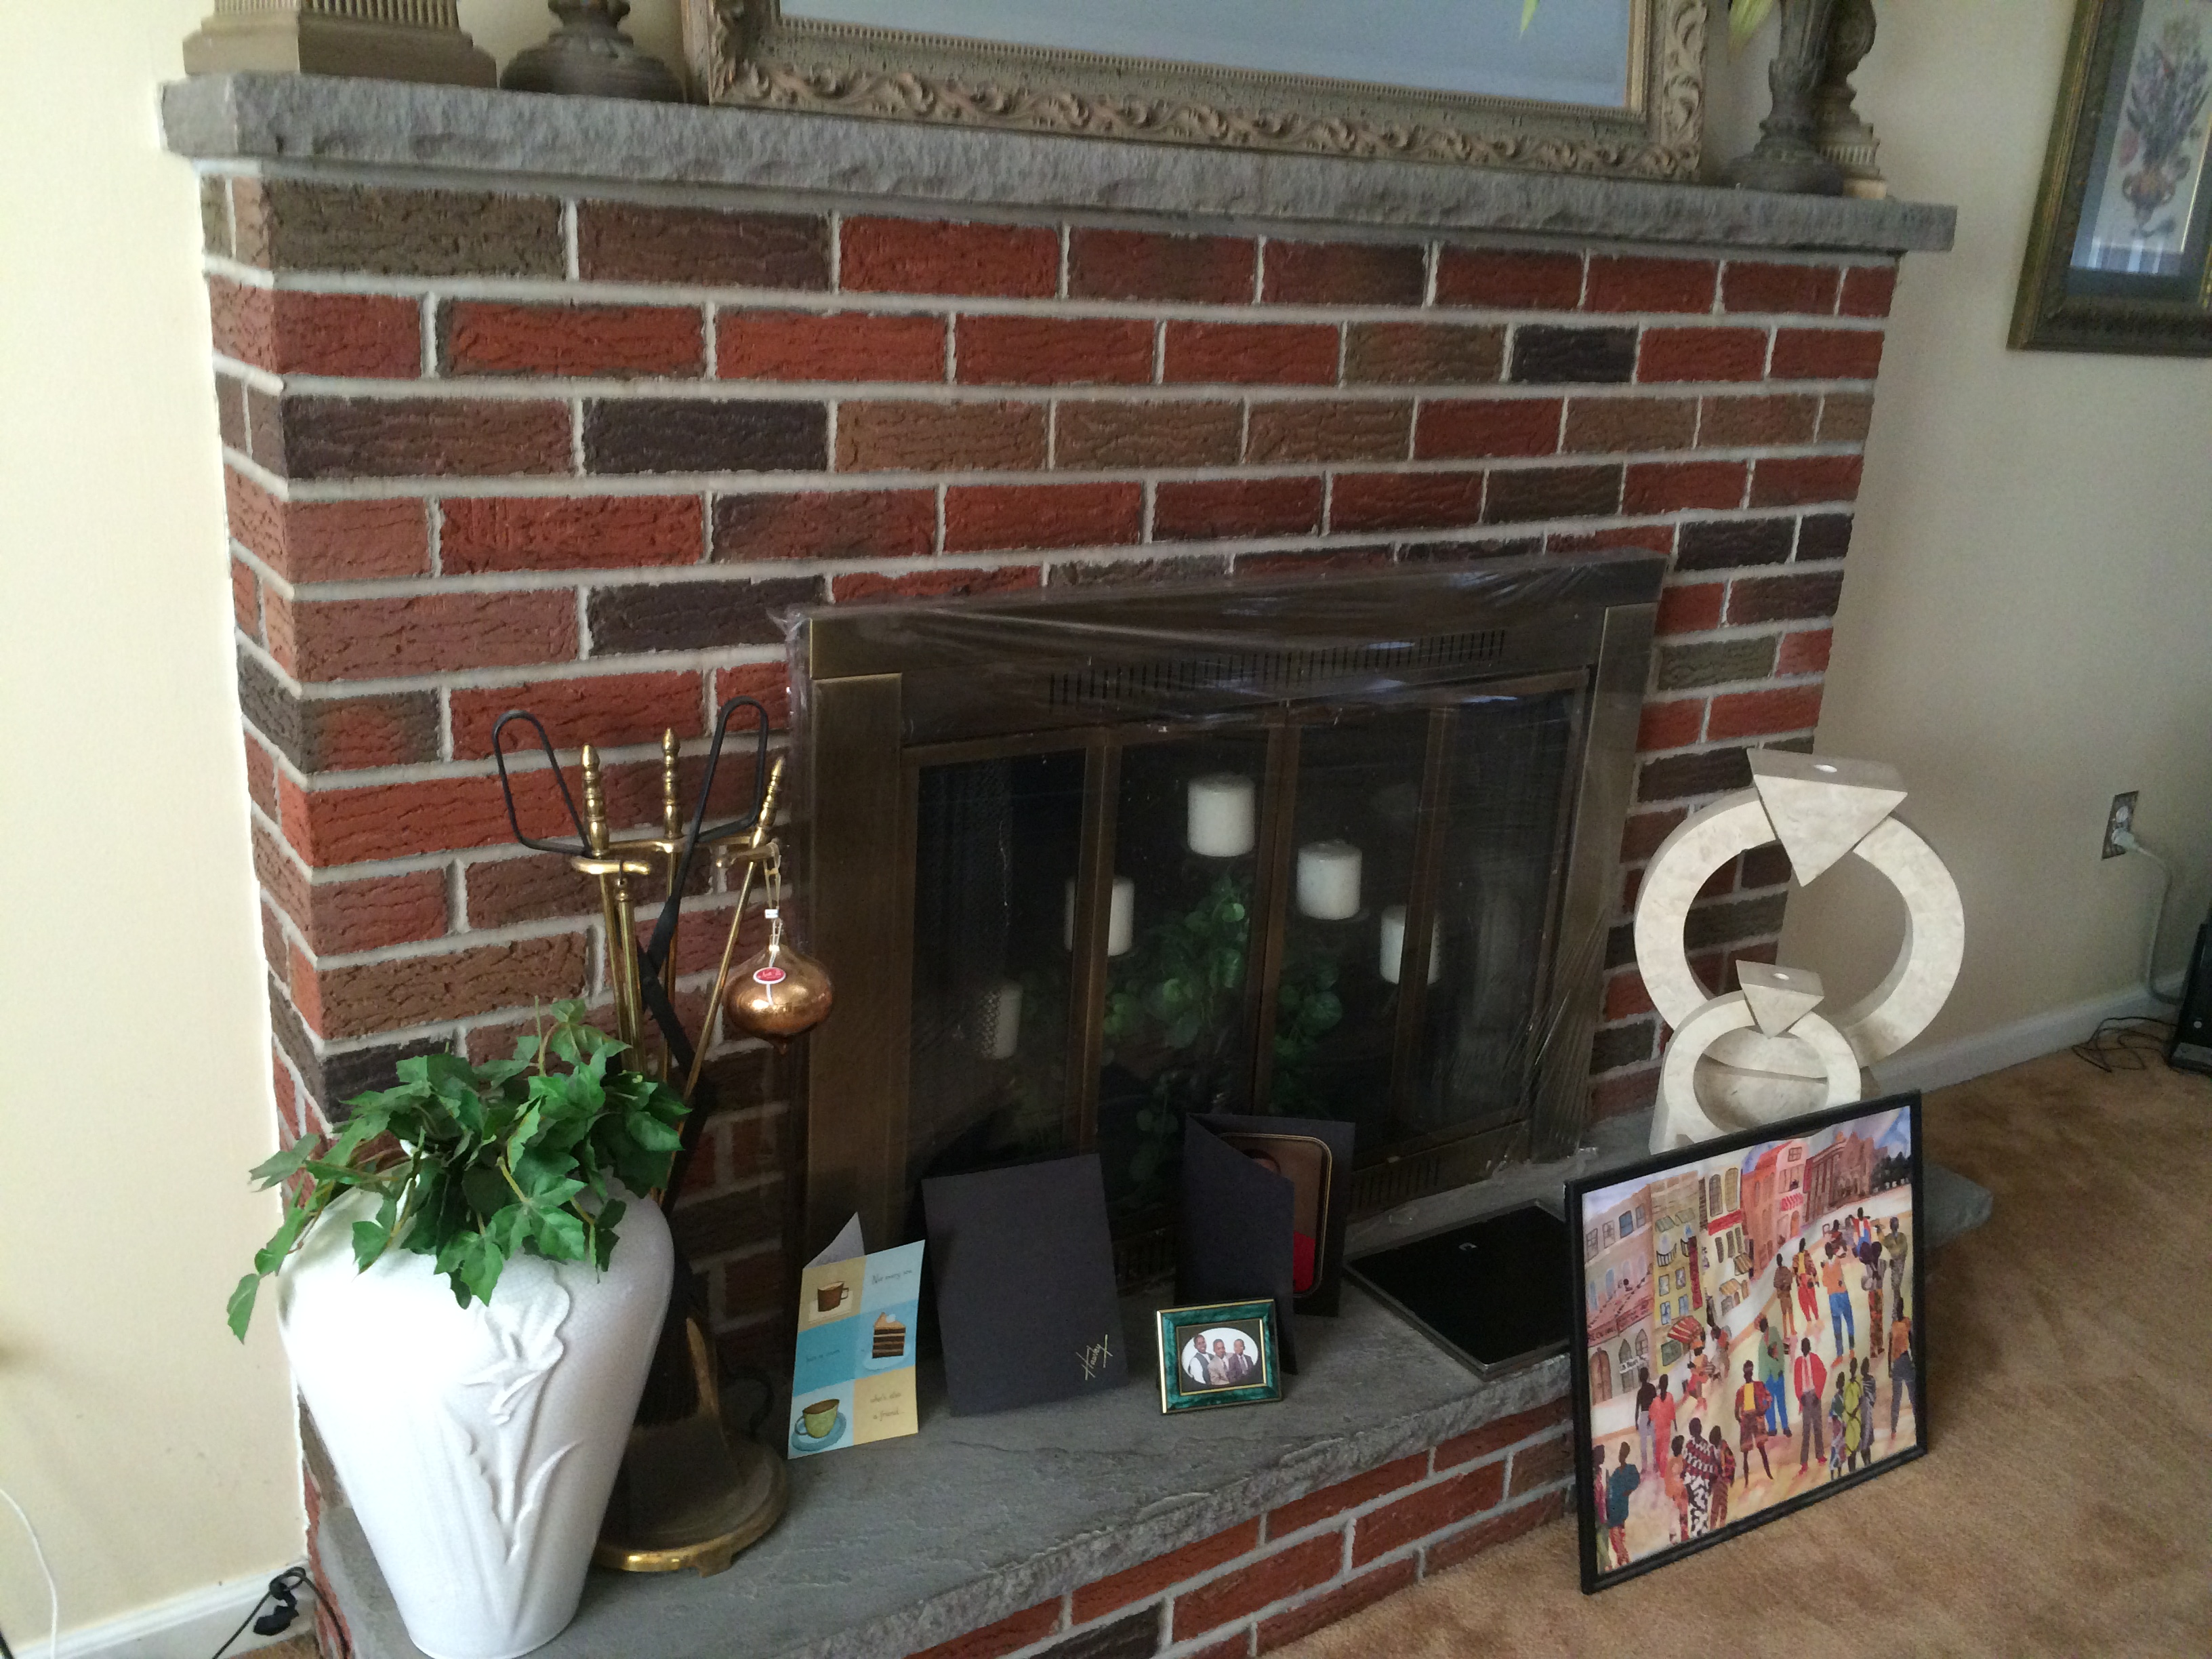
Fireplace before paint treatment
I took lots of before pictures so I could show my friend Amy who helped me with the last fireplace makeover to see the size and colors. This fireplace is a smaller surface, only up to the mantle. My concern was how deep the colors were and how many coats of watered down paint we would need to brush on in order to cover the especially deep red colored bricks.
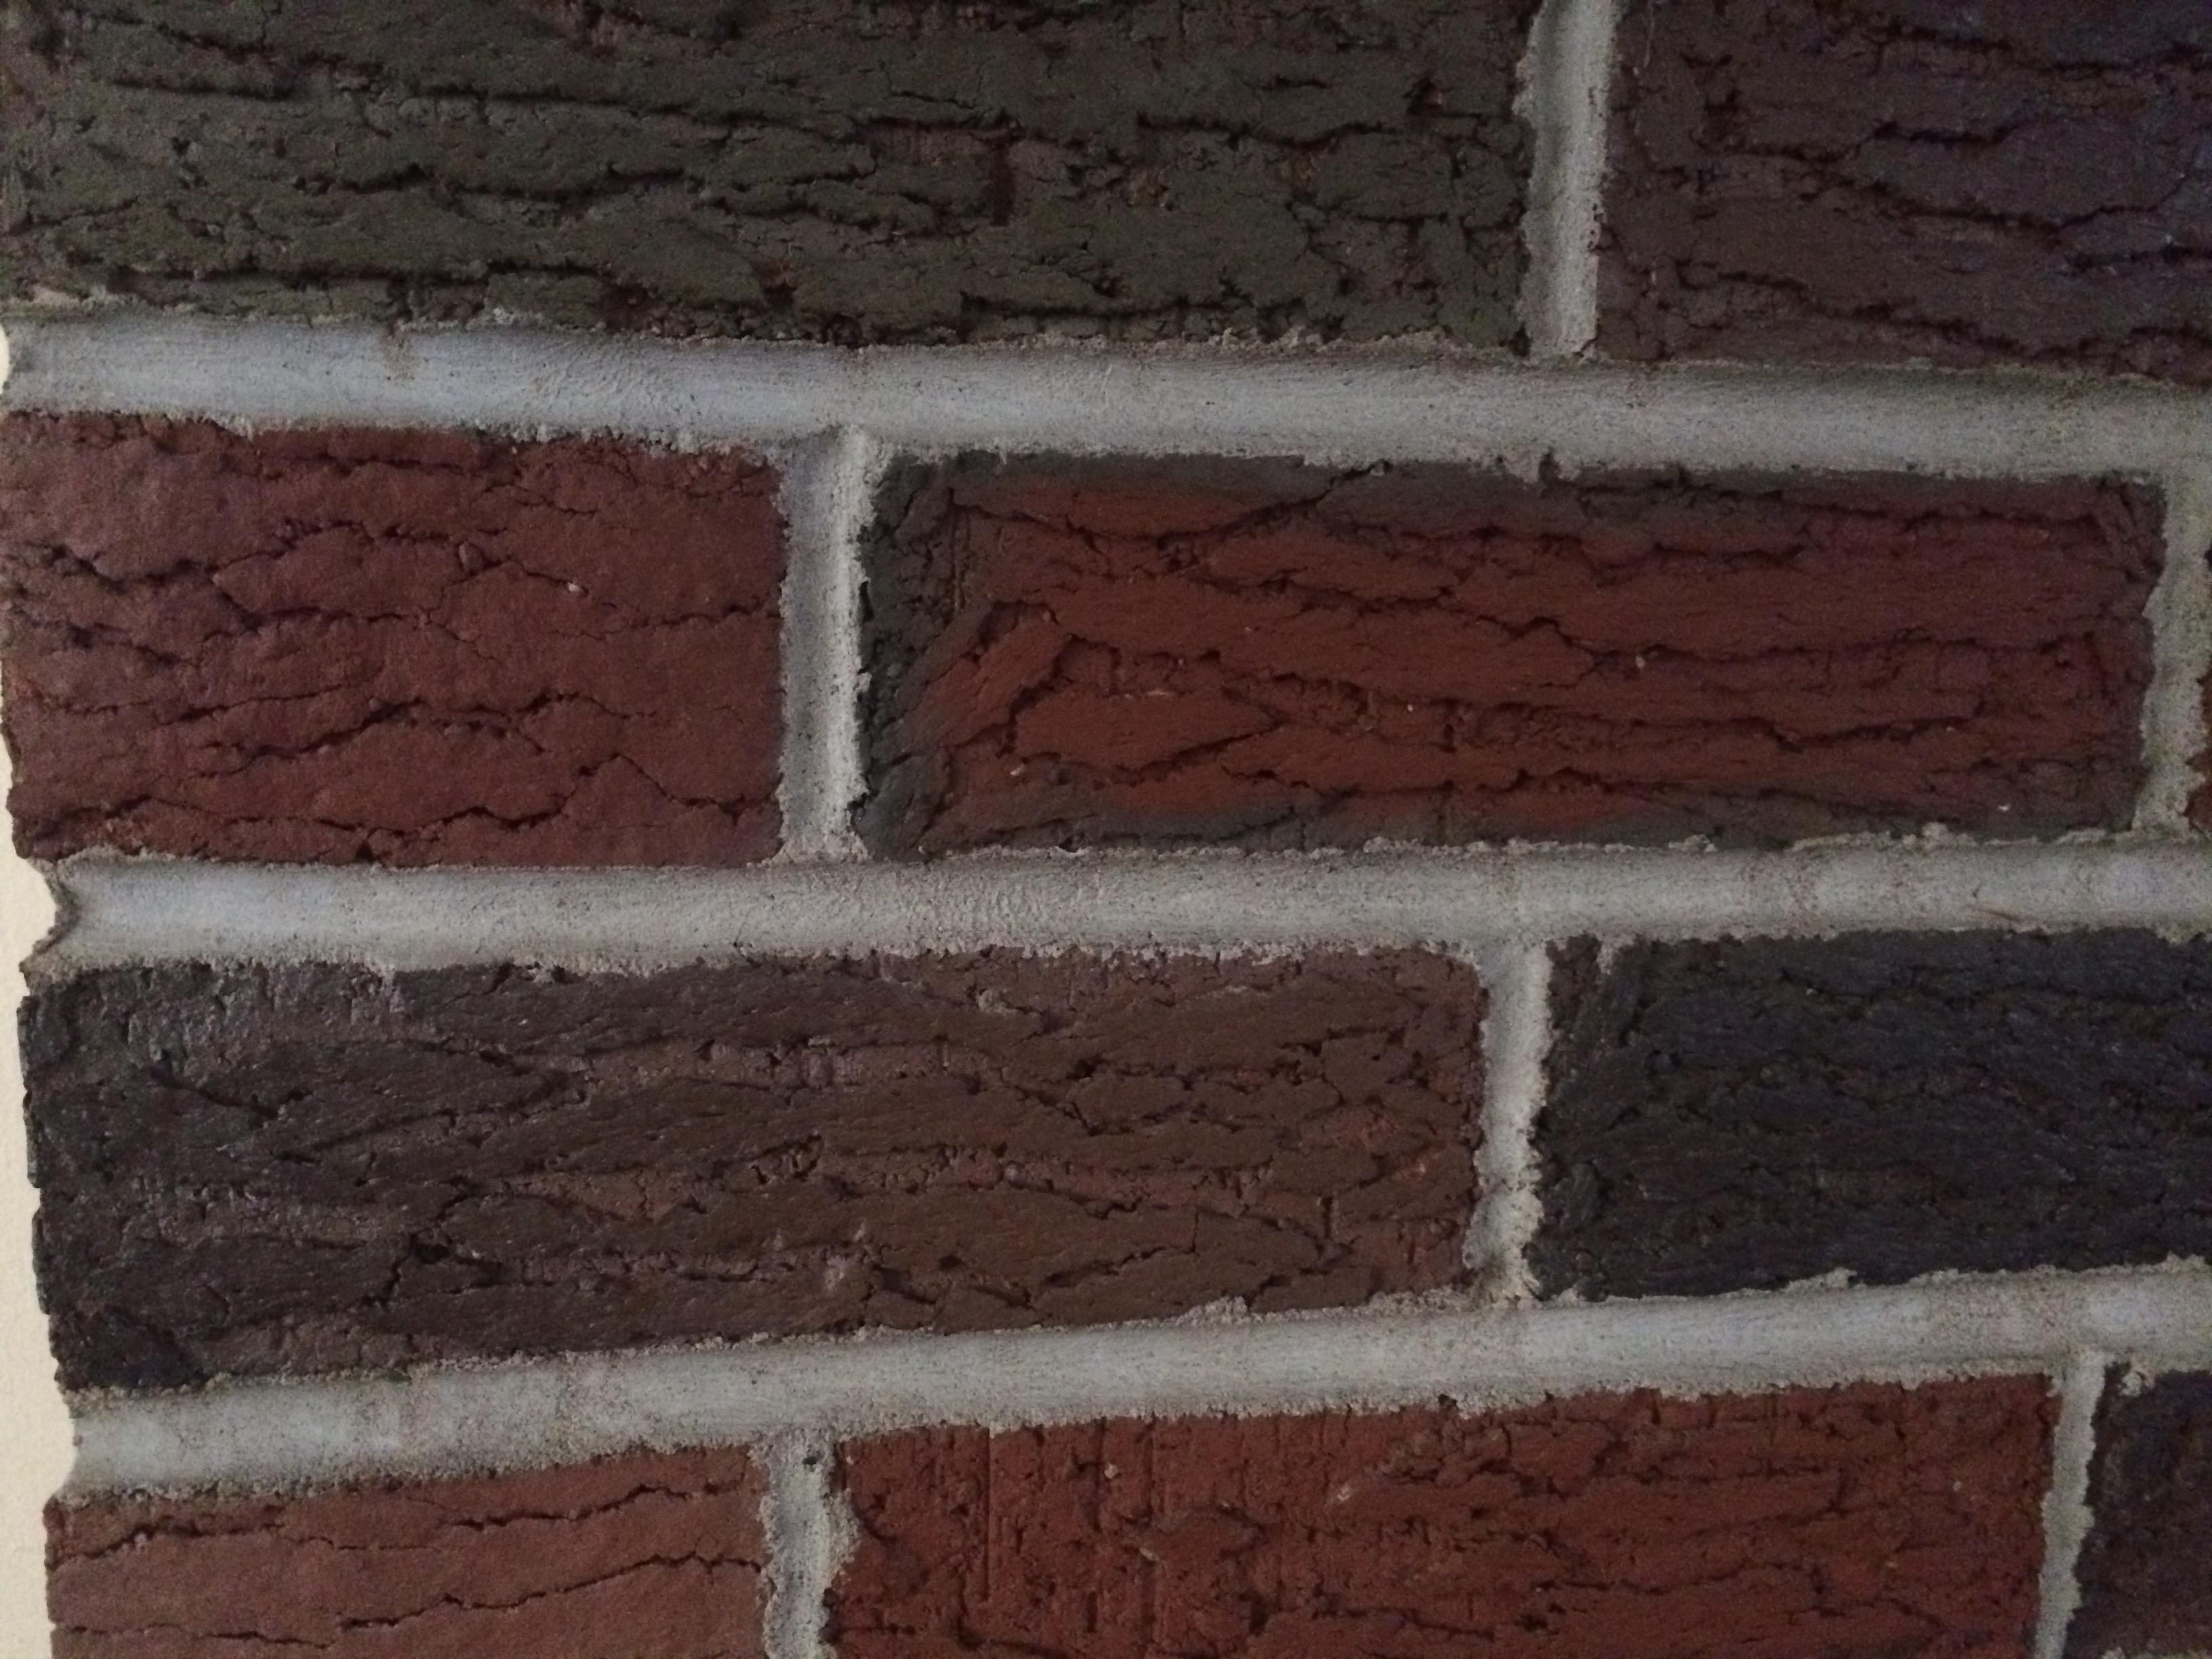
close up of bricks before paint treatment
Amy gathered up her glazes, rags and drop cloths, and I picked up a sample quart of the new color paint that the client was going to paint her walls…Accessible Beige from Sherwin Williams. One of my “go to” colors, it looks great anywhere with most any color. A perfect neutral.
We arrived and started our prep, taping with painters tape all around the edges and covering the fireplace doors and carpet with plastic, plus laying down drop cloths. It seems like the taping and prep takes longer than the painting, but very necessary! Not taking any chances of splattering paint on walls or carpet. We had a small bucket that we added some water and started to add the wall color paint, mixing it until it was lightly tinted. Better to start with a lighter mix than too opaque with the paint. With a brush in one hand and a rag in the other, we started to paint the first coat over the dark bricks. The bricks were soaking up the paint fast and barely changing the color. I thought, wow, this is going to take a lot of coats. After painting the whole area with the lightest coat, we waited a few minutes then added a little more paint to the water mixture and started the whole process over again, painting on and dabbing off with the rag. We found that we painted more over the red bricks then dabbed off some on the more darker color bricks giving a more varied look with the colors, plus, dabbing also gives texture- a stippled look.
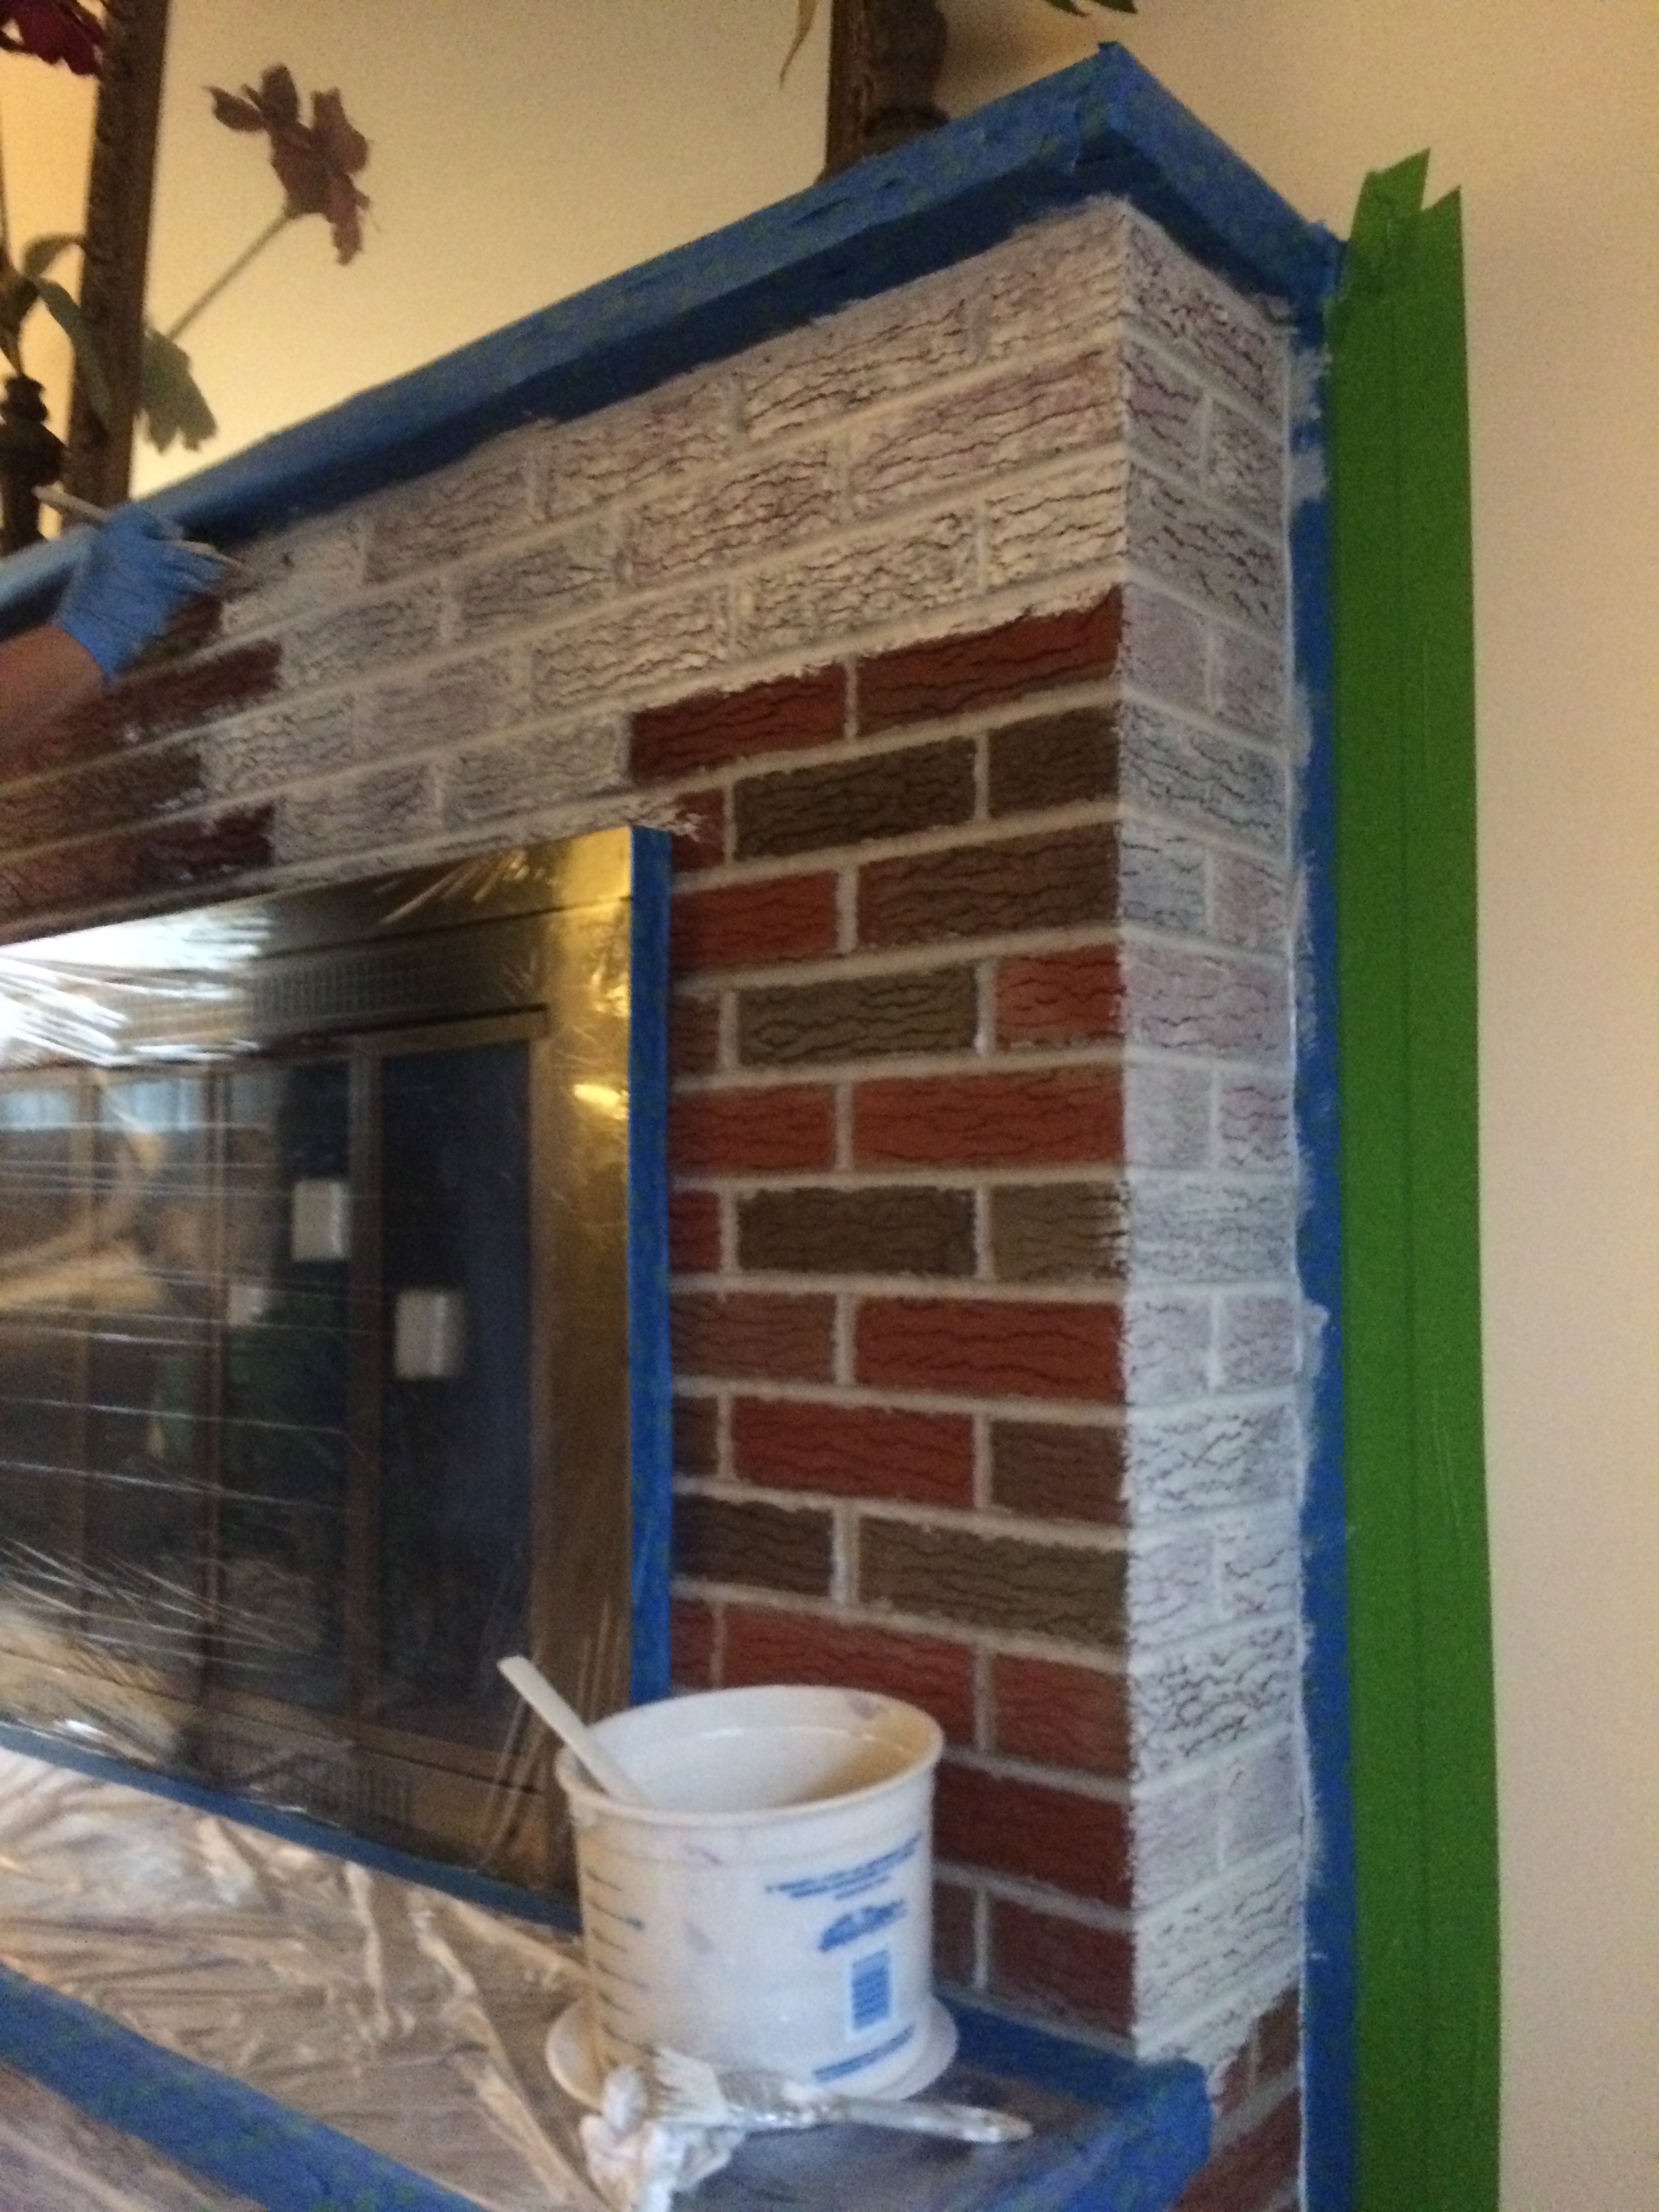
Fireplace started painting after taping off
The client was working upstairs, but often came down to peek at the progress and loved seeing the transformation. I was surprised that we only had to go over the surface twice reaching the color saturation that the client approved with a little dabbing of extra paint here and there over the deeper red bricks. The surface dried very quickly, we waited about 20-30 minutes or so before removing the tape and plastic. The pictures show the fireplace before the walls were painted, they were a soft yellow color. The new wall color was painted about 3 days later in the same color as fireplace but a bit deeper, for the paint would be at full strength and not watered down. Thank you Amy, for the “after” photo, you can see how we let the different shades of colored brick come through for added dimension and color, but the reddish tints are now warmer neutrals.
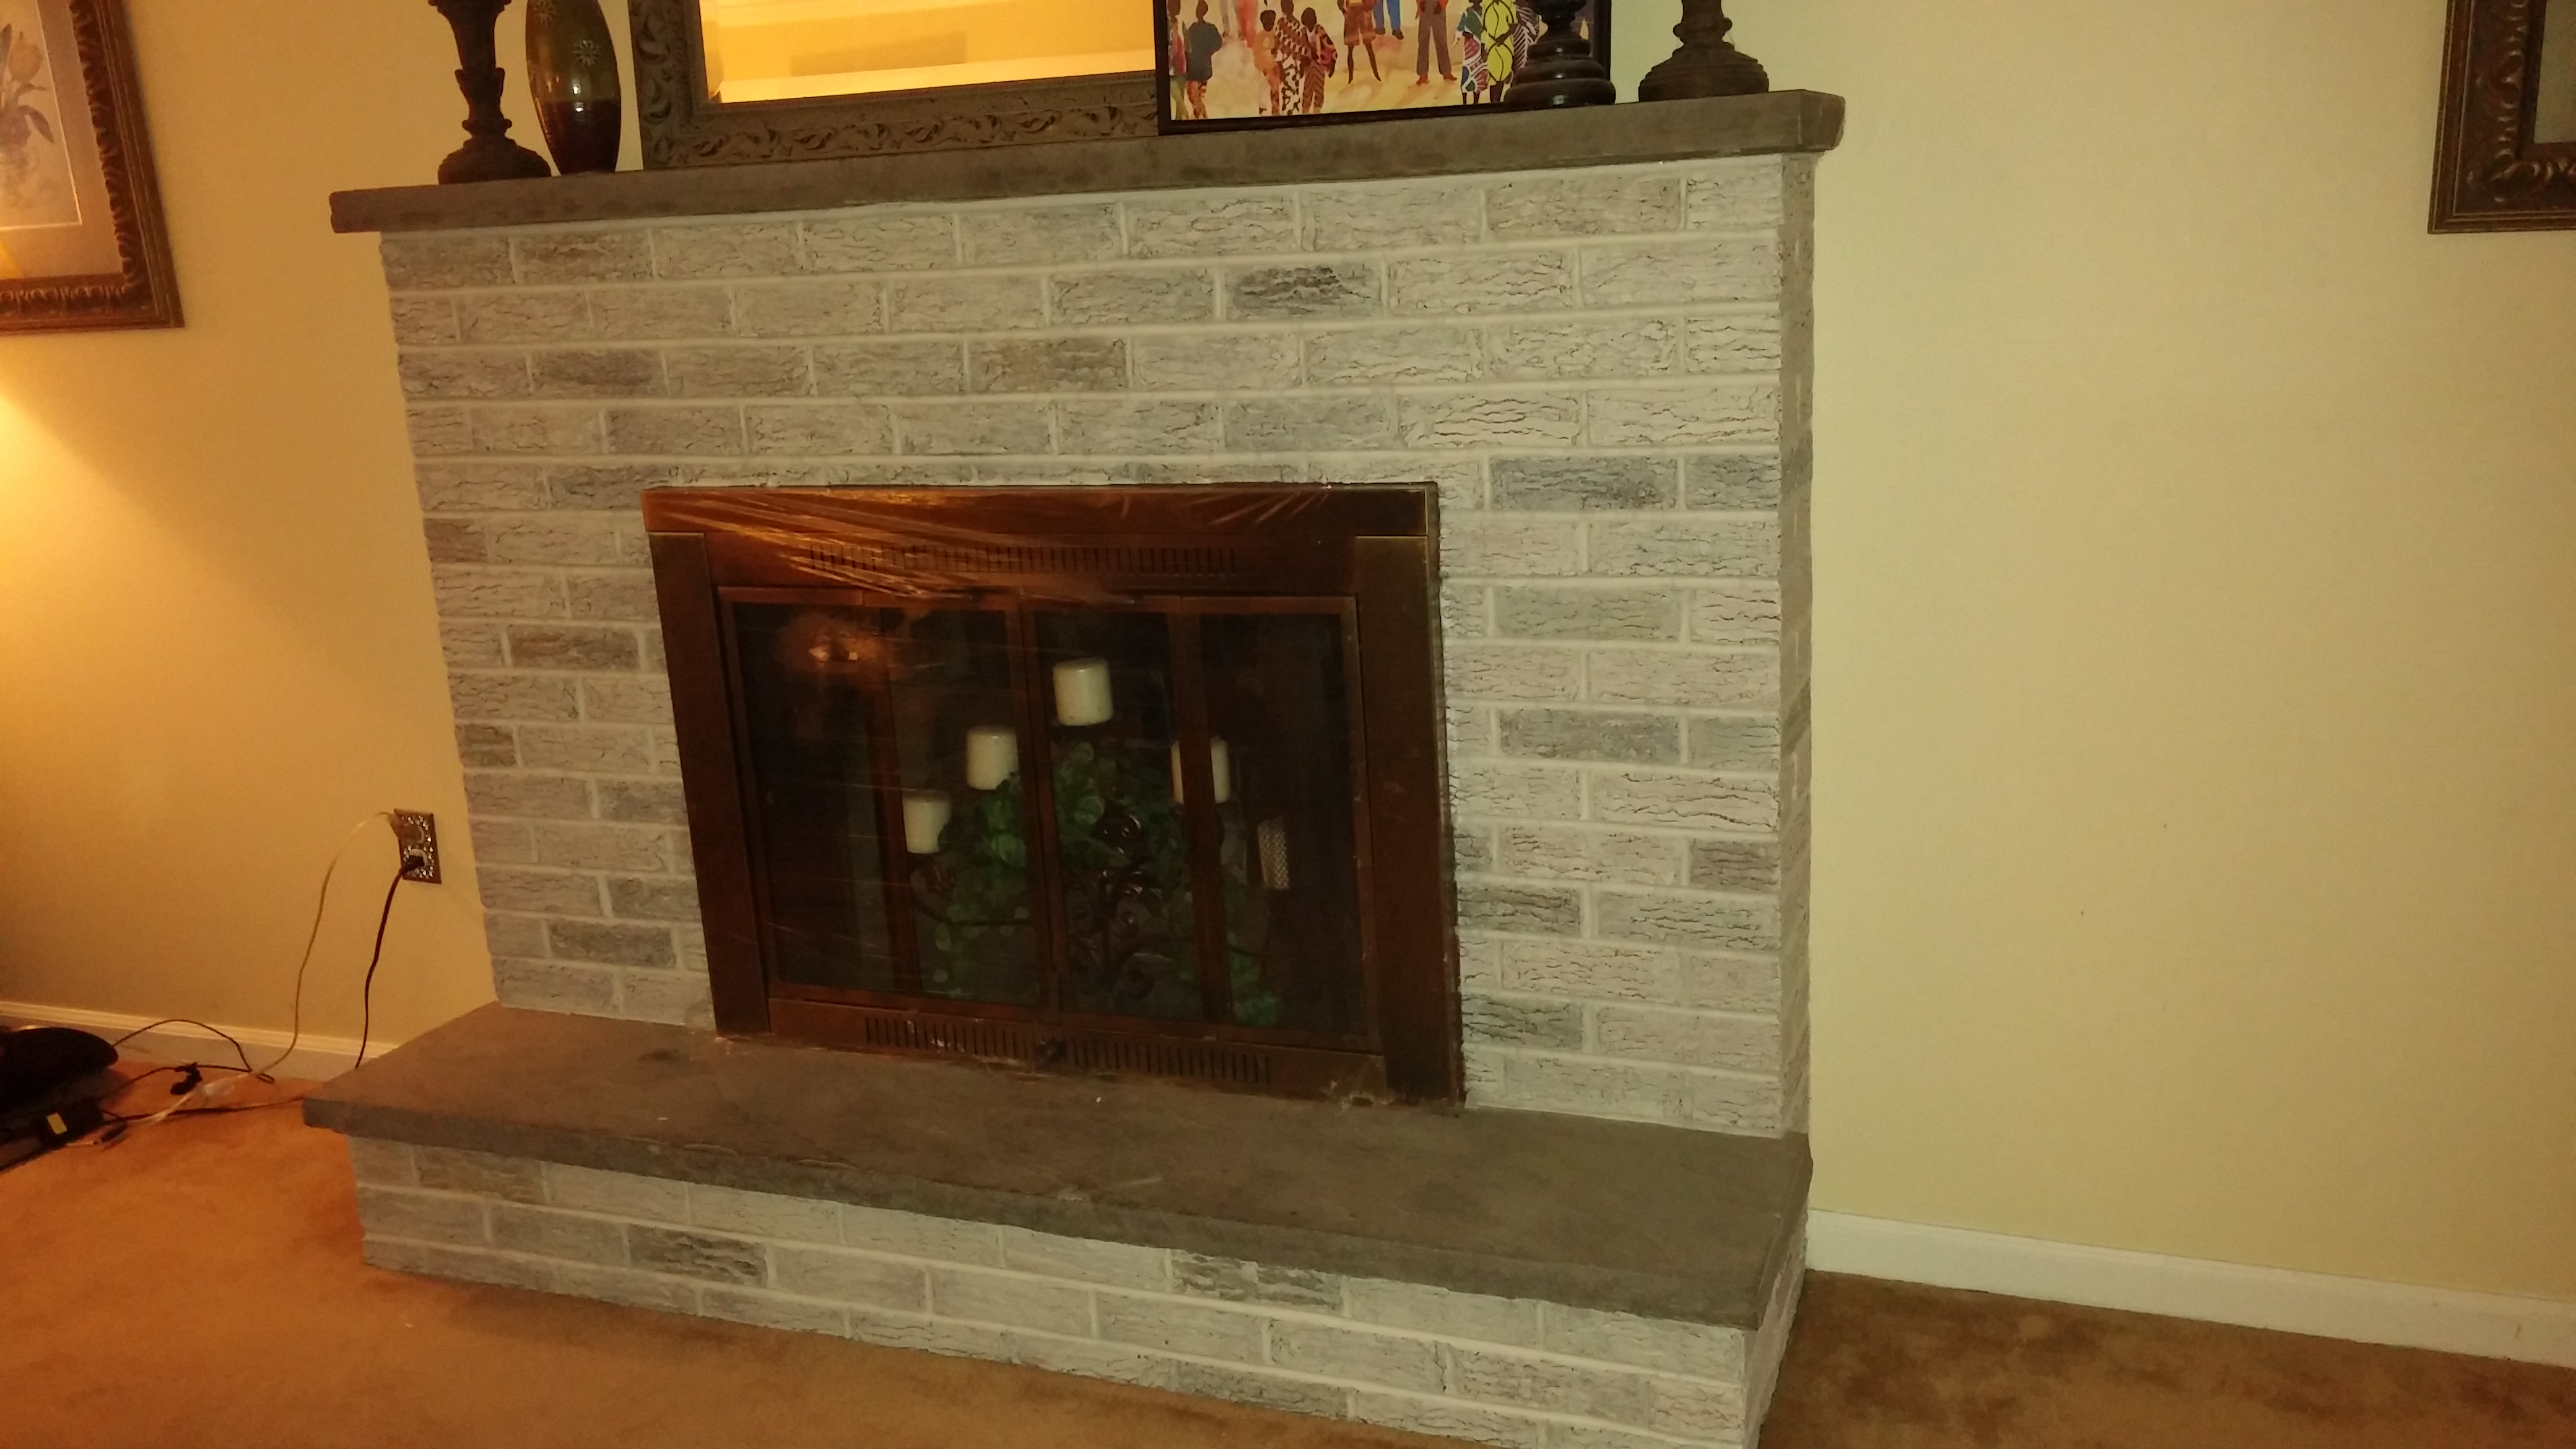
Fireplace painted makeover after
As for the rest of the room, the client decided to wait a bit and decide what she really wants. I made some suggestions and she may call to have more work done.
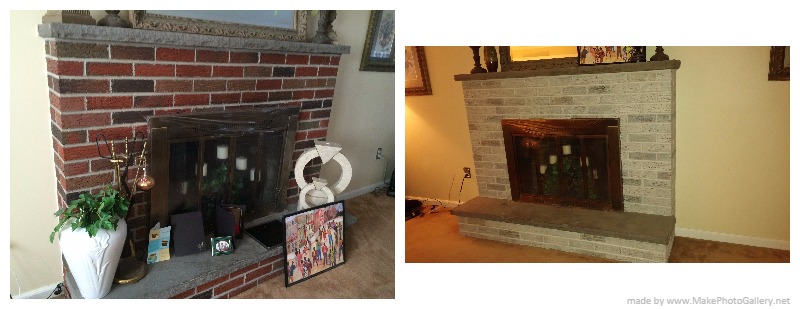
Fireplace before and after
All in all, another fireplace makeover success. A side note…I love brick fireplaces and I rarely suggest painting them, but there are a few, that just need a little help, and we’re glad to oblige!
(If you have a fireplace that needs a little lift and you would like a quote and live locally, take a picture and measurements and email them to me and we can give you an approximate quote for the job.)
To receive posts via email click HE RE  Subscribe in a reader or signup in Subscription box in sidebar.