B4 and after owl theme room
Evolving from a nursery to a toddler bedroom is always fun especially when there is a theme involved. Keeping the budget in mind, the client wanted owls to be the theme. With purchased artwork as inspiration, owl pillows; shelf sitters; a tree mural and floating shelves were added to the design.
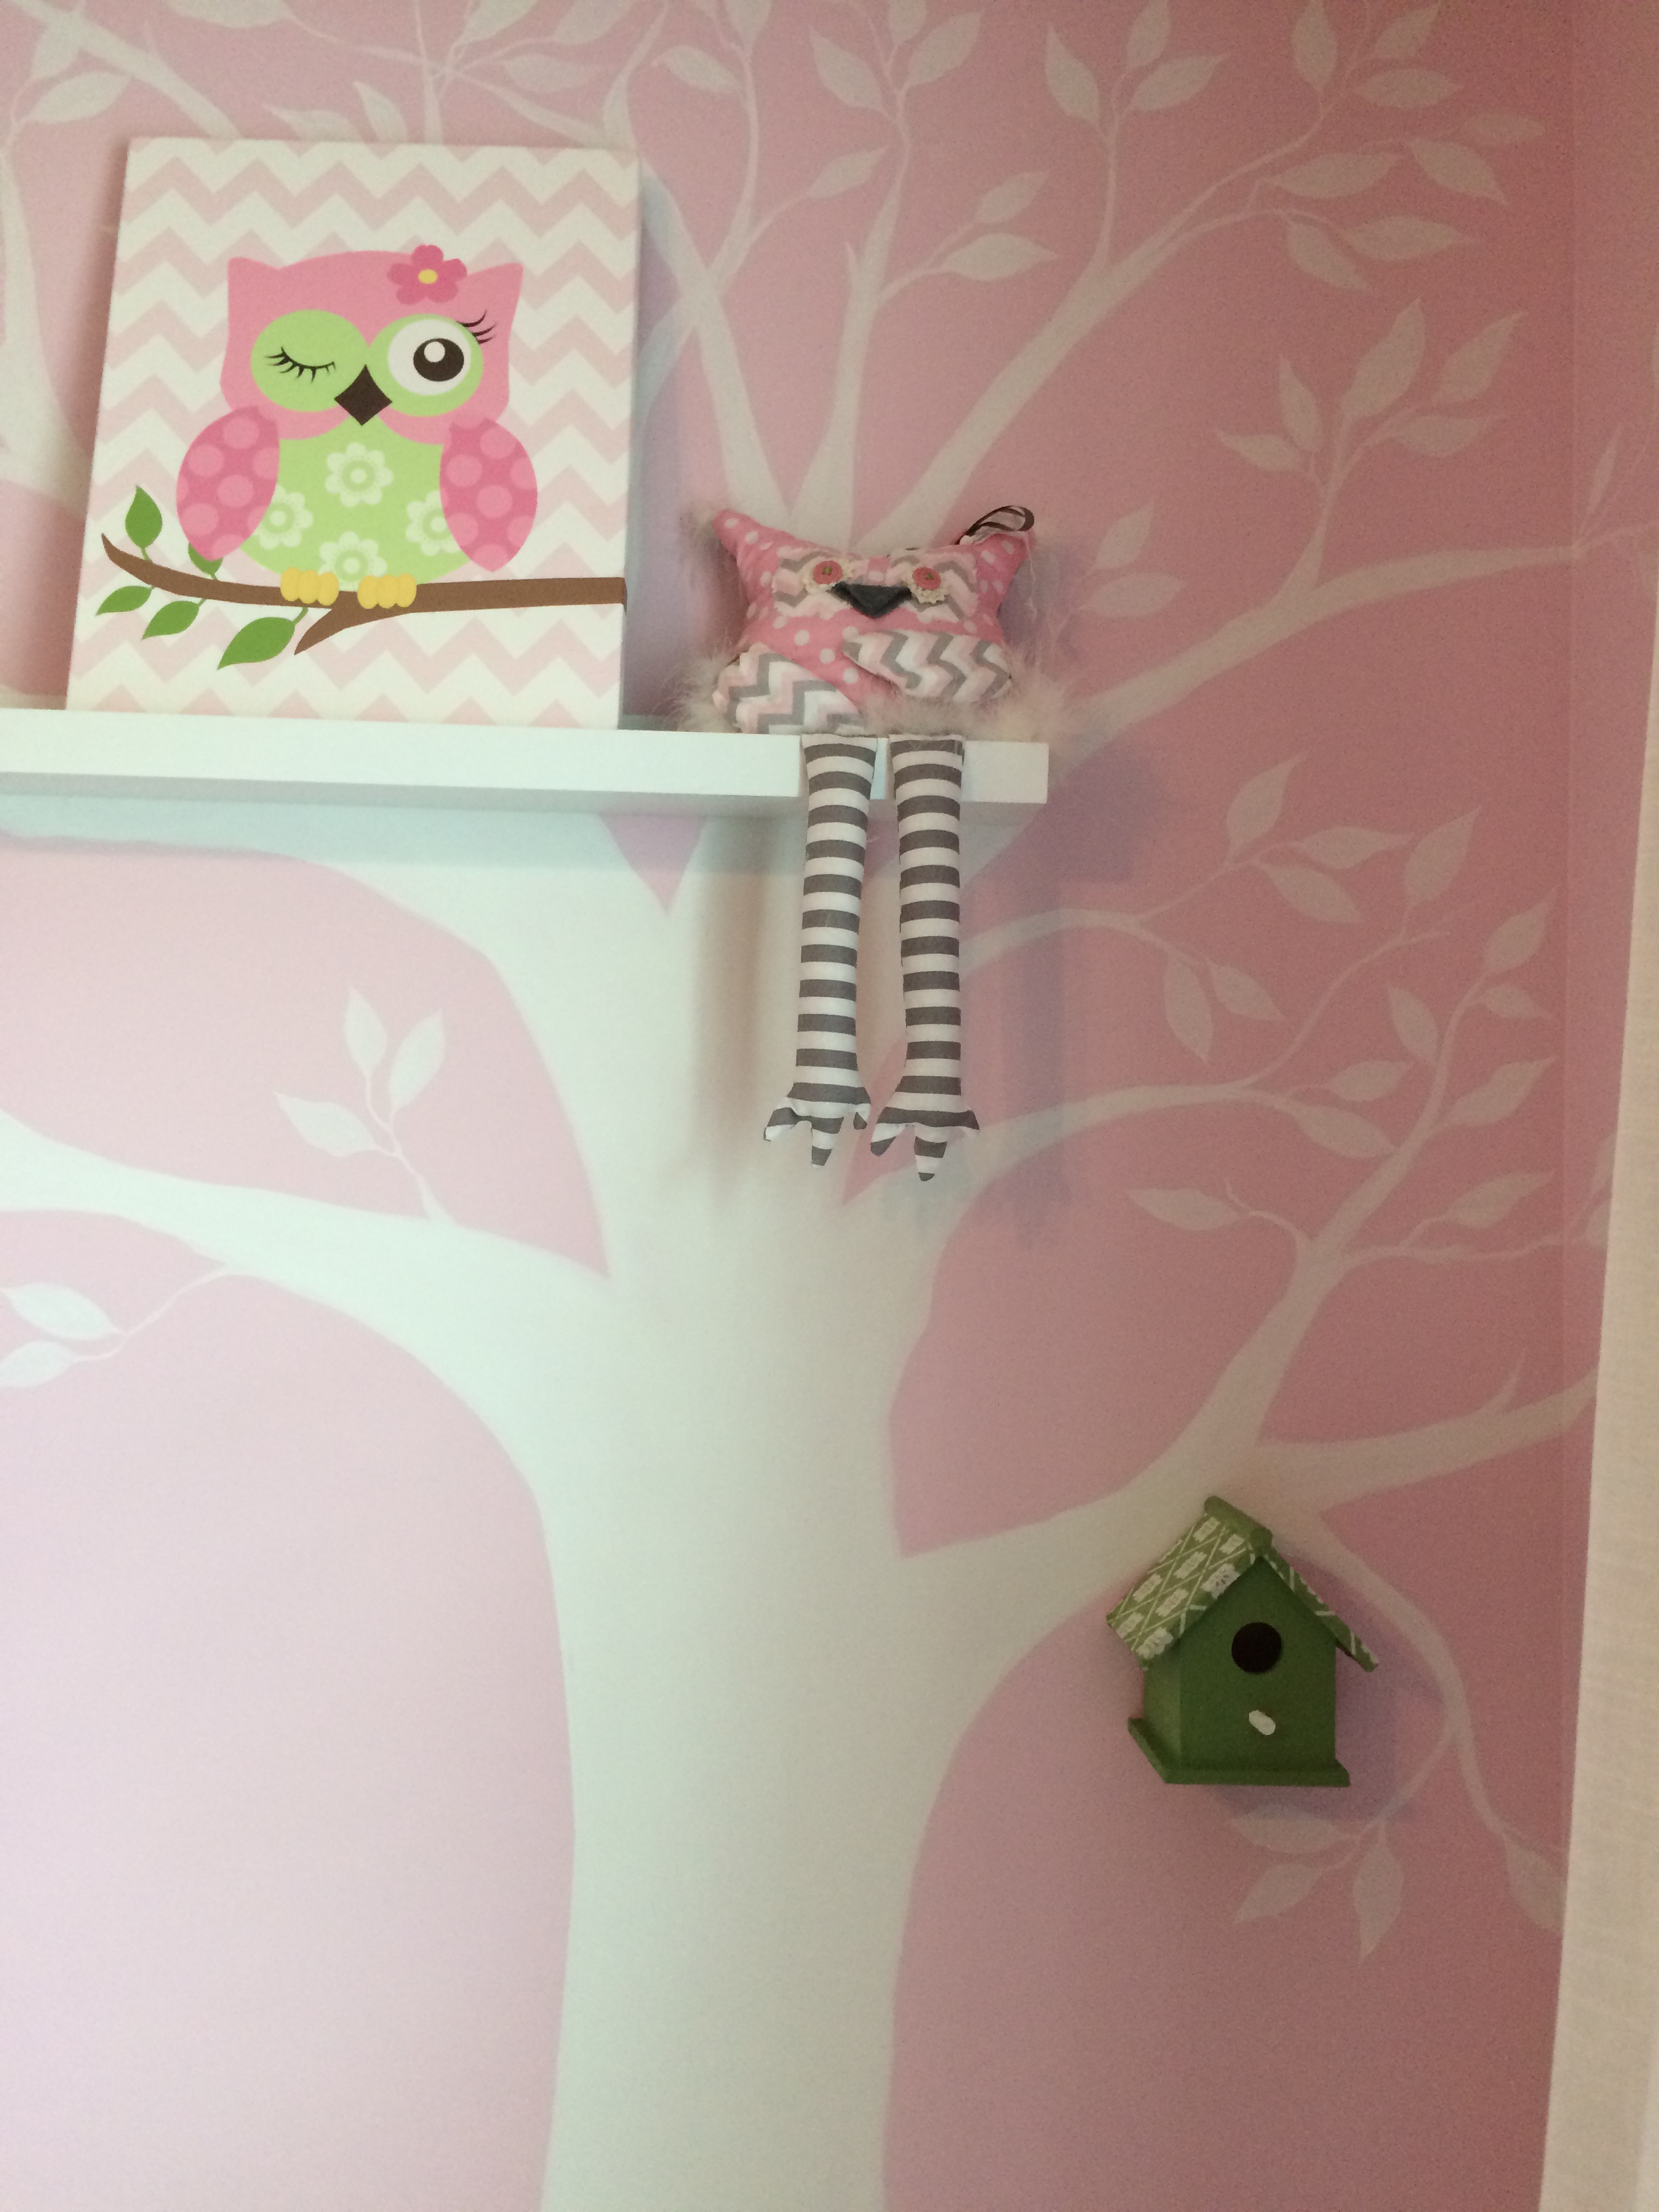
Inspired owl artwork
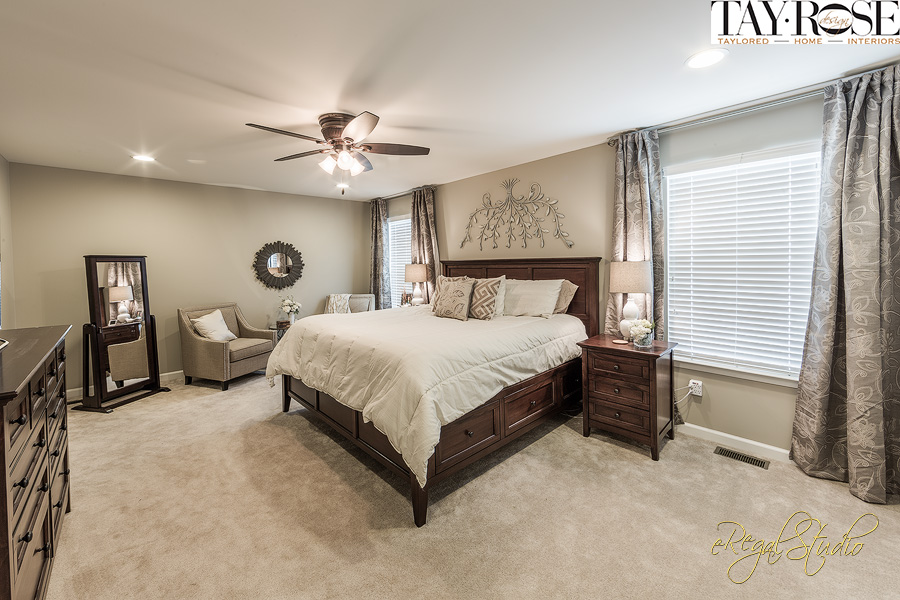
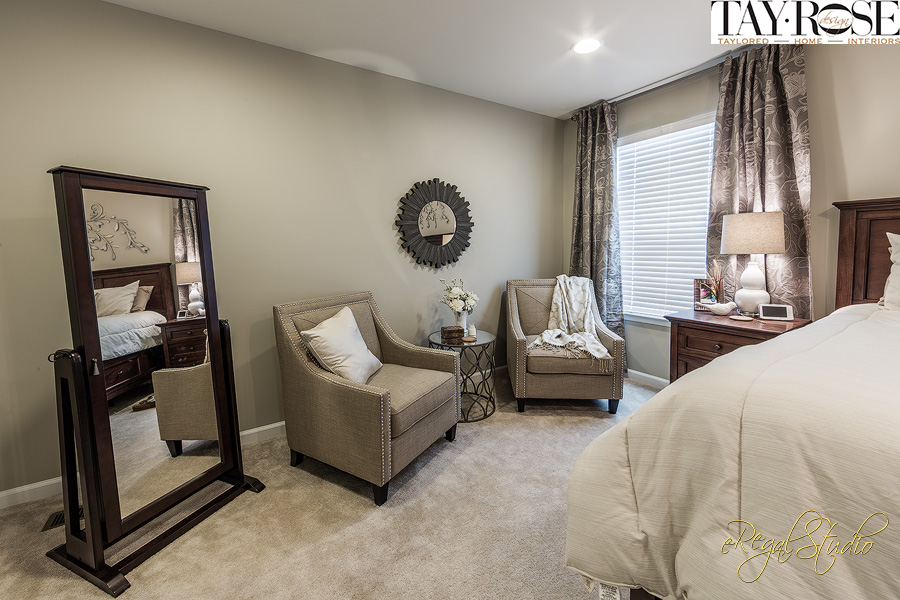
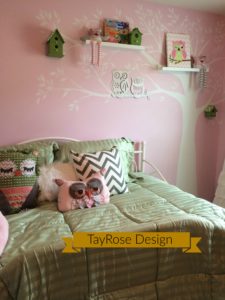
A new trundle bed replaced the crib on the back wall. White furniture and ruffled curtains coordinated with the bed and trim. That left a huge blank focal wall behind the bed, just prime for a hand-painted tree mural. What better place for an owl to sit than in a tree!
The wall tree had limbs that reached towards the corner of the wall with added white floating shelves and green painted mini birdhouses for a bit of whimsy. A metal owl wall art piece was painted white to match the tree. Painting the tree, hanging the wall shelves plus accessorizing was complete in a day.
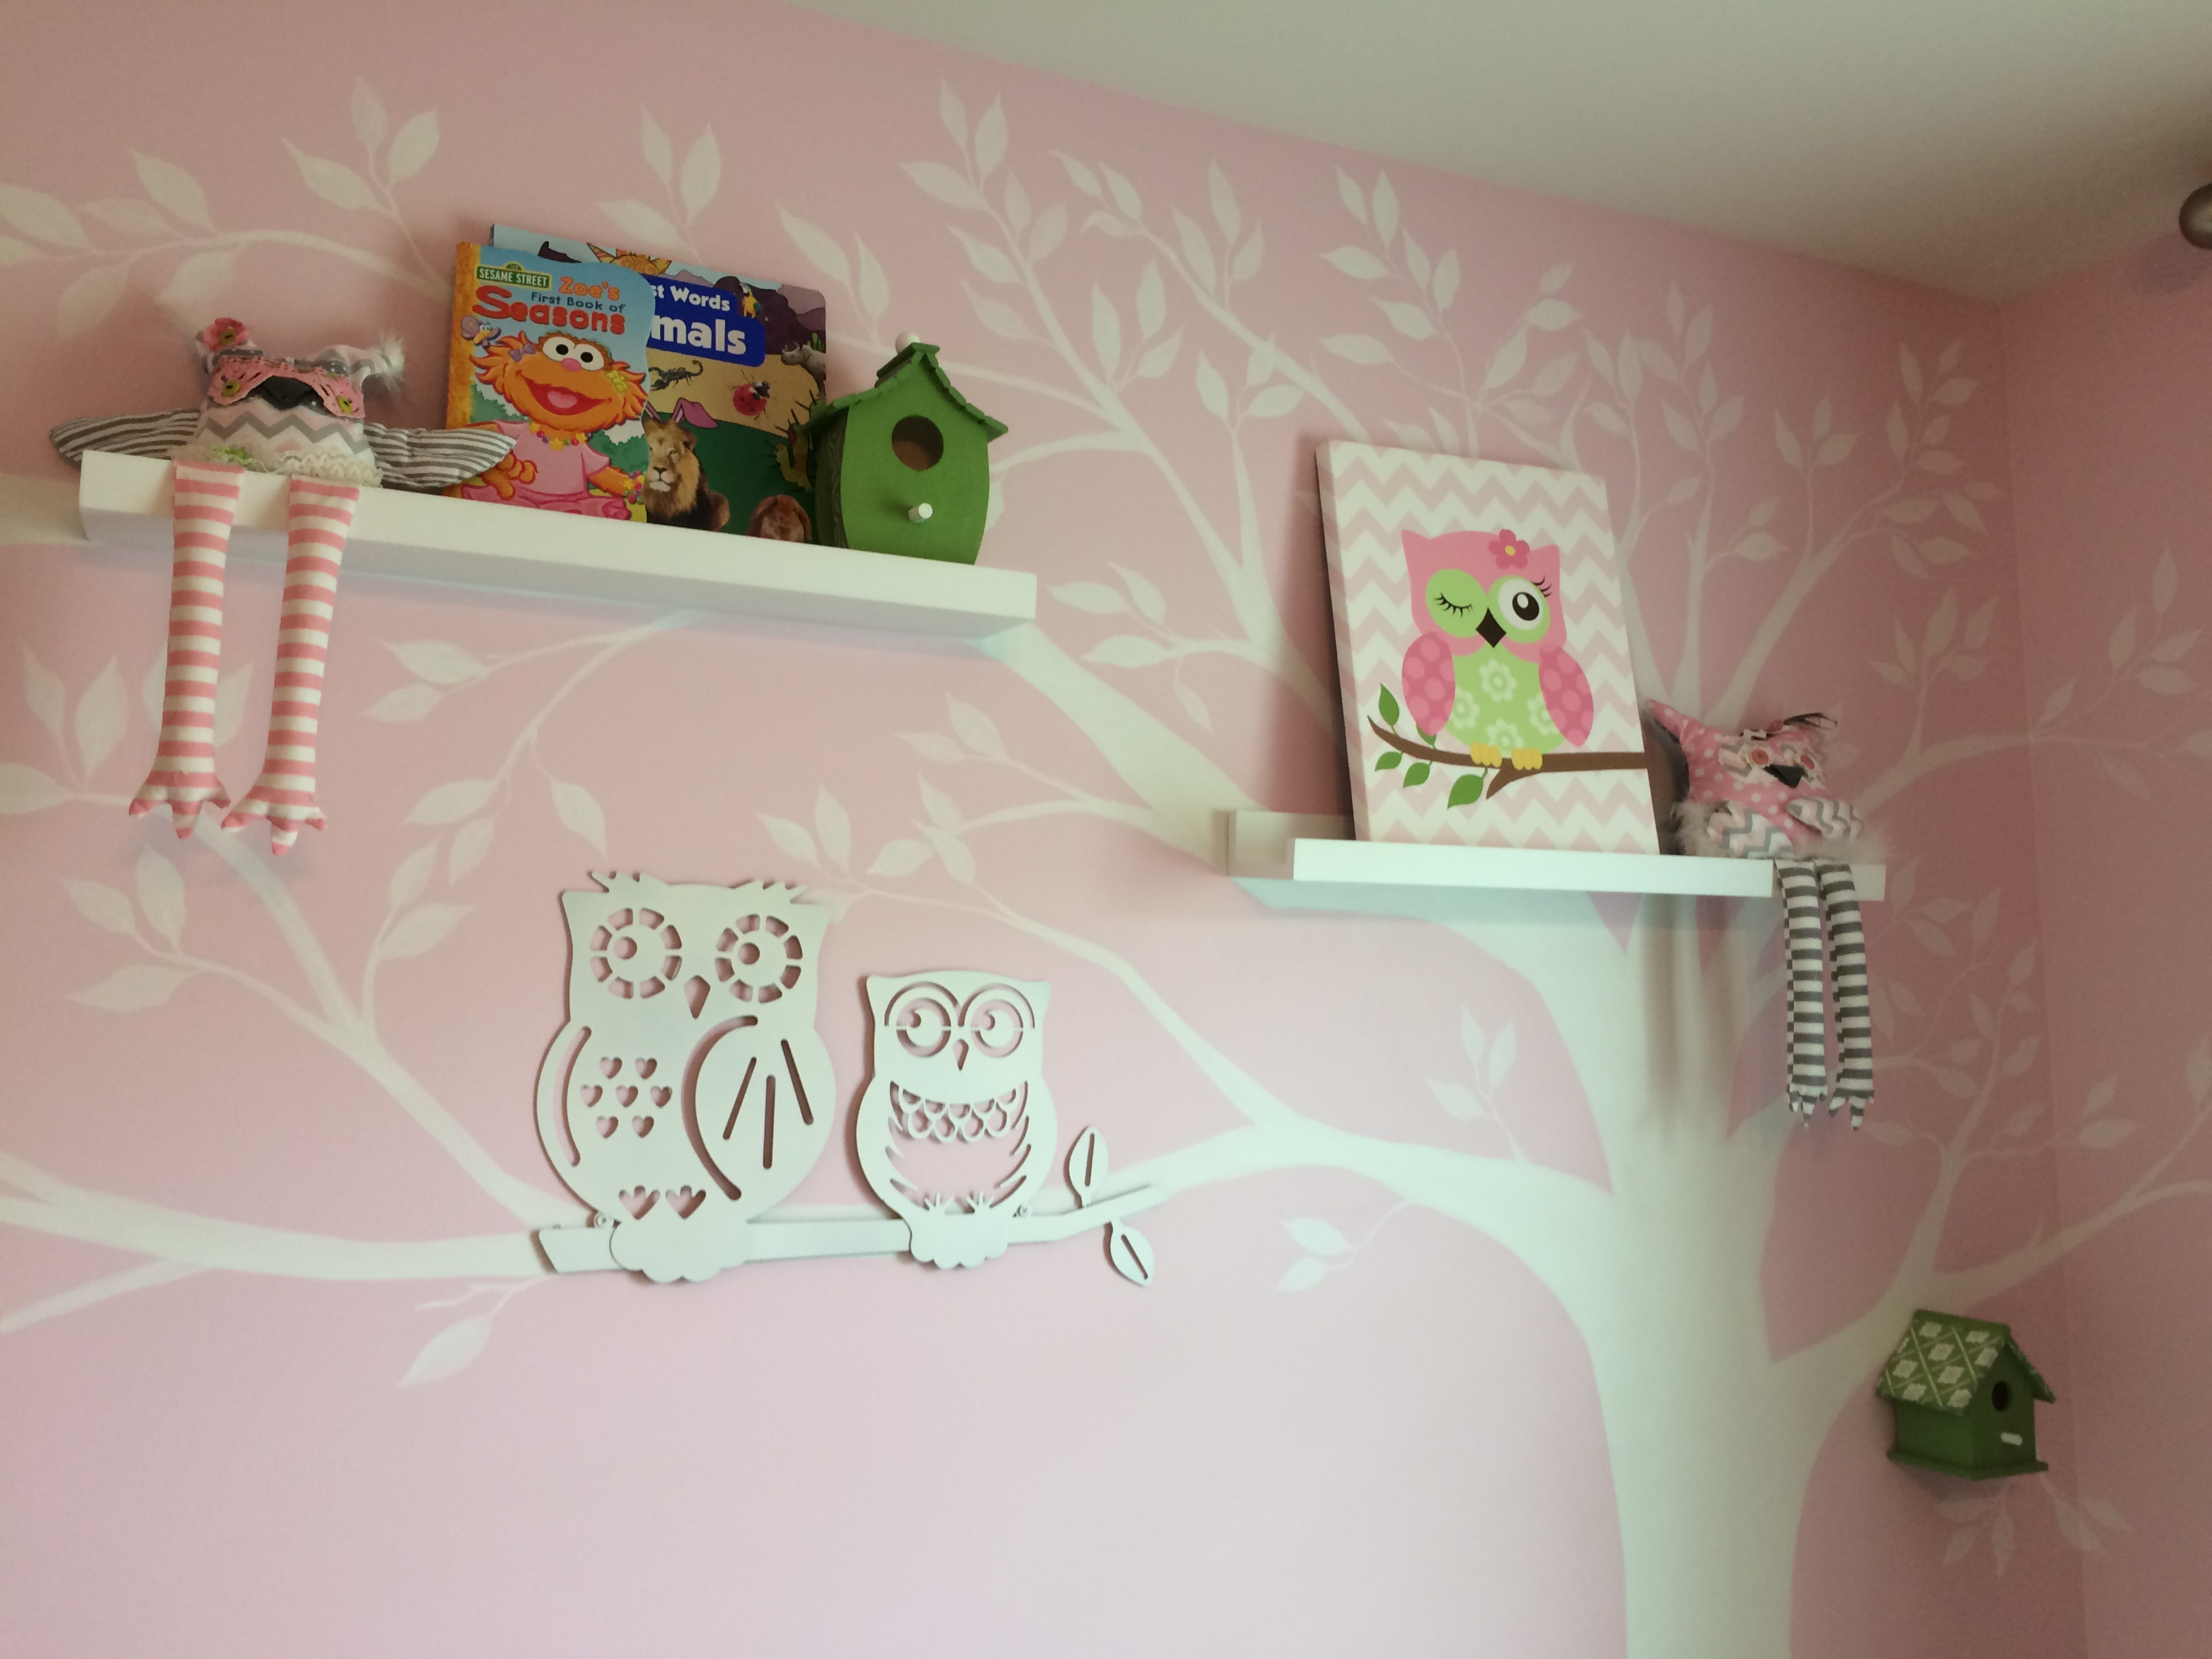
Painted tree mural
Starting Owl Pillows
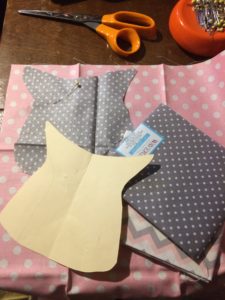
For one of the owl pillows, I found a pair of woven green rectangular placemats that I purchased for under $2 each. Walmart had some nice inexpensive assorted cottons that are sold in packages just right for small projects. I chose colors that would coordinate with the pink, gray and white color scheme going on in the room. Vintage linens and cut up discarded clothing were used as fabric as well.
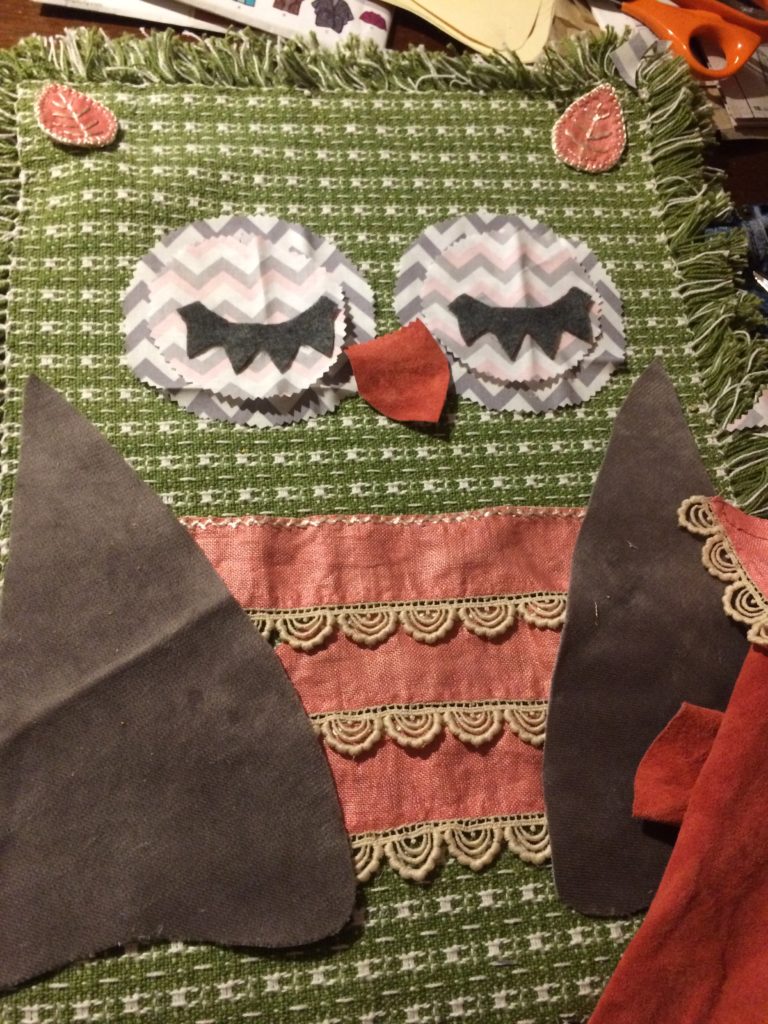
owl placemat pillow layout
The placemats were sewn on the vertical for the pillow with a couple of small feet at the bottom. Felt eyelashes, a suede beak from an old jacket, and cut out fabric circles made up the eyes and feet. All the pieces were sewn to the front side first before sewing the seams. Due to the fringed edges, I sewed the seams just as they lay with right side up. At the top ear corners, with a needle and thread, I tacked a couple of small stitches so they would “pinch” together like little ears. The suede beak was hand embroidered showing the hand stitches for that ” handmade” look.
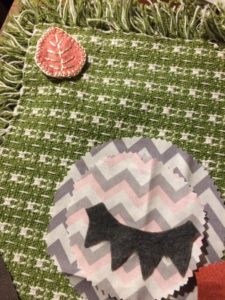
owl placemat pillow ear
I cut the border edge of my vintage linen into strips to sew together as the “tummy”.
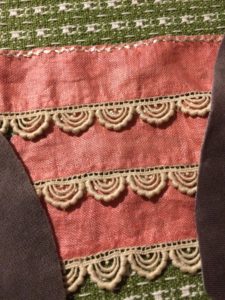
owl placemat pillow tummy
For the feet, I made a quick pattern, cut out fabric , pinked the edges, stuffed with fiberfill and sewn to bottom seam. Sew around all the edges with about a 5/8″ seam leaving about a 5″ opening to add stuffing. After filling with desired amount of stuffing sew the opening close and voila, pillow done!
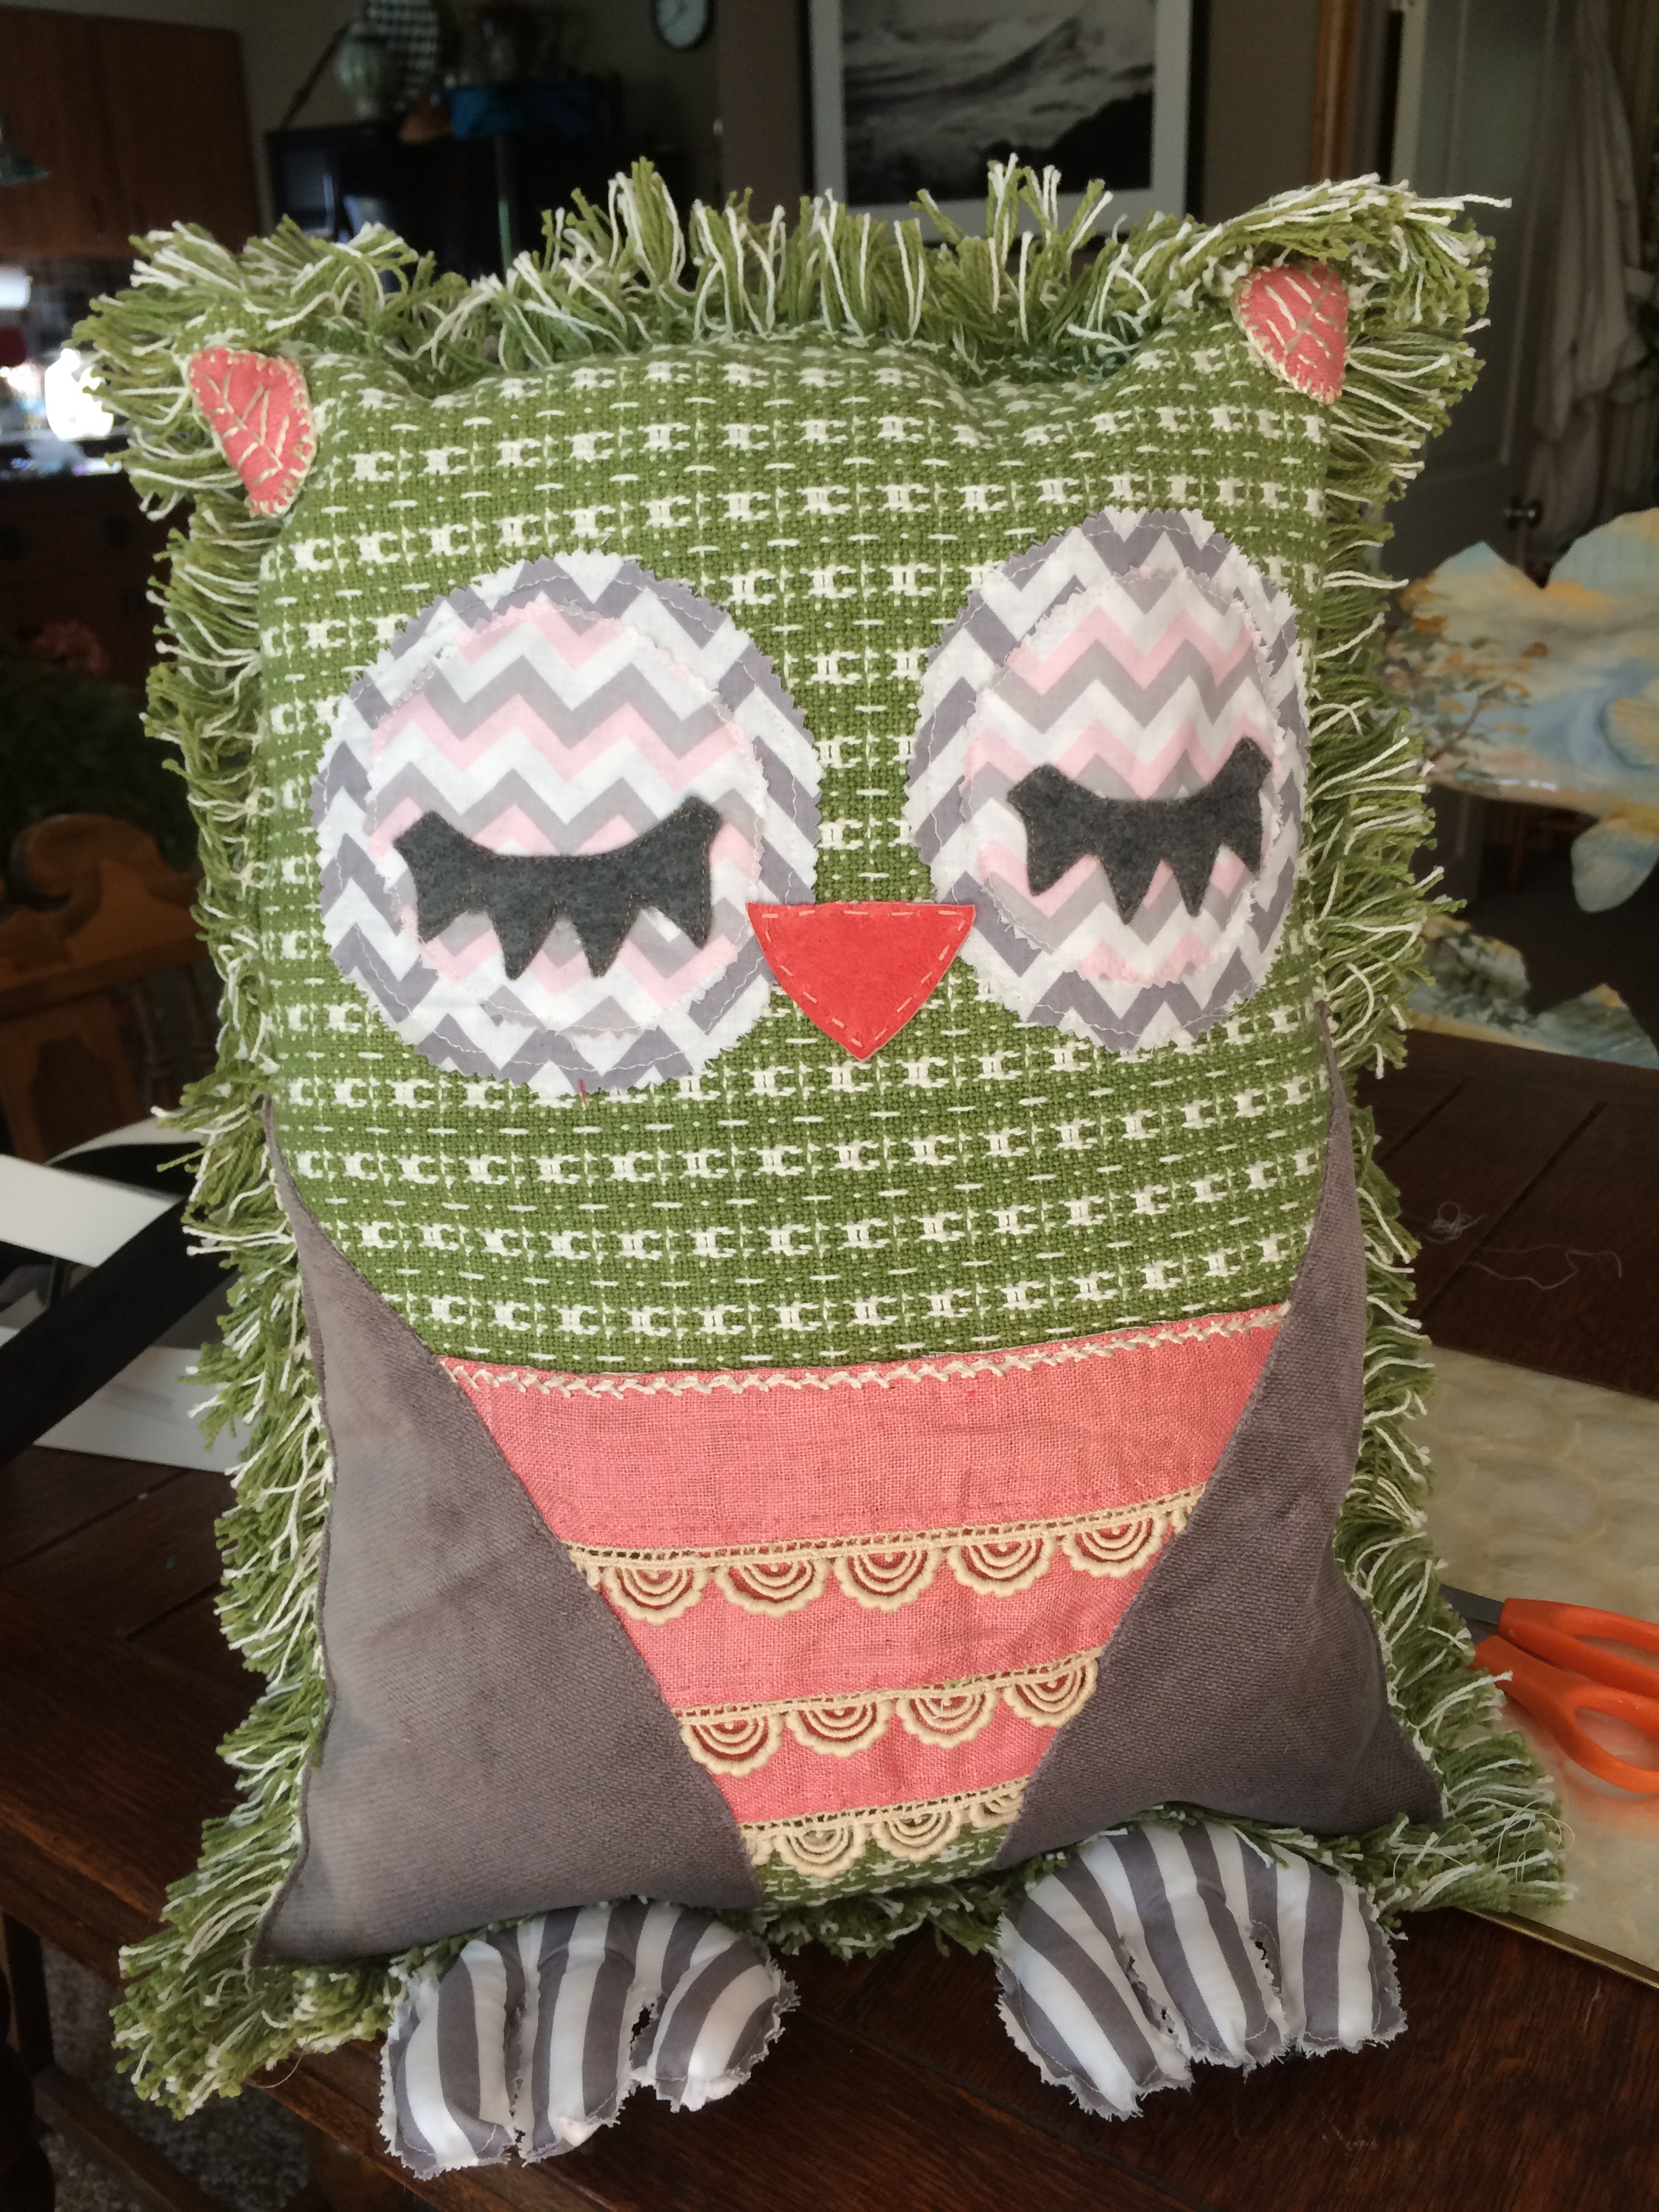
owl placemat pillow finished
Shelf Sitters
As for the owl shelf sitters….making the patterns for the first time was challenging and then filling them with rice found more rice on floor than in the owl!
making pattern for owl shelf sitters
A pink and white feather boa from the Dollar Store was cut and sewn as little tufts to the ears for some texture and fun. These little owls definitely like to “sit” and not be played with by little hands, so they were set up high in the branches on shelves.
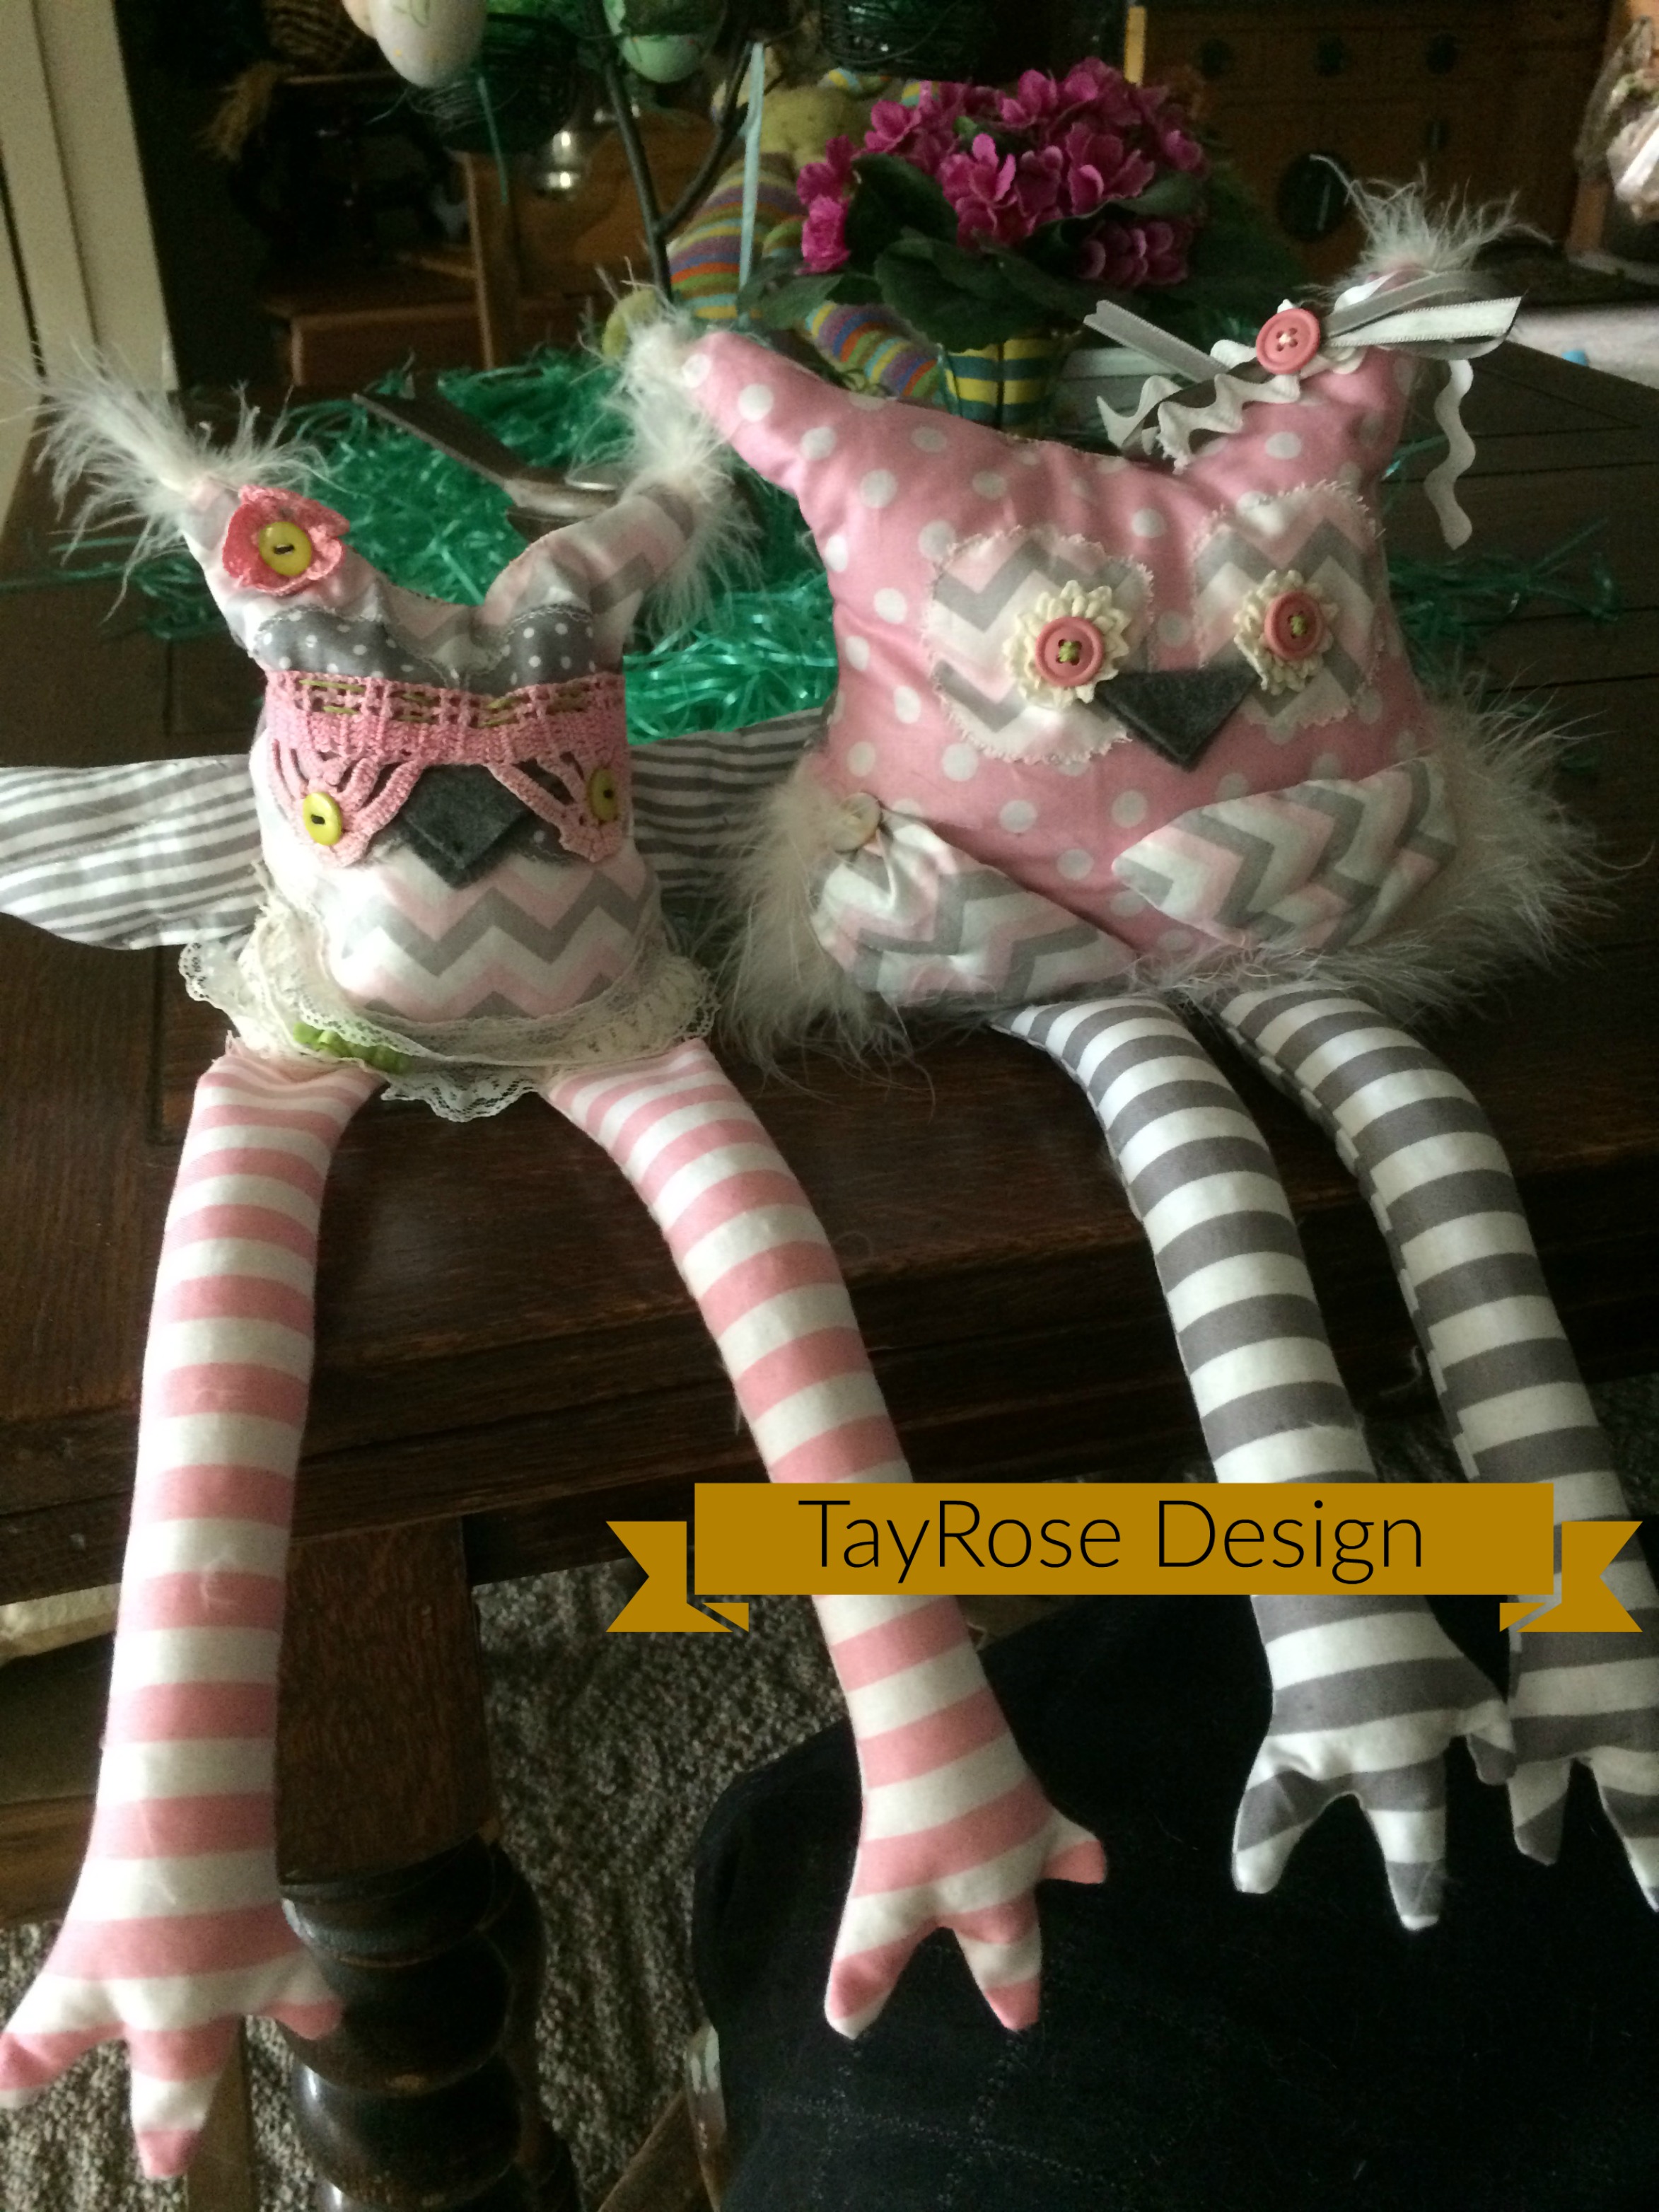
Owl shelf sitters finished
In Conclusion:
All in all, this was a very fun project, lots of room for additional accessories as the little one grows older without having to change too much, which is great for the budget.
“Who” would like to try and take on a theme room and watch it grow? Ahhh…..very wise…..
Owl theme toddler room finished